| View previous topic :: View next topic |
| Author |
Message |
2bims

Joined: 03 Apr 2010
Posts: 7289
|
 Posted: Thu May 05, 2016 8:28 pm Post subject: Posted: Thu May 05, 2016 8:28 pm Post subject: |
 |
|
Well...with the great weather means painting time...but evidently that means preparation...Fail to prepare...prepare to fail...or is it the other way around...perhaps thats where I'm going wrong....
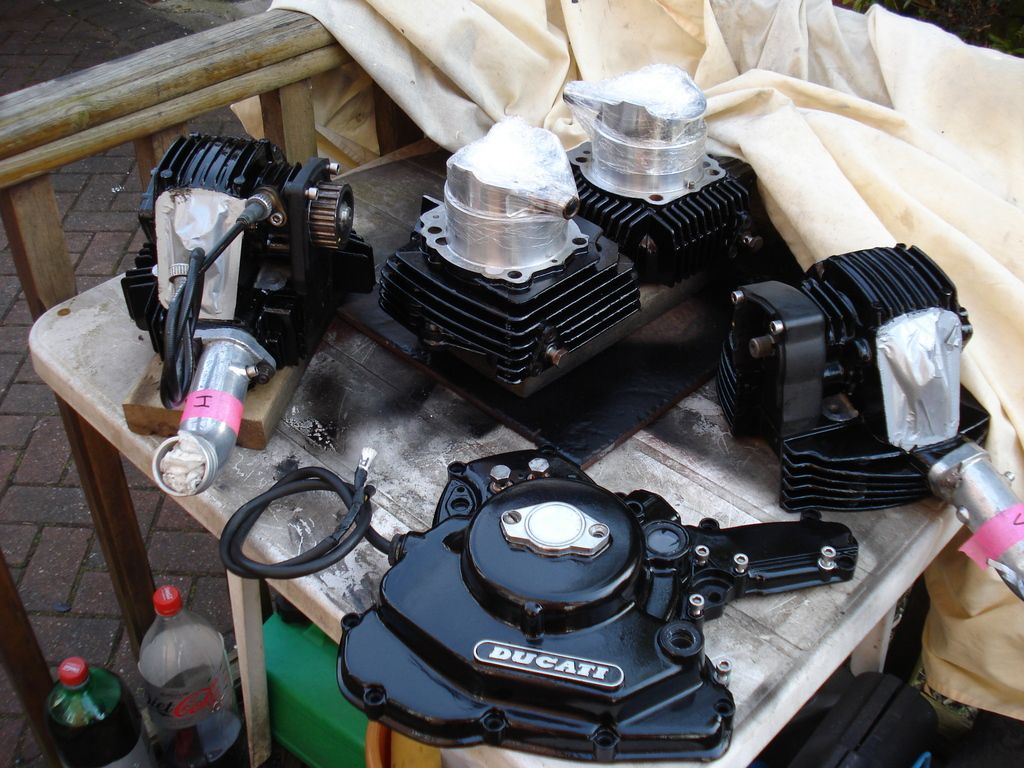
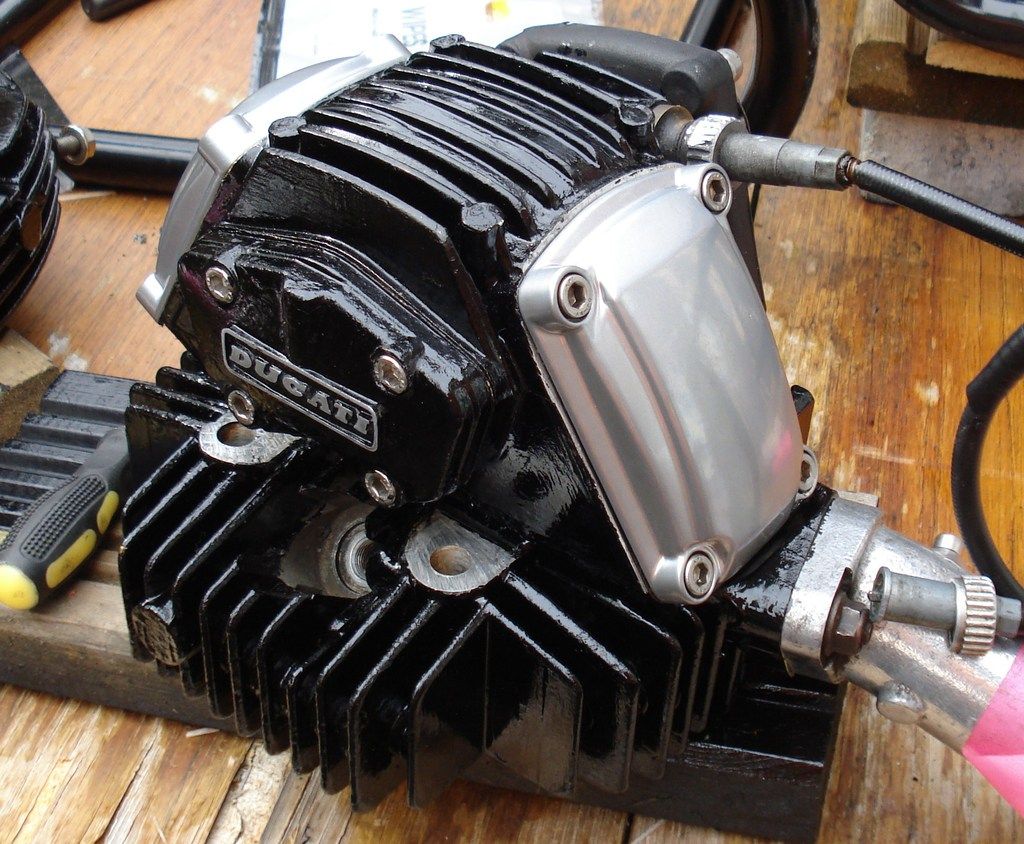
Trying to sort of stay original>(whats left of the bike that is...)....So engine and parts going back to how it came from Ducati...early bike so black crankcase covers, black heads, barrels...and silver main crankcase covers and outer valve covers.....
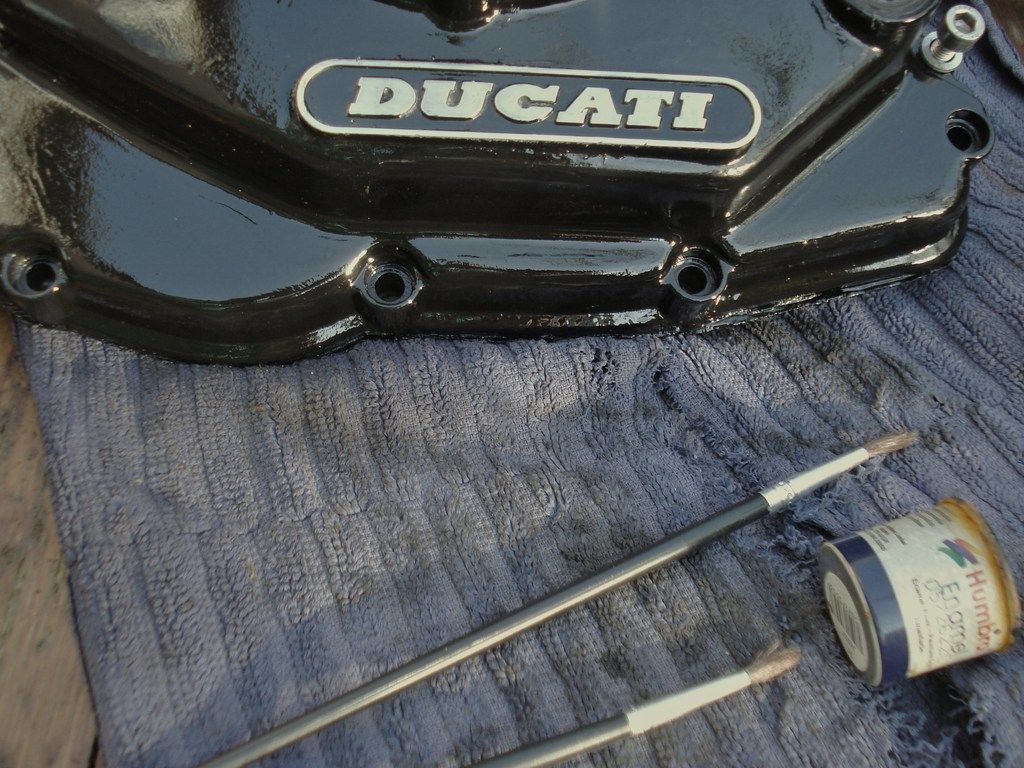
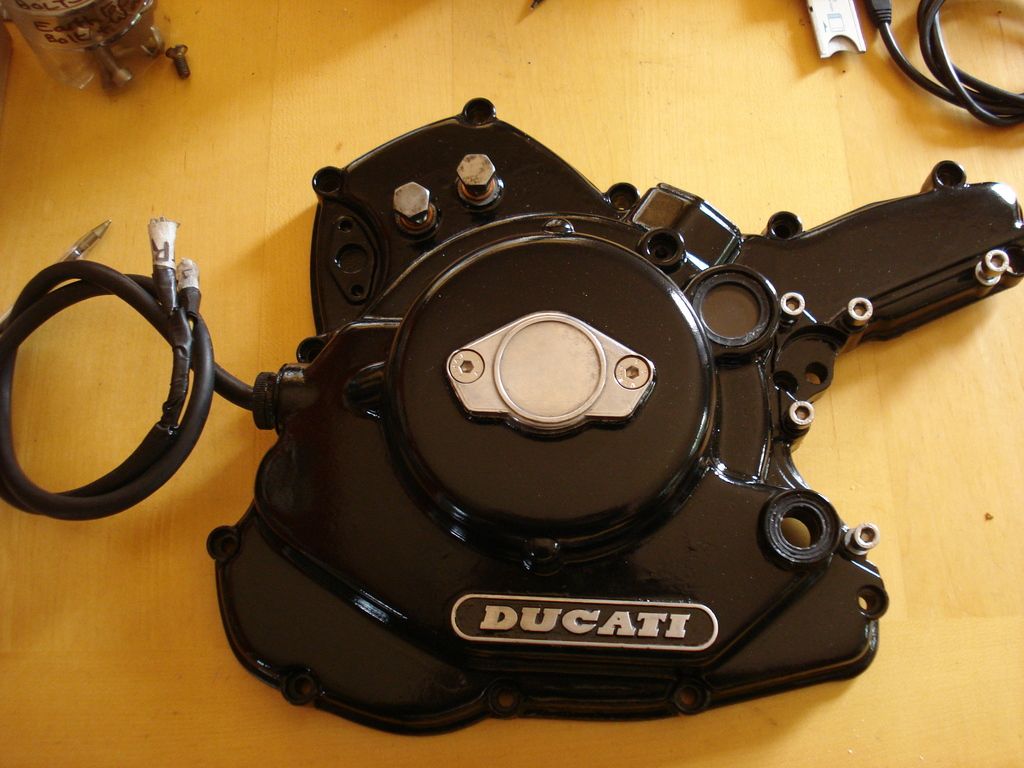
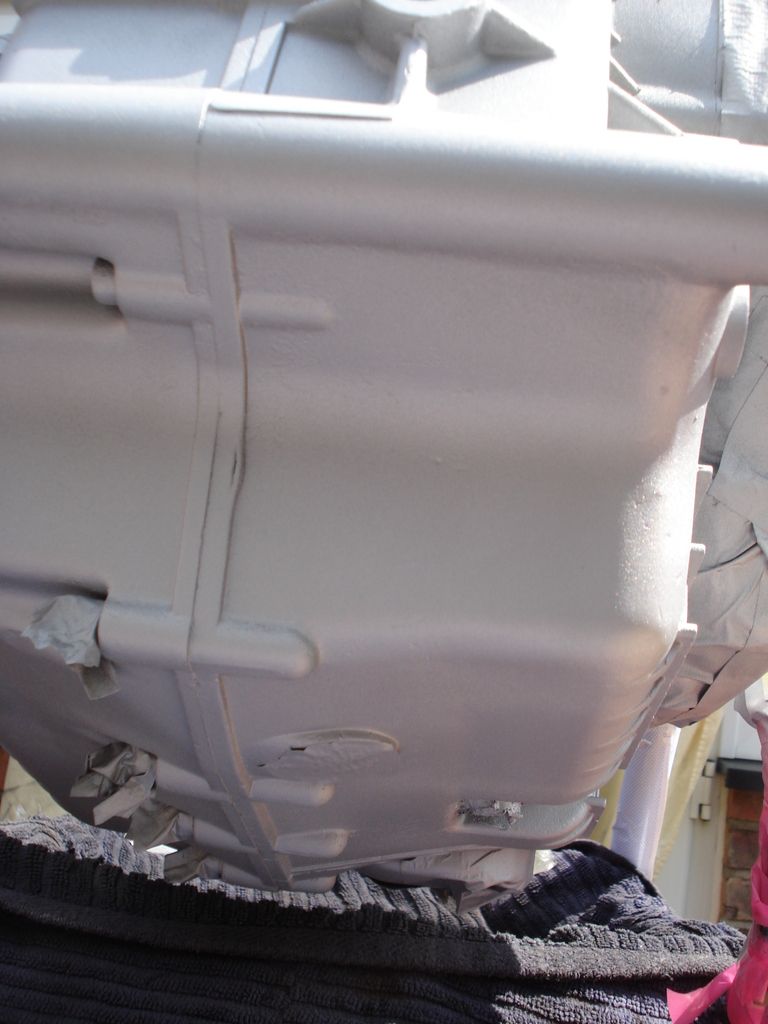
RH crankcase cover still HUnky Dorey...but a leaking clutch slave and over zealous cleaning one day saw the coating bight the dust...so it was LHS cover off and rub down and rub down and rub down....I would strip completely but Ive seen Ducatis sandcast covers before....often pockmarked once all the paint is off....
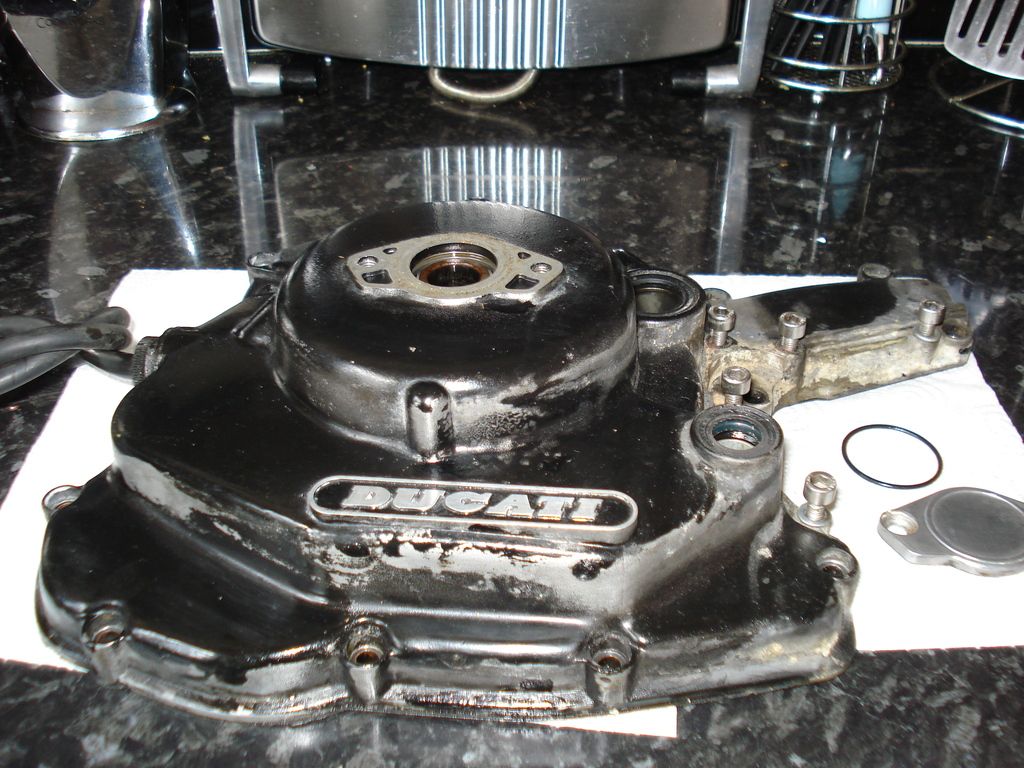
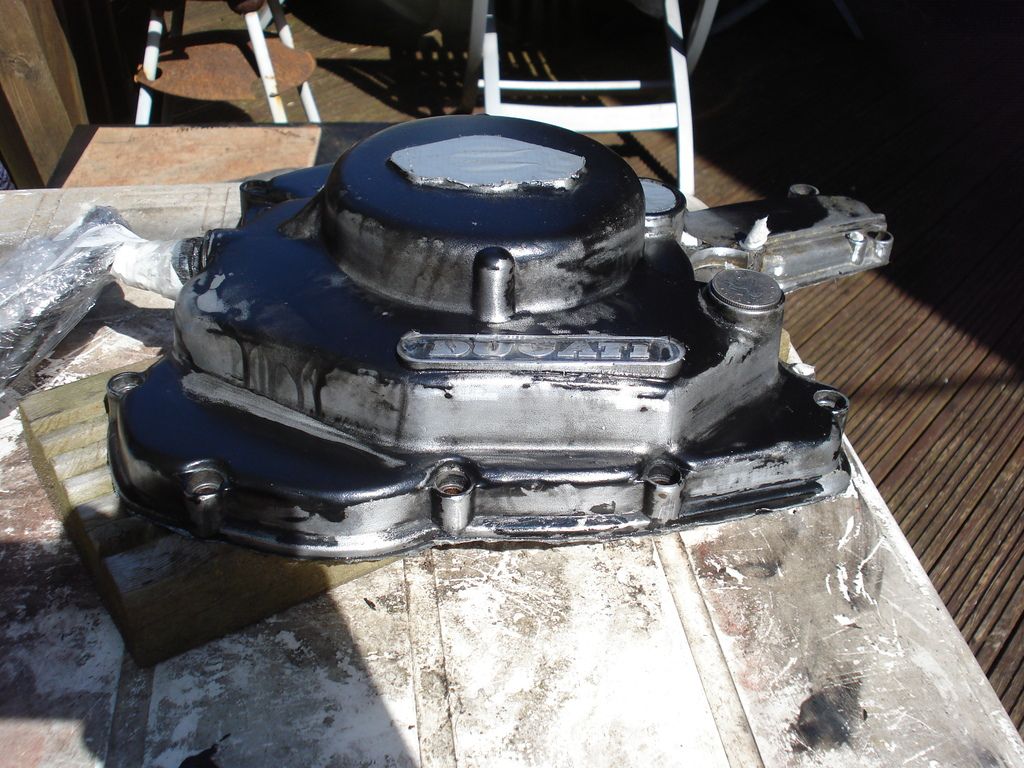
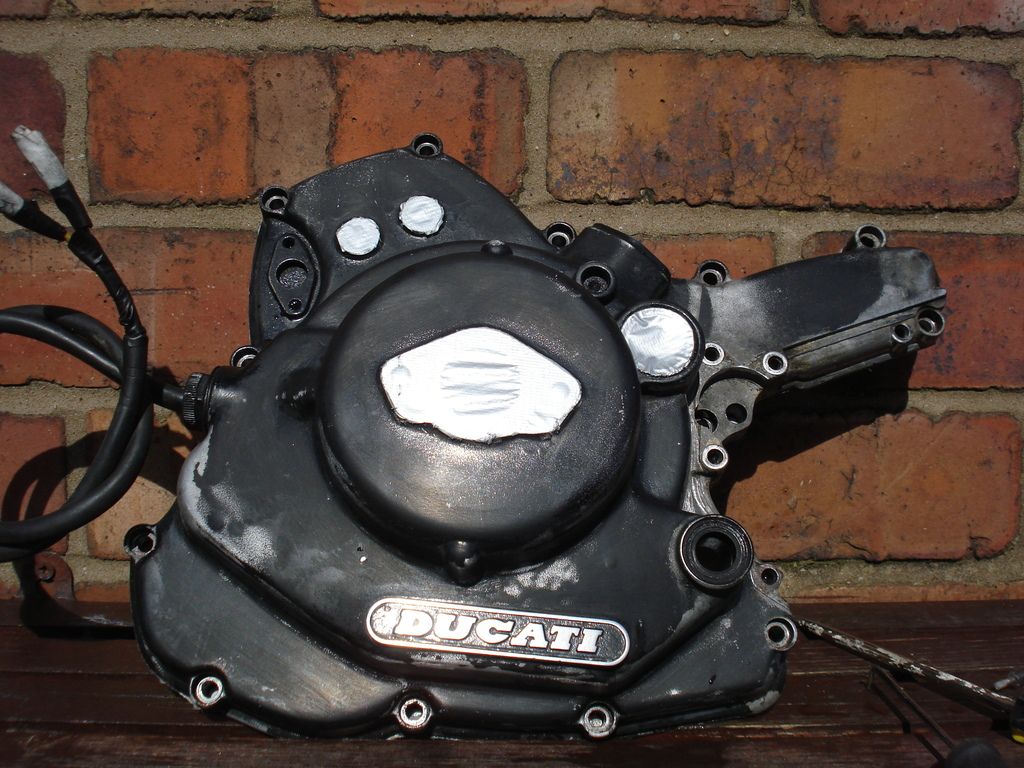
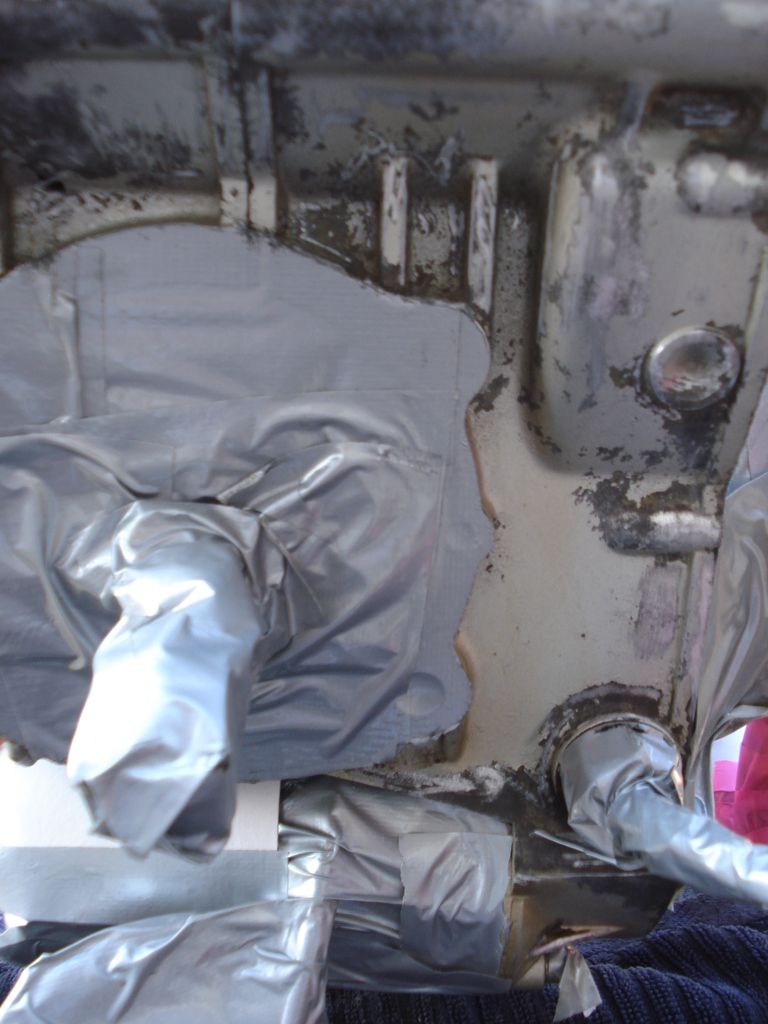
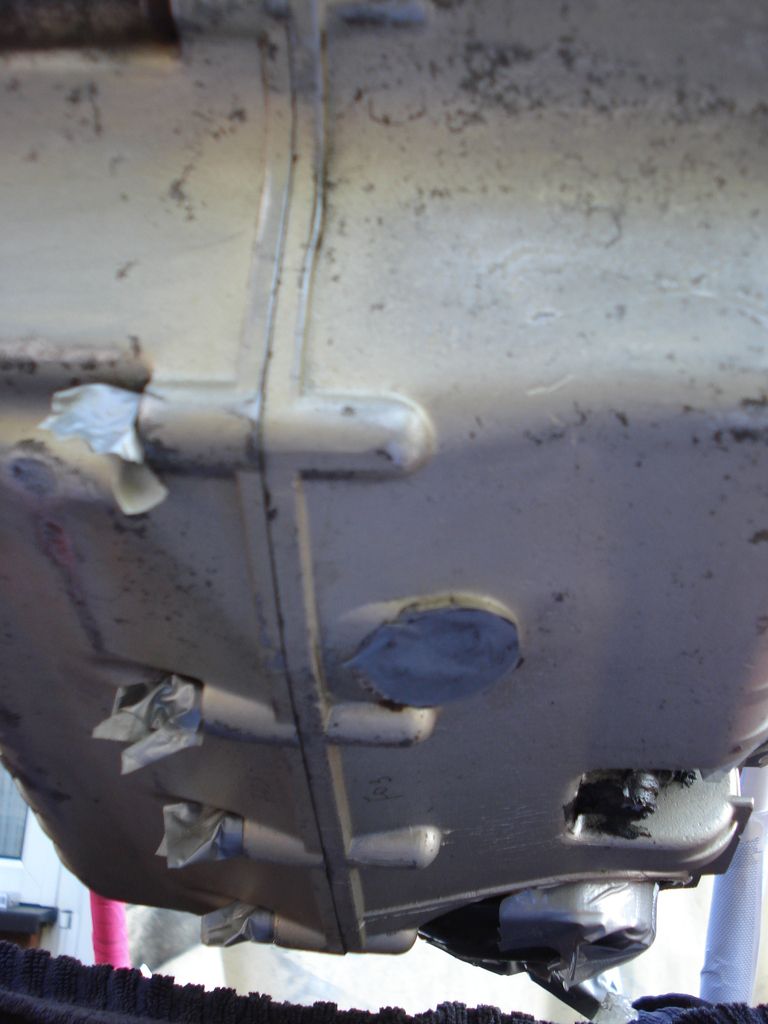
Various bits masked over...timing site window....Oil banjo head line holes.....and a few bolt holes for clutch slave and sprocket cover that dont go all the way through...so wanted to keep them clean...same with clutch pushrod....
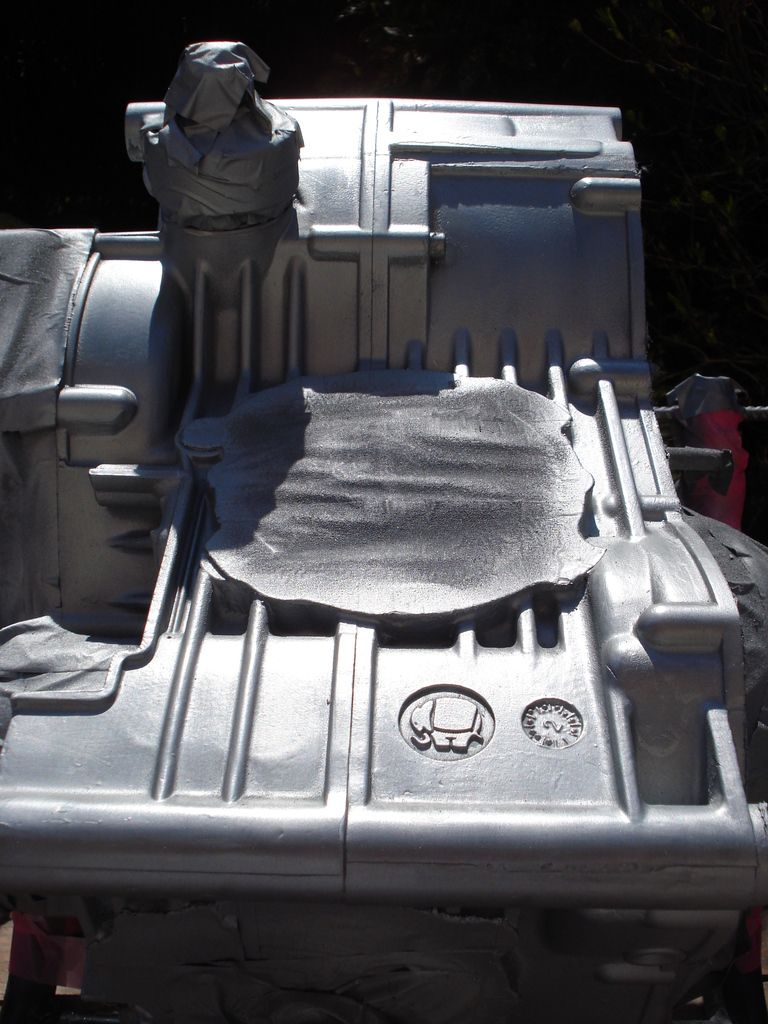
item was scoured, sanded, and cleaned and then "adhesion promoter" applied.....2-3 good coats...then 3-4 good coats of enamel spray paint...good weather and sun certainly speeds up the touch dry process between each coat....
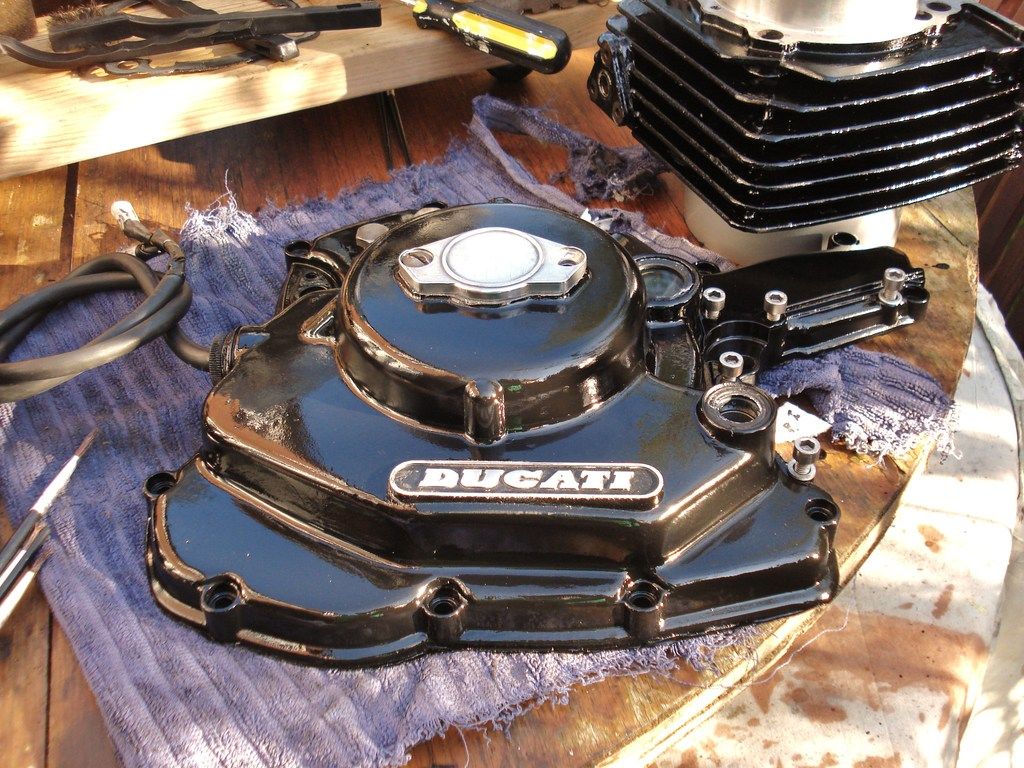
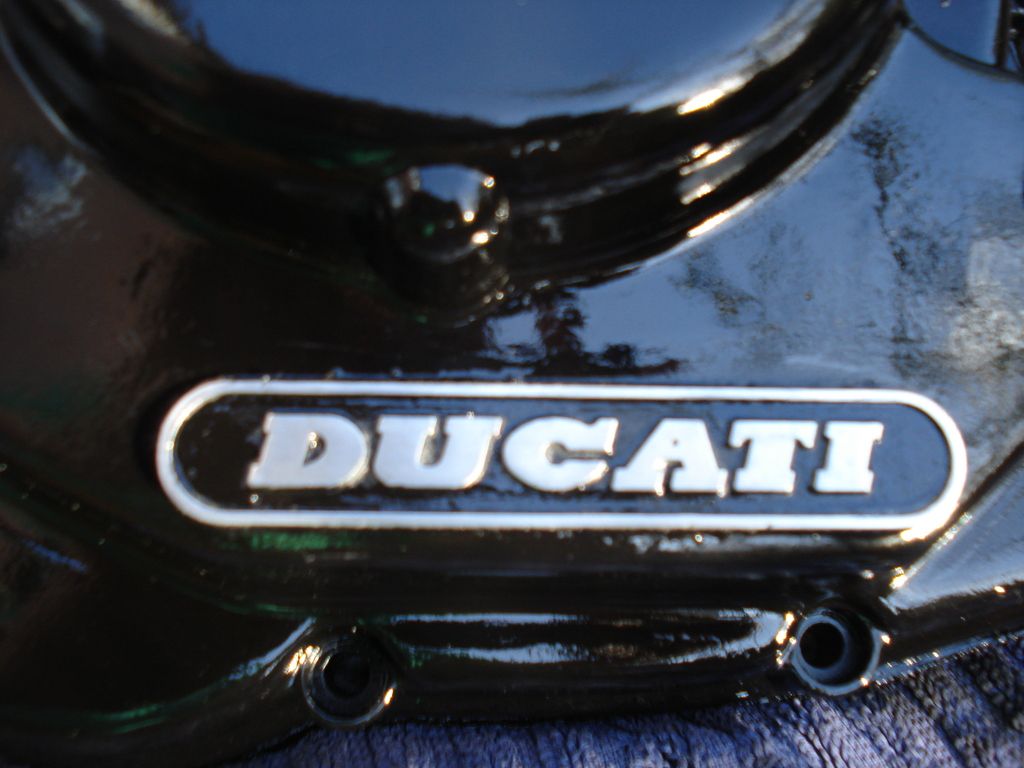
I'd previously wet and dried and wire wool brushed the Ducati logo down and then masked it off prior to painting....so it needed a little touch up with hand painted enamel between the border around the Ducati logo...steady hand and tiny tiny paintbrush needed....
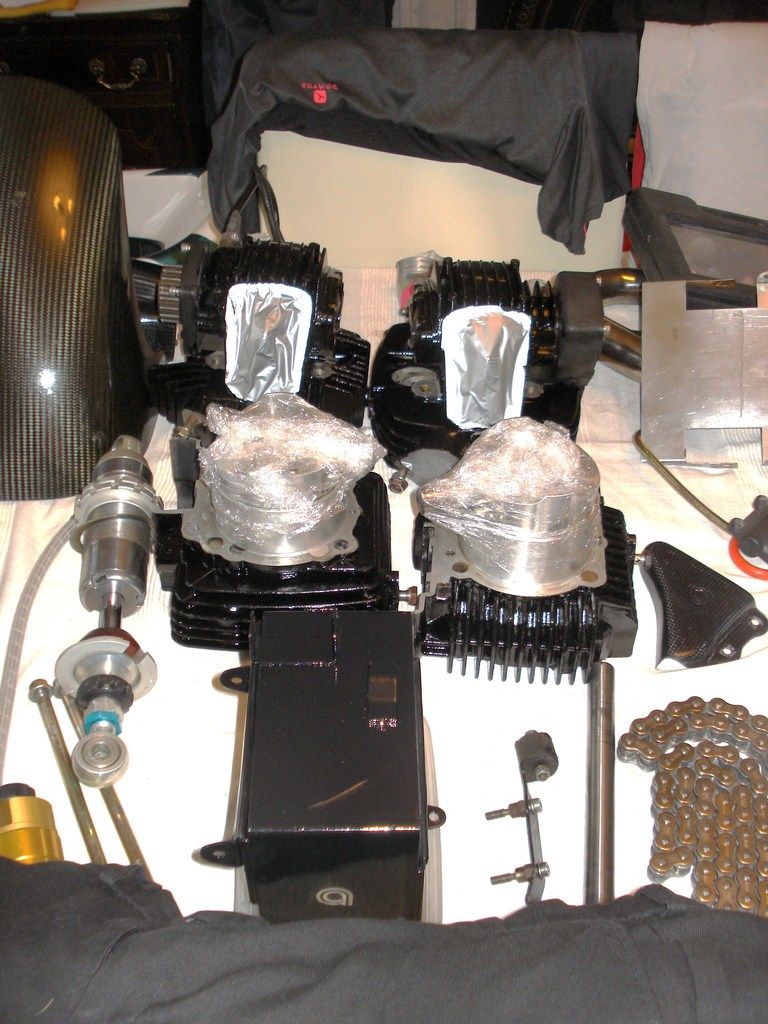
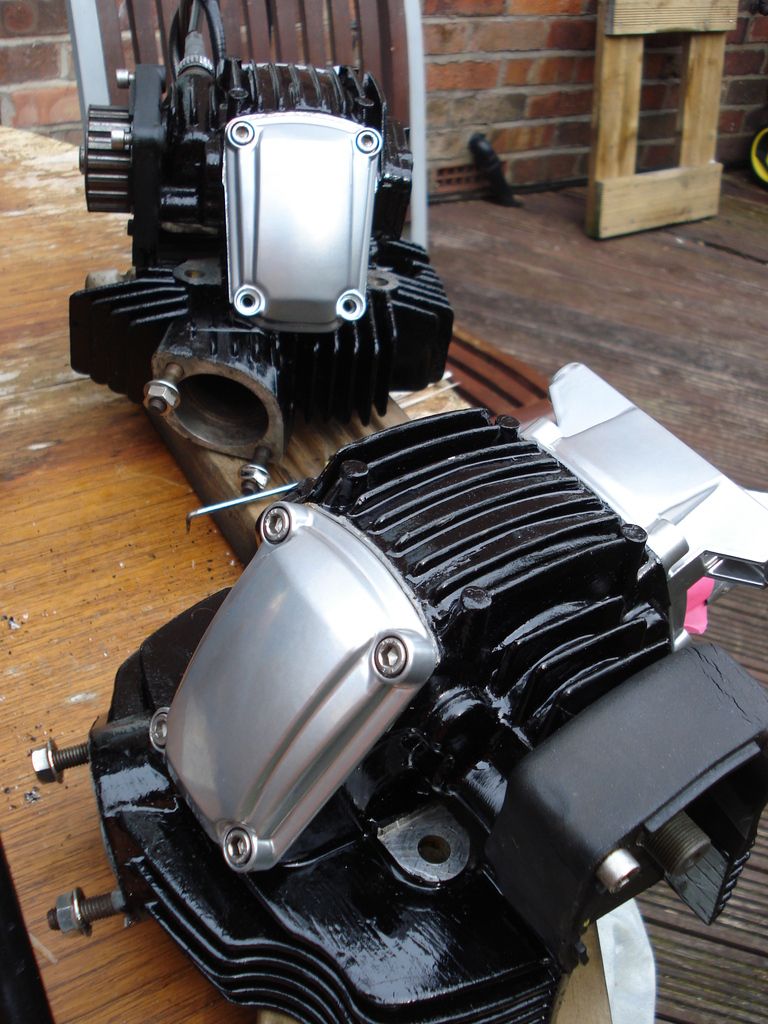
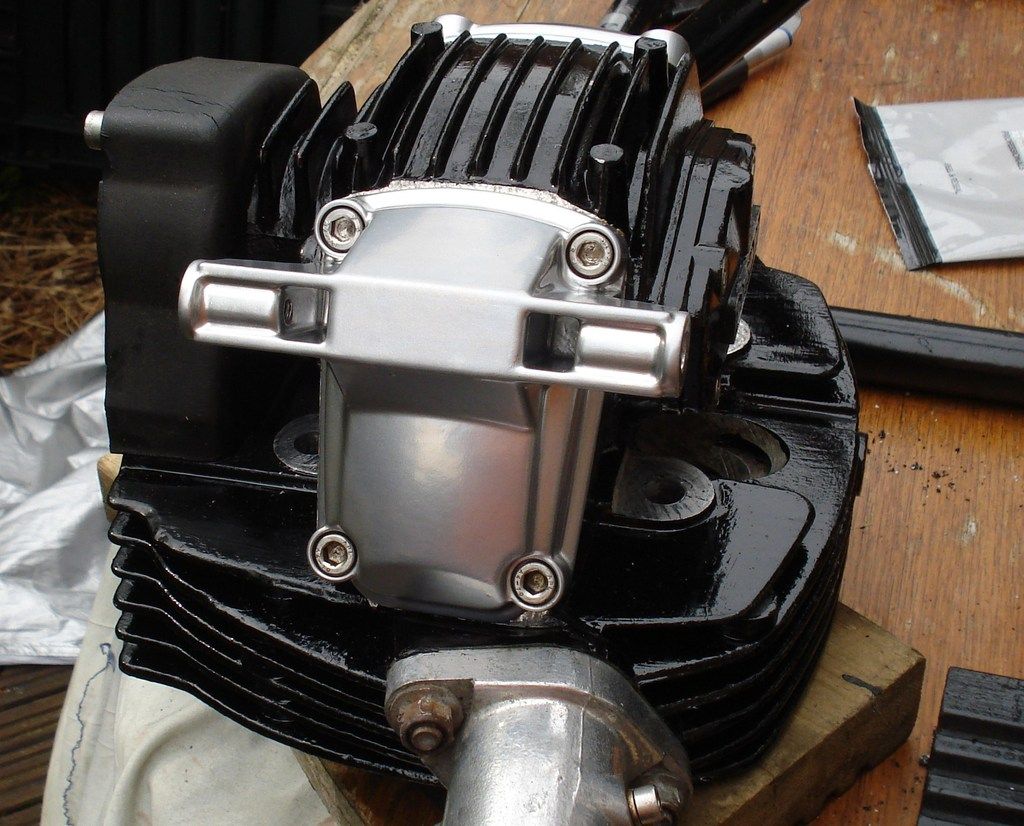
Next up were the heads and barrels that had been stripped off the main lump/gearbox/crank......Brush applied here as the fins are sandcast and even when I had a previous set ceramcoated I wasnt happy with the finish due to the base they had to start with....high temp exhaust/manifold paint used...
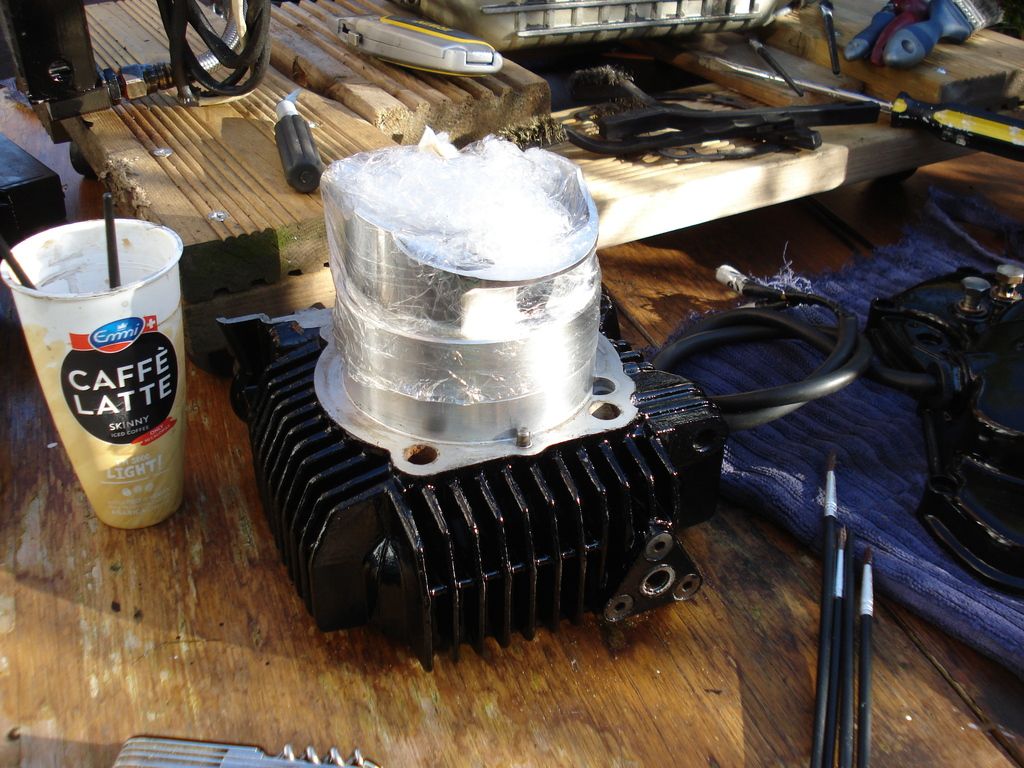
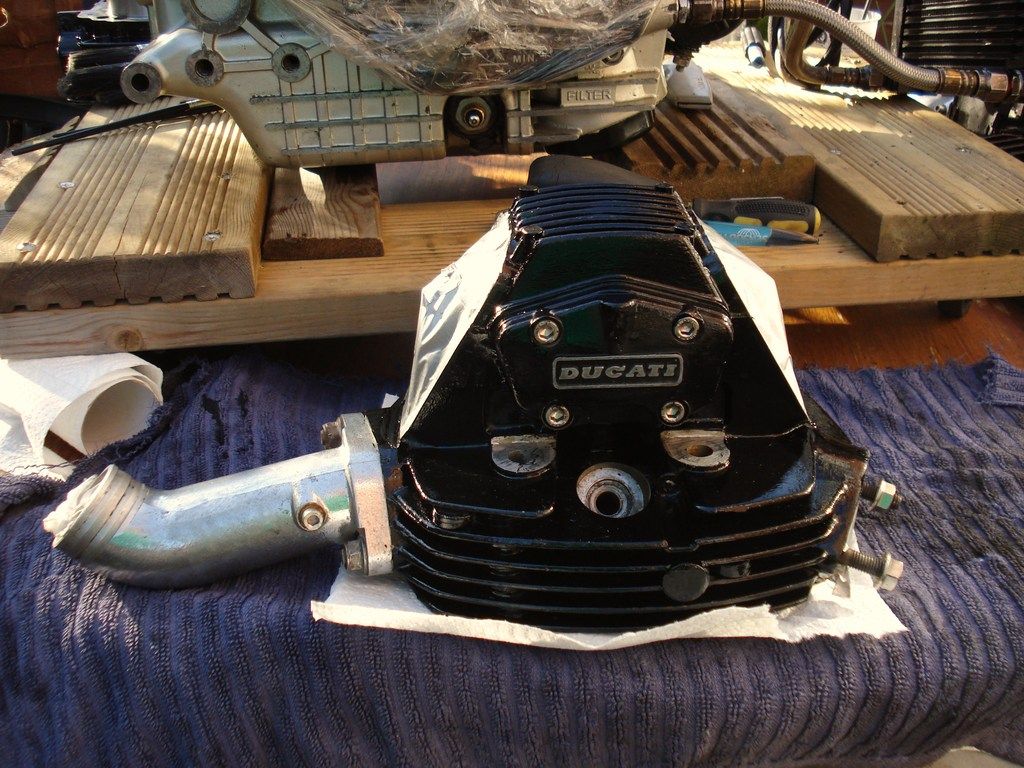
Items all done....
So after a couple of days outside in the sun...sort of dry (only really cure once under heat...or maybe bake in the oven????)
So its off to the clean room with them....they will sit on a shoe rack in front of the radiator...but may have to wait for a cold spell as the heatings not on at the moment...
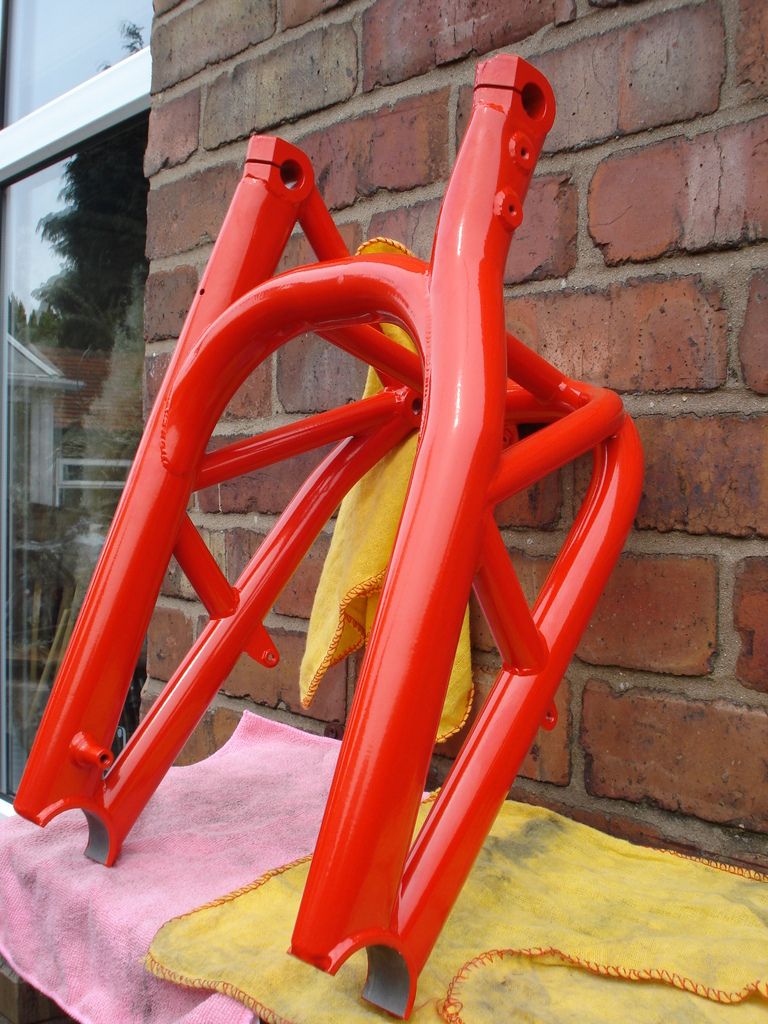
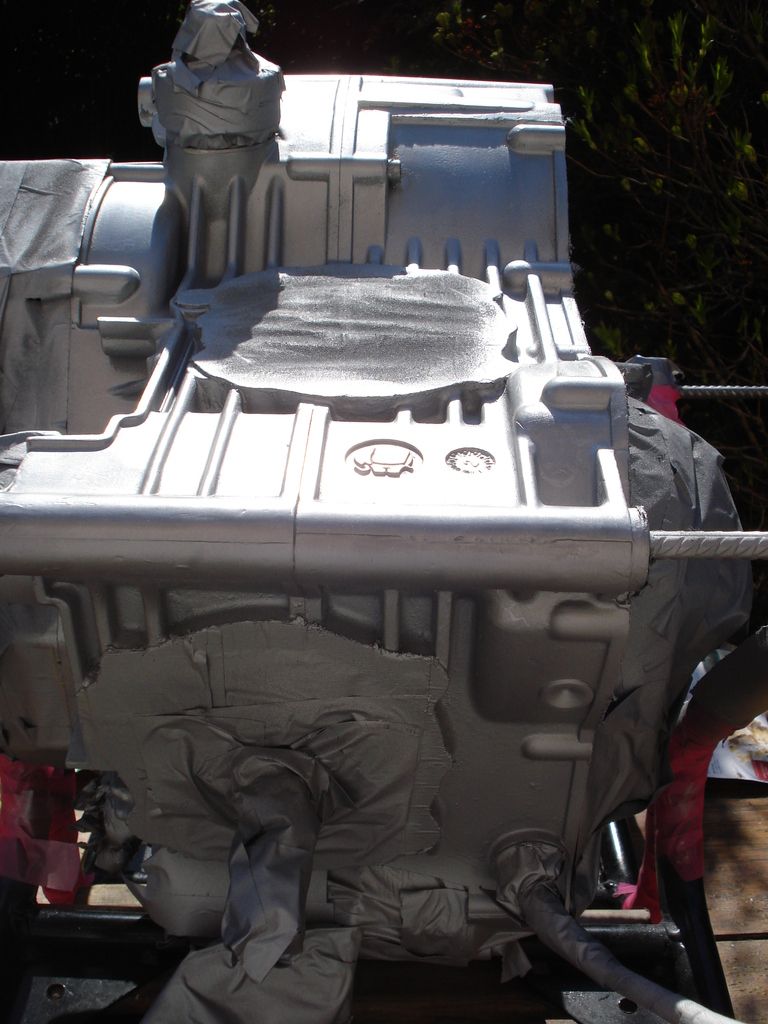
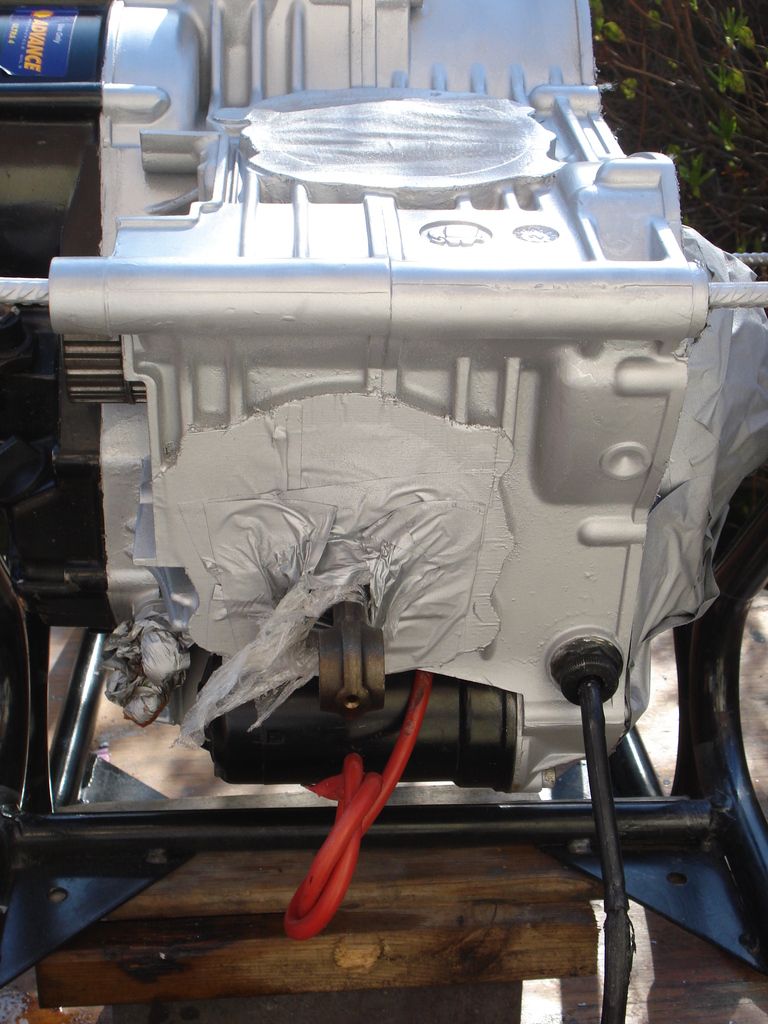
Tomorrows task is the main lump...which has been mini-dremelled, sanded and etched etc etc.....and I found a good use for having at least 2 bimota stands...as I was trying to figure out how to suspend the engine so I can spray underneath and all around without having to handle the unit....
Havent finished pain prep yet....whole thing still to be wet and dry sanded flat...suprisingly for a Ducati lump I'd say 90% of the original paint is still intact
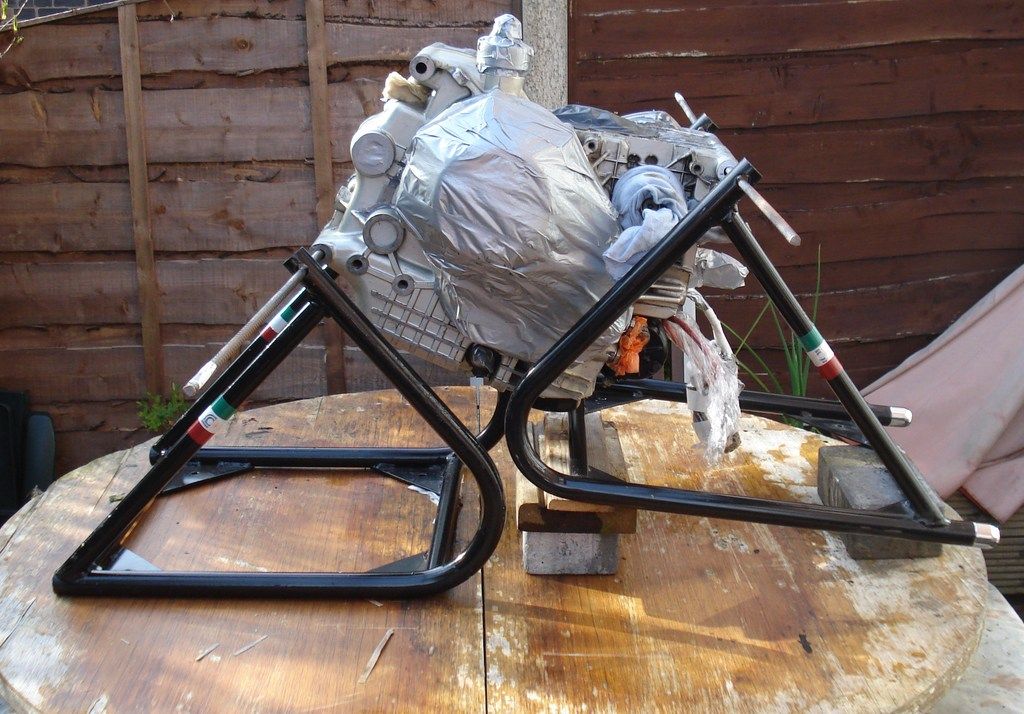
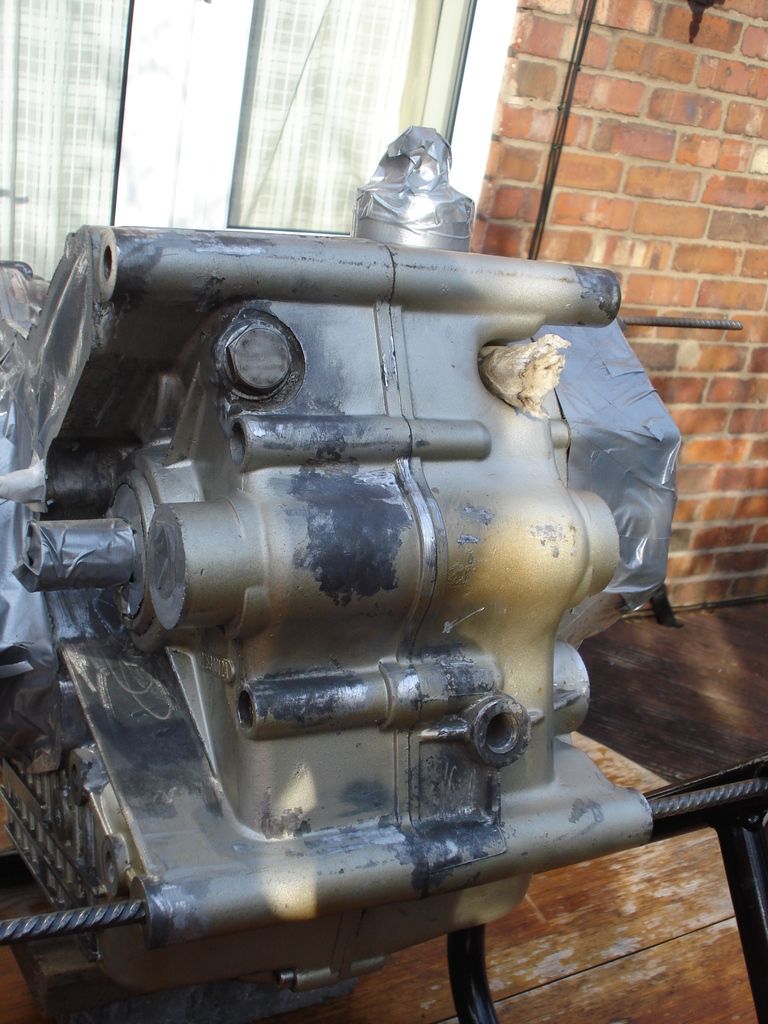
I've actually got this table top set up on a kind of Giant Lazy Ann/Suzy....so that I can rotate the table round for following the sun/changing wind direction...better light for assessing paint areas to be done etc etc
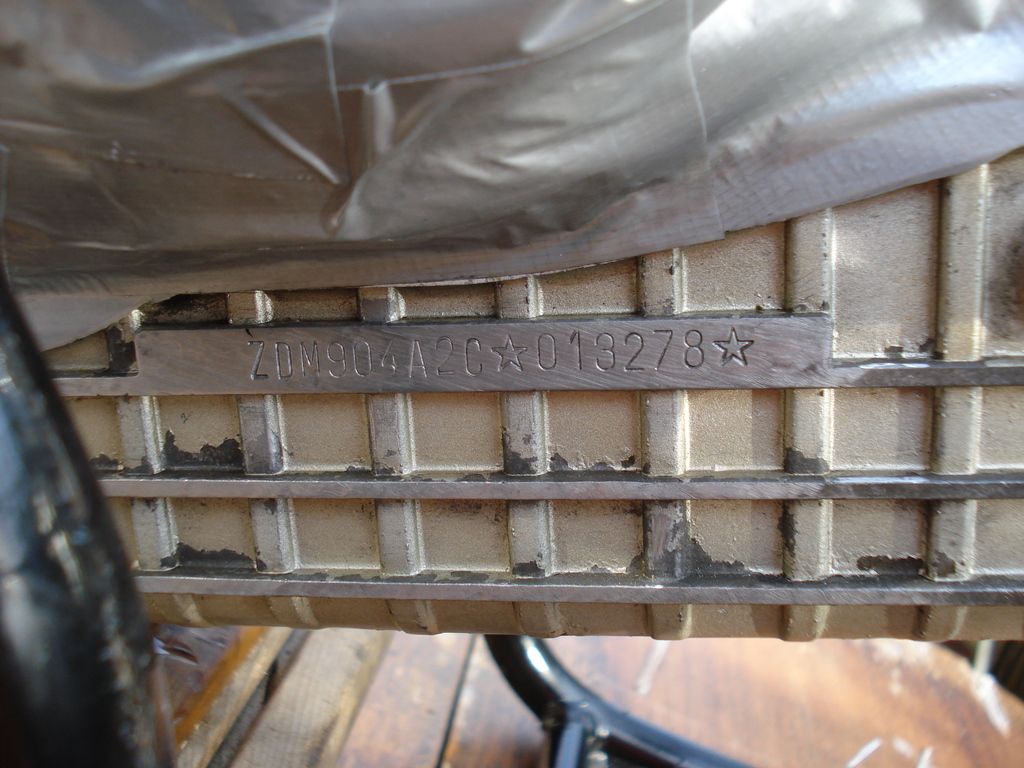
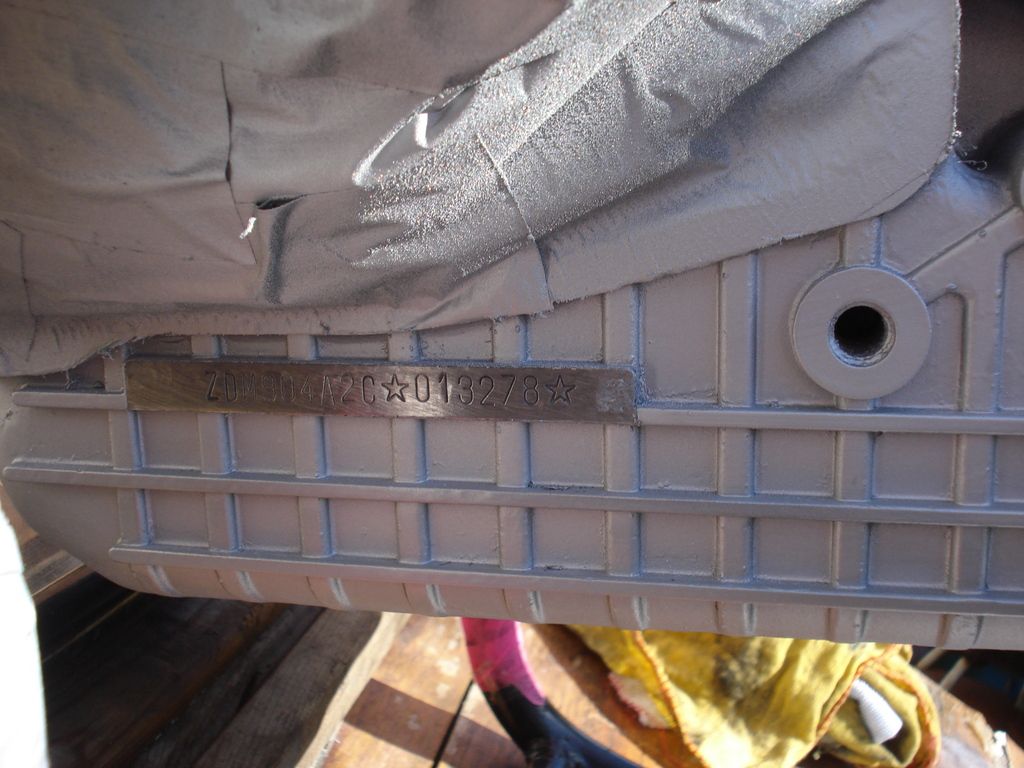
Engine NUmber will be wire woolled.....ploshed and masked off prior to spraying
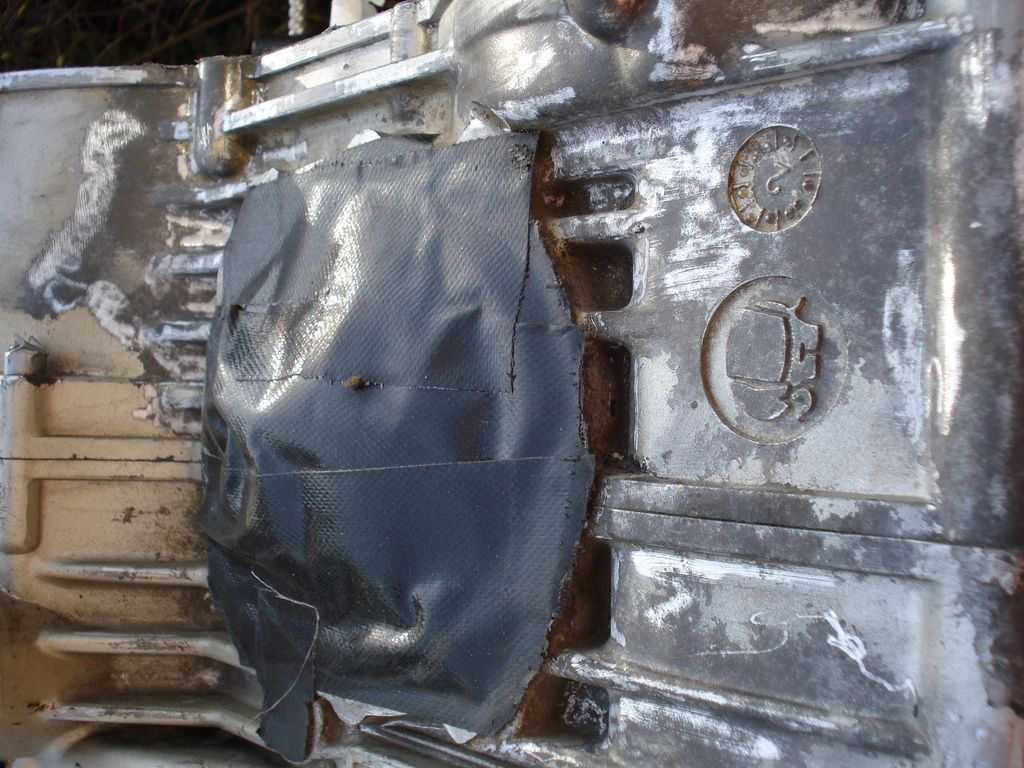
Mini Cagiva elephant....
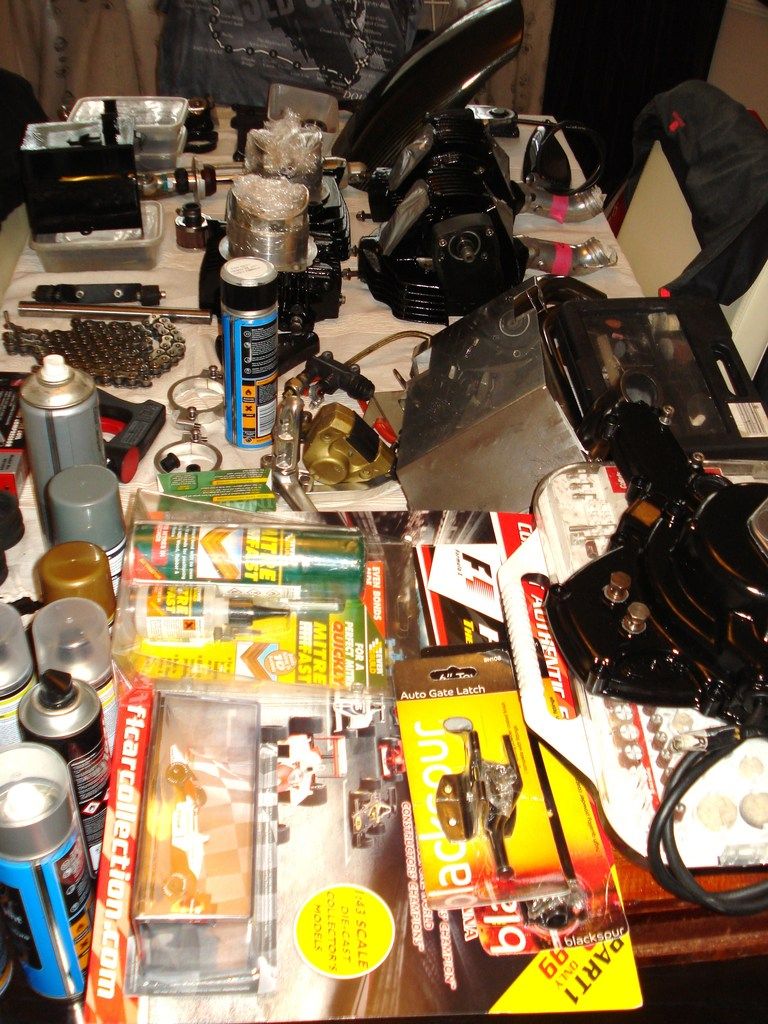
And to close some little trinkets of whats in the box???
Lightened balanced flywheel...
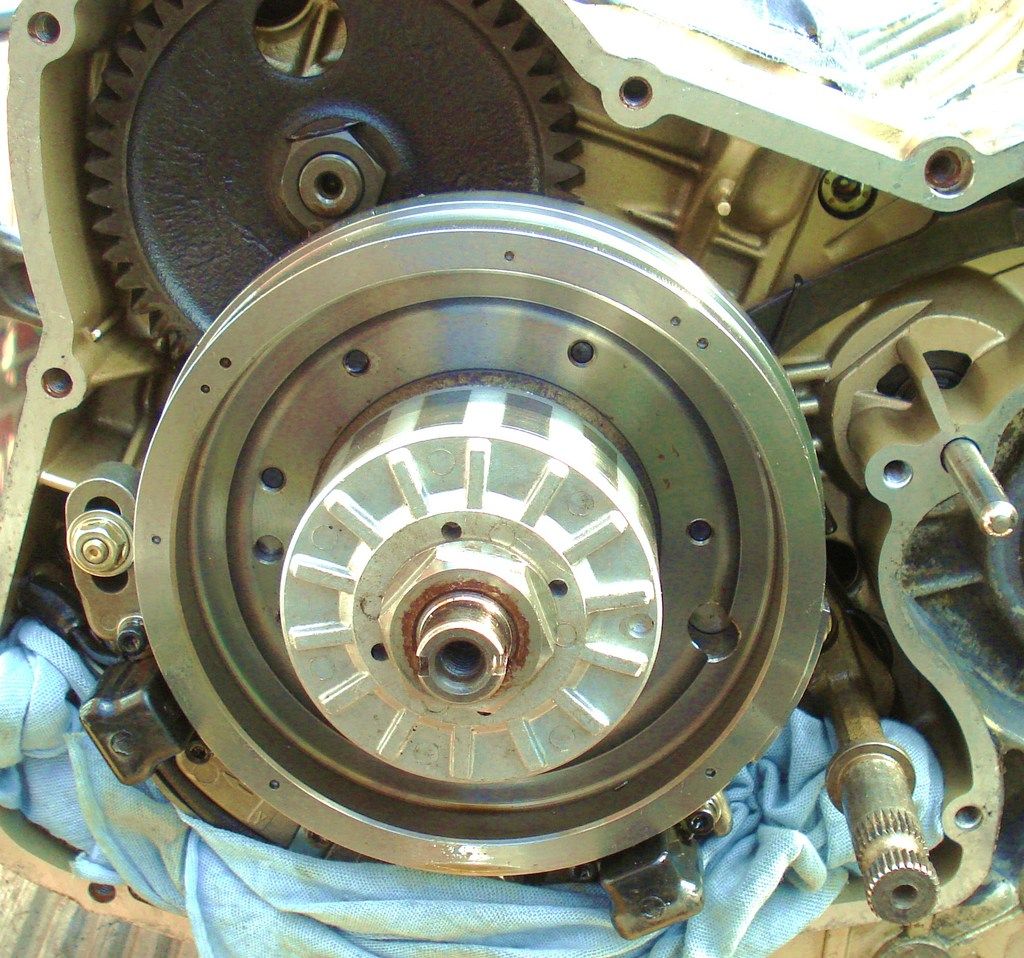
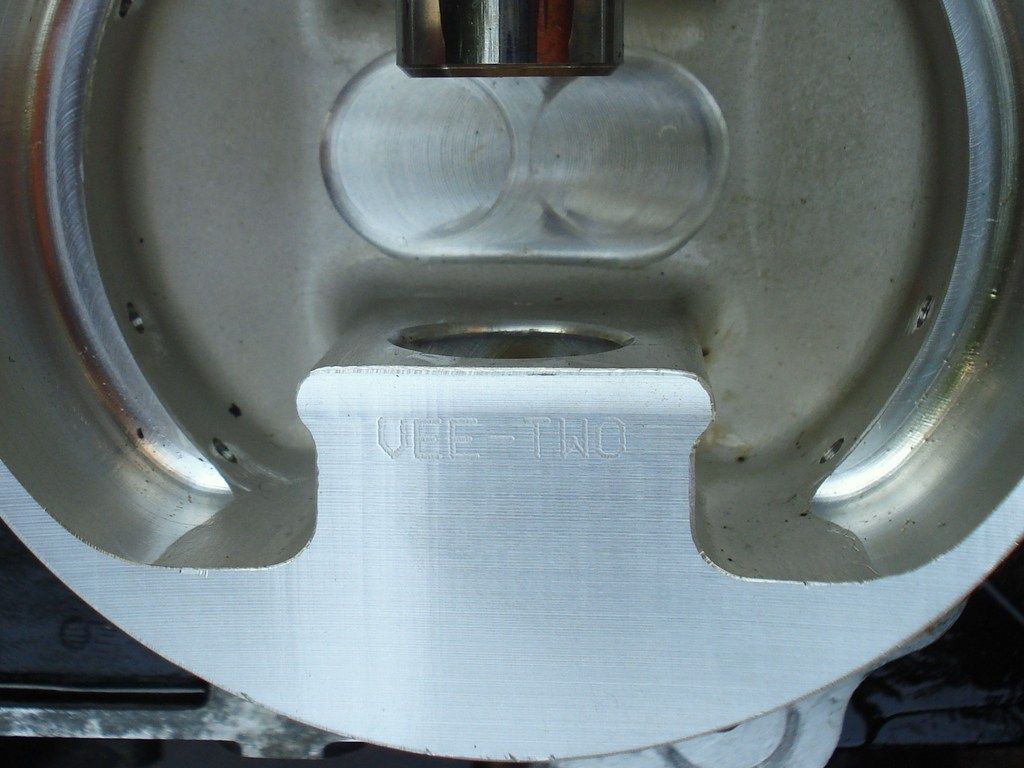
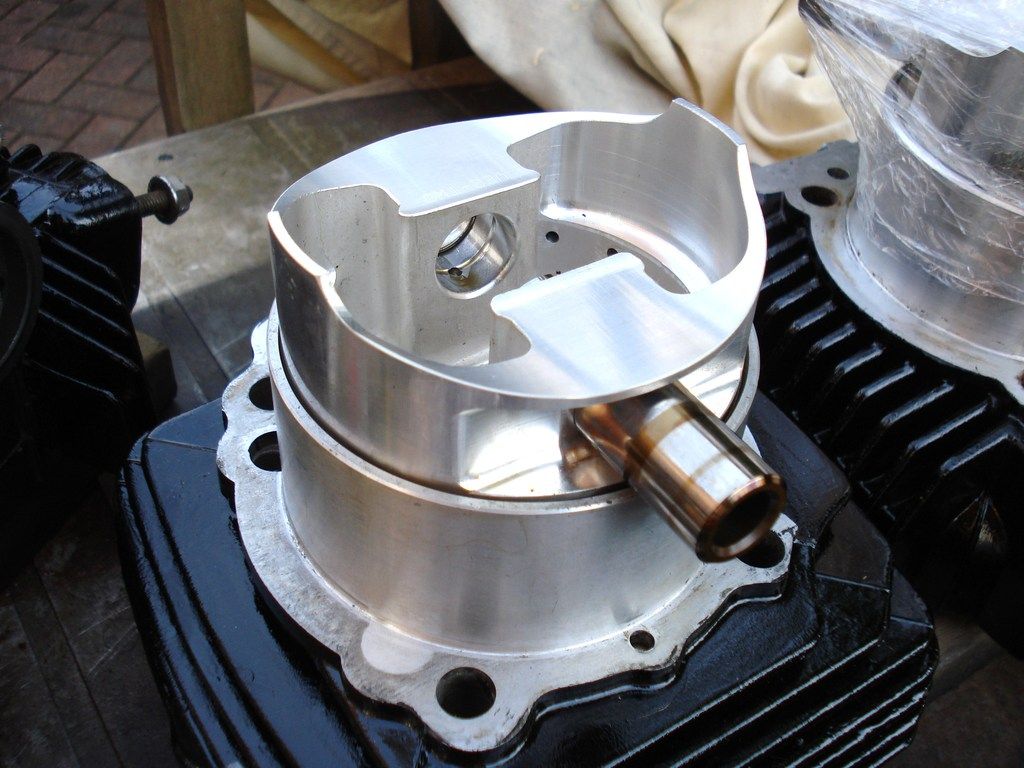
And...some lovely lovely big bore kit 944 VeeTwo honed from billet pistons....nice....
Snuff for now....If i post any more I get inundated with responses and questions/comments...cough cough......so I may drag the next few installments out....Tomorrow is a nice drive up to pick up 12 parts from the powdercoaters that are now ready...so might not sleep tonight....prescious Bimota parts in an old factory keeping company with garden gates and rusty patio chairs and tables....makes me shudder....
And off to the "bolt man" also...who swears that his prices are cheaper buying from the shop than ebay as he takes off postage and ebay fees...lets see.....Was at my uncles today and he phoned Tayna batteries in Wales for a new leisure battery for his caravan.....they quoted 79squid plus 11gbp for postage....hey up he said...I was previously quoted 79 delivered.....Any discount for me using you again? No the woman said...But if you "like us" on facebook you get a 2.5% discount code...."well...I like you" said my uncle....but at 78 years of age apparently that wasnt enough....
So..I went on my mobile phone onto ebay...found the self same battery...free delivery...4 year guaranteee...all in for 53gbp...delivered nxt day ...and where was this battery coming from??? Yup...tayna batteries in Wales...the self same company...I feel for old folk that cant/wont use computers....they just get ripped off ..... |
|
| Back to top |
|
 |
vort28
Joined: 22 Mar 2010
Posts: 2194
Location: Northwest , UK
|
| Posted: Fri May 06, 2016 10:39 am Post subject: |
|
|
Have Ducati Manchester found anything when they stripped motor ?
All the goodies you expected in there ? What cam's has it got ? |
|
| Back to top |
|
|
2bims
Joined: 03 Apr 2010
Posts: 7289
|
| Posted: Fri May 06, 2016 11:46 am Post subject: |
|
|
| You not read the thread?....Lightened Balanced flywheel.....gas flowed and ported head...VeeTwo billet 944cc pistons....original cylinders milled out to accommodate...VeeTwo cams also....and on t'other side its Billet clutch basket and Barnett Billet clutch pack....Oh...did I mention Carillo titanium Crank rods??? |
|
| Back to top |
|
|
vort28
Joined: 22 Mar 2010
Posts: 2194
Location: Northwest , UK
|
| Posted: Fri May 06, 2016 12:15 pm Post subject: |
|
|
Yes , read the thread, you took it apart, took frame to powder coat people, told Brian the engine was off to Ducati manchester, sprayed a few things and showed us the lightened flywheel and pistons.
Thought it was a polite and simple enough question as you clearly have the engine back from DM in piece's for you to spray .Also thought it a good led into whether Ducati Manchester found anything other than the broke head bolt and the blown gasket , and for you to enlighten us on all the bits you thought in the motor and whether they were actually in it .
However , clearly not. |
|
| Back to top |
|
|
2bims
Joined: 03 Apr 2010
Posts: 7289
|
| Posted: Fri May 06, 2016 4:48 pm Post subject: |
|
|
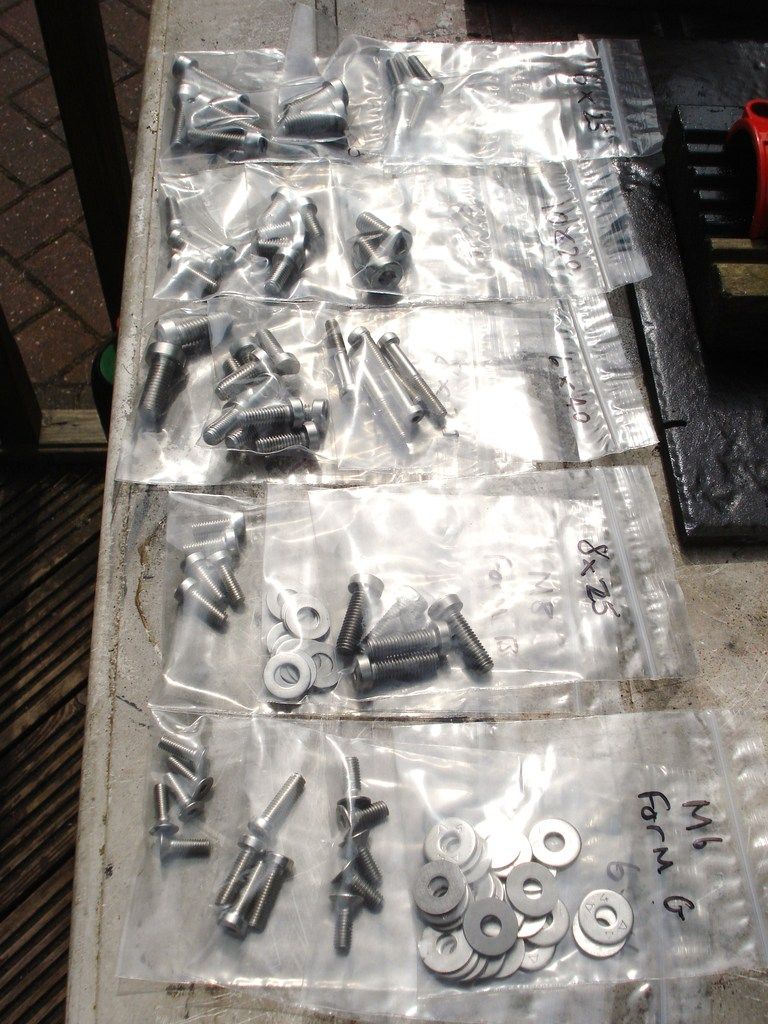
Just a quick download dump....twas pick up bolts and nervous collection of powder coated parts from a new company that I've not used before........
Powder coaters....
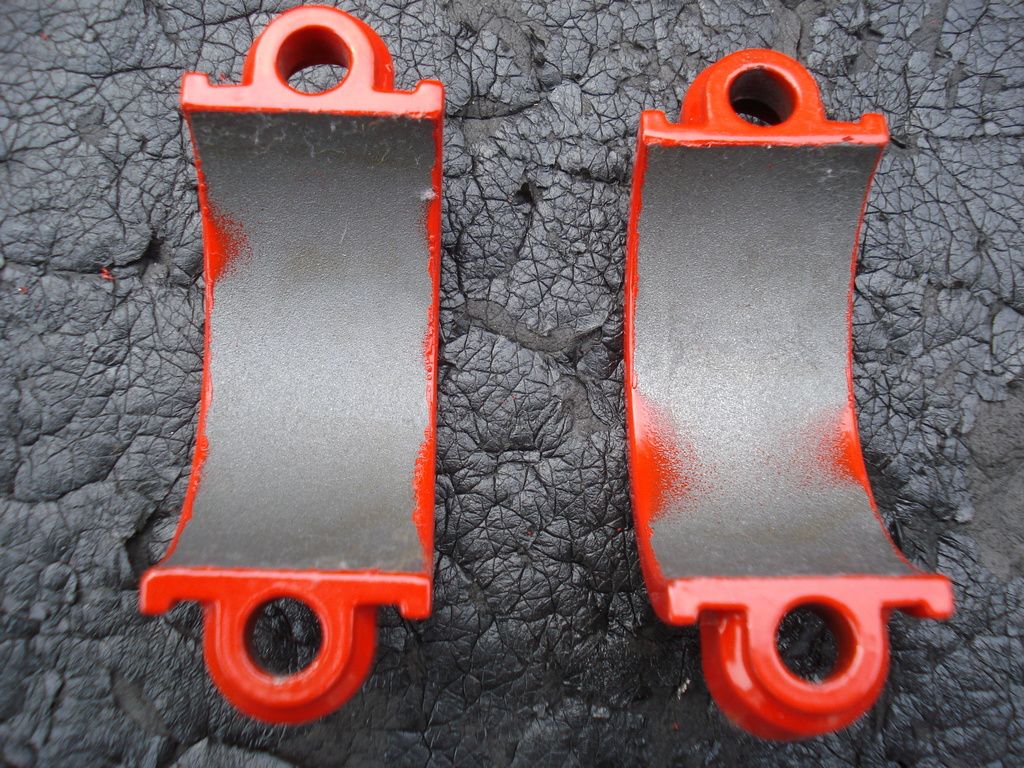
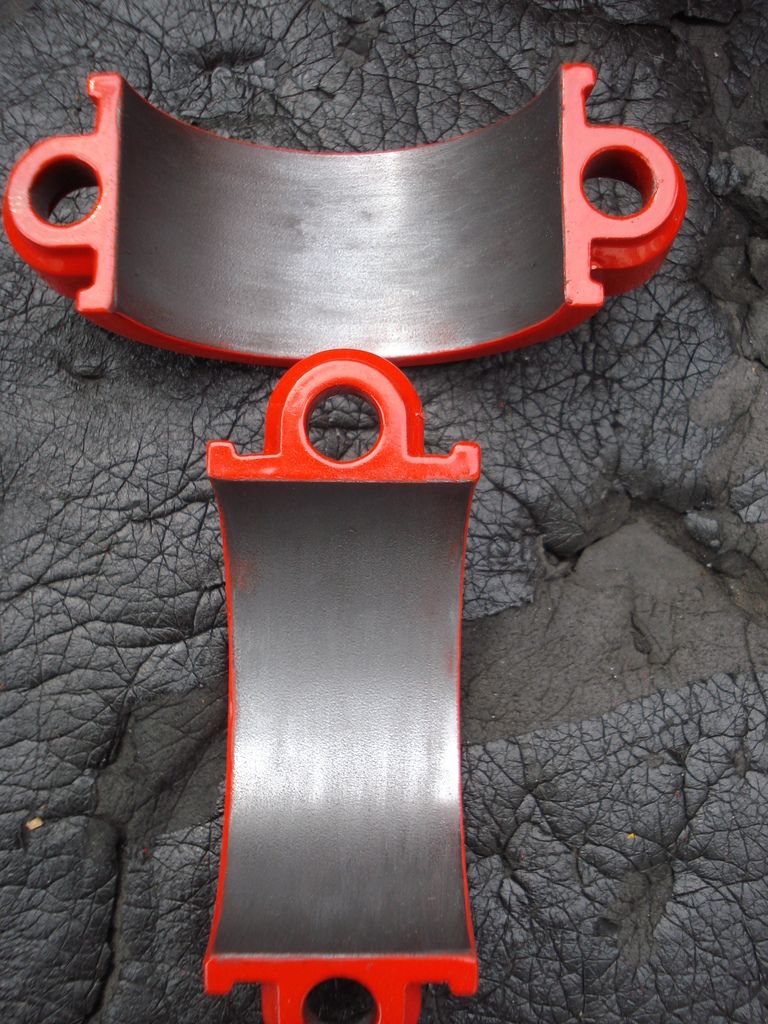
Half moon collats for rear wheel...happy to see the little bimota "b" logo and word back again....masked off on other side also so that side was kept clean..

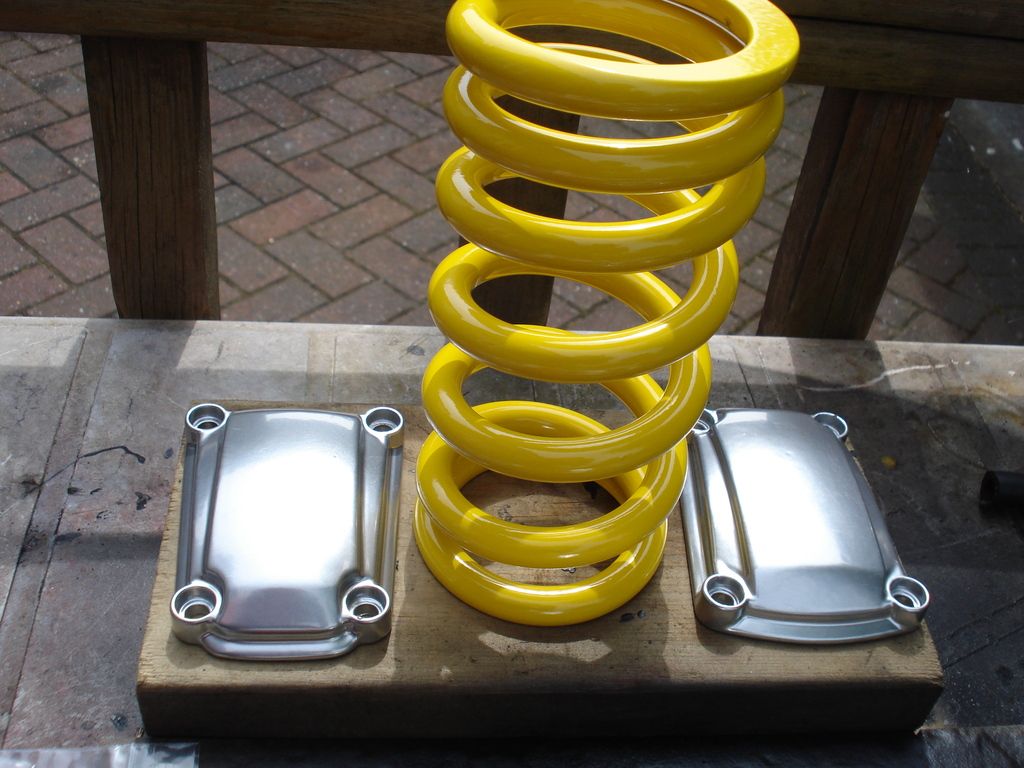
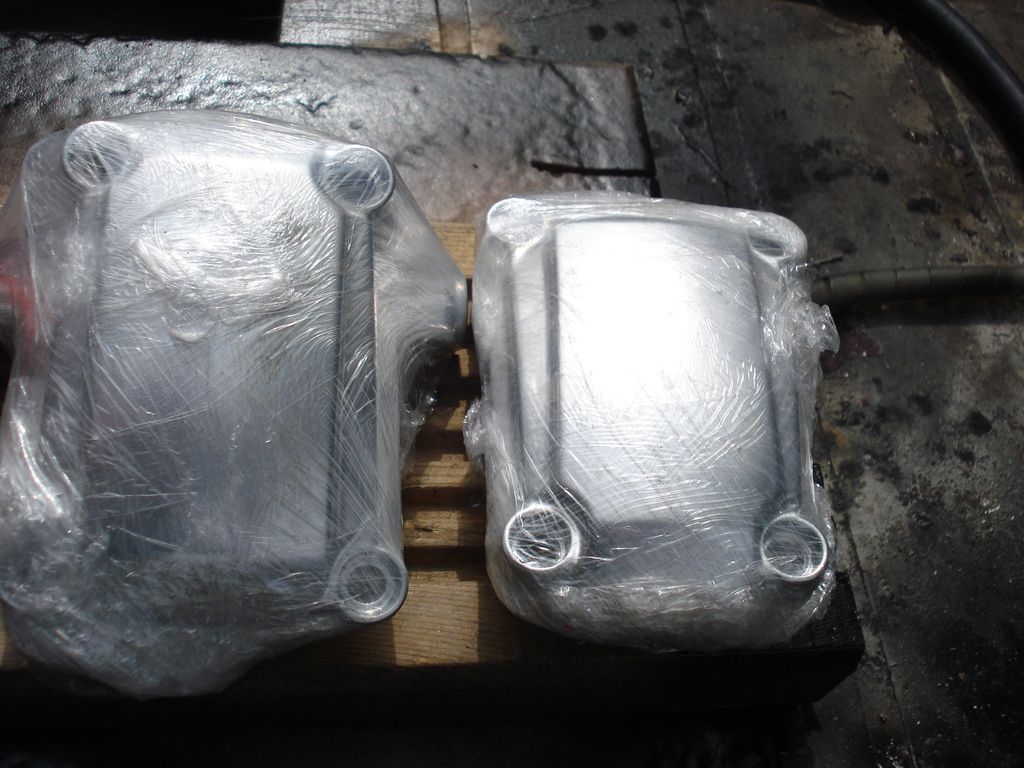
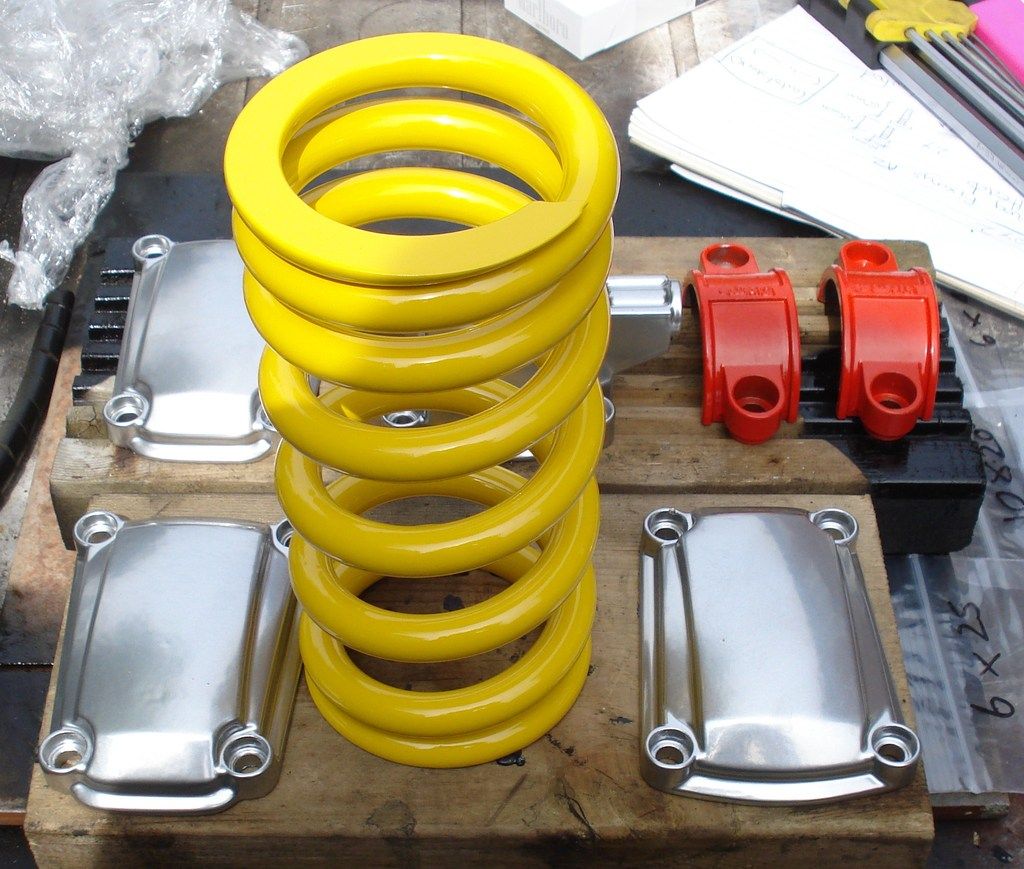
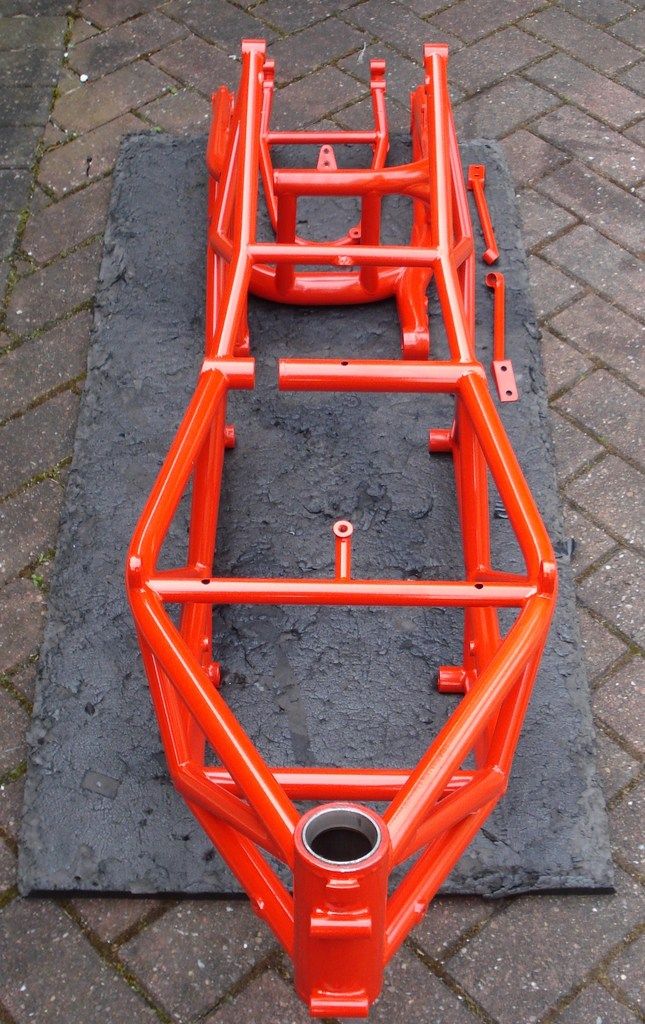
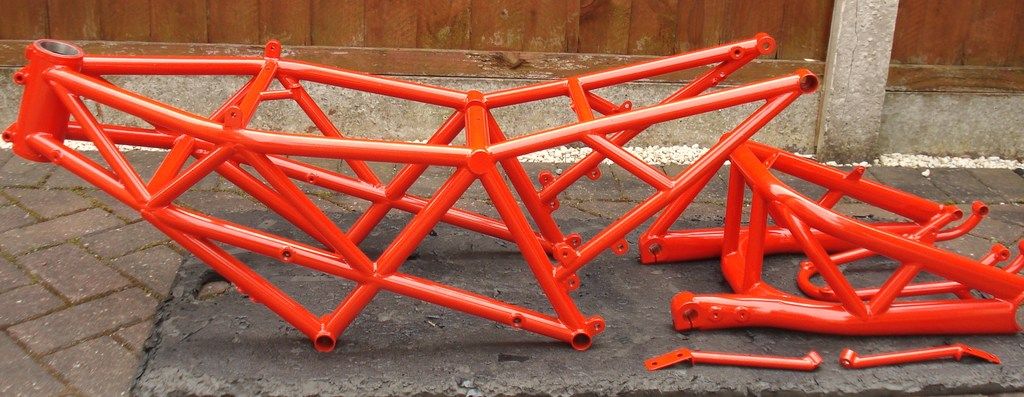
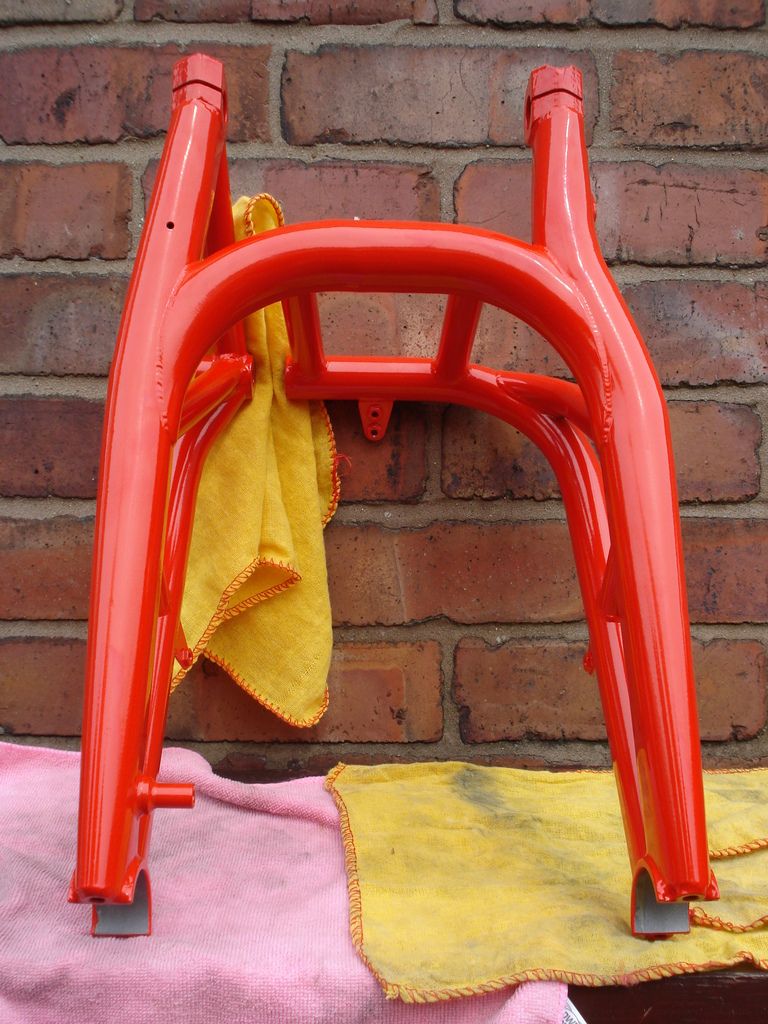
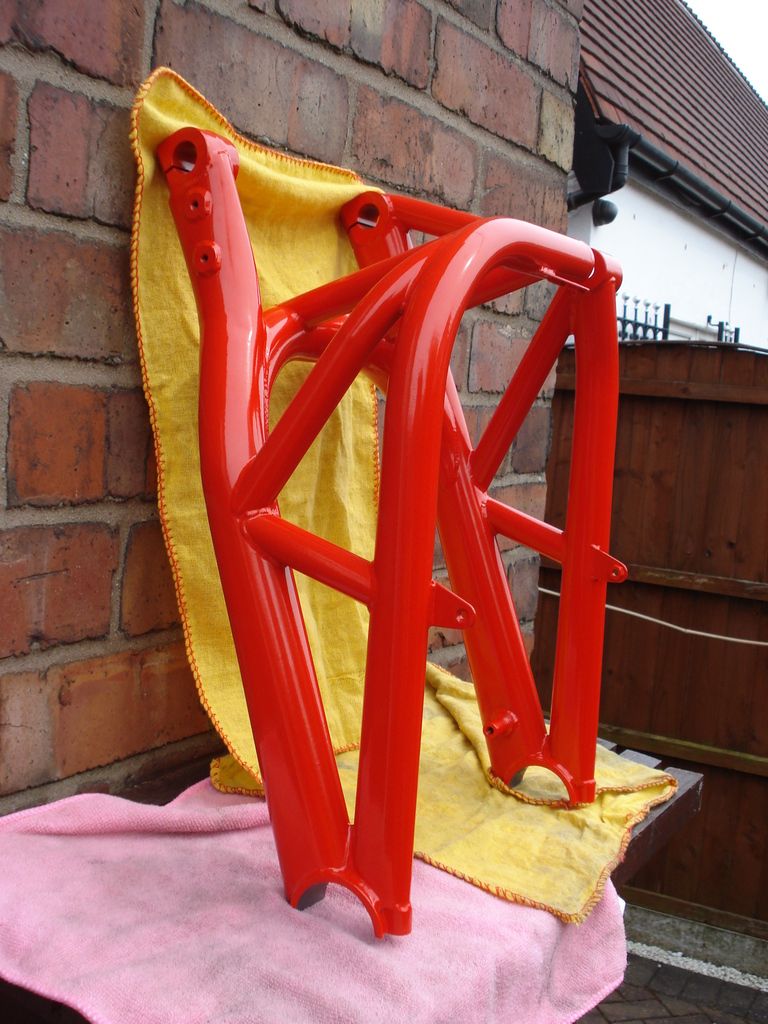
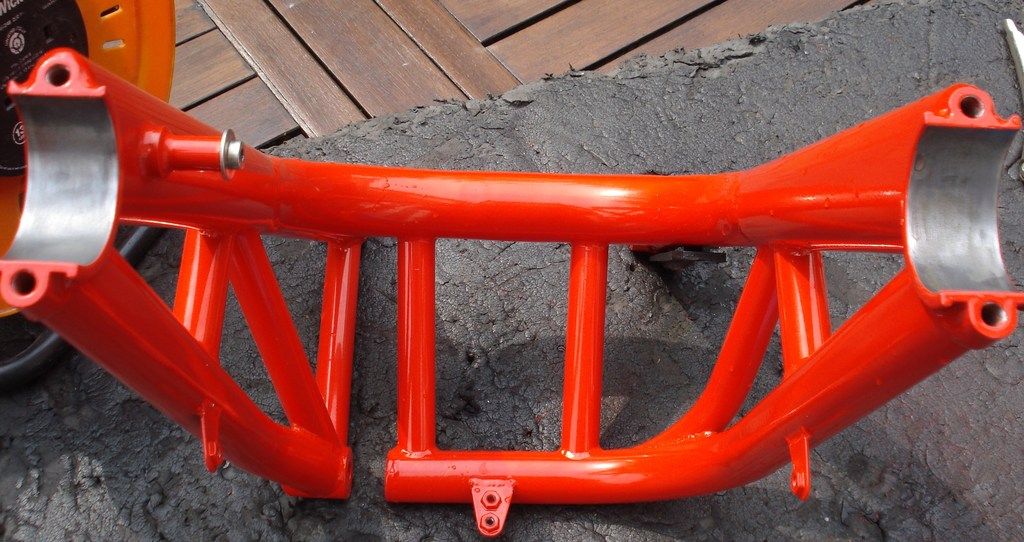
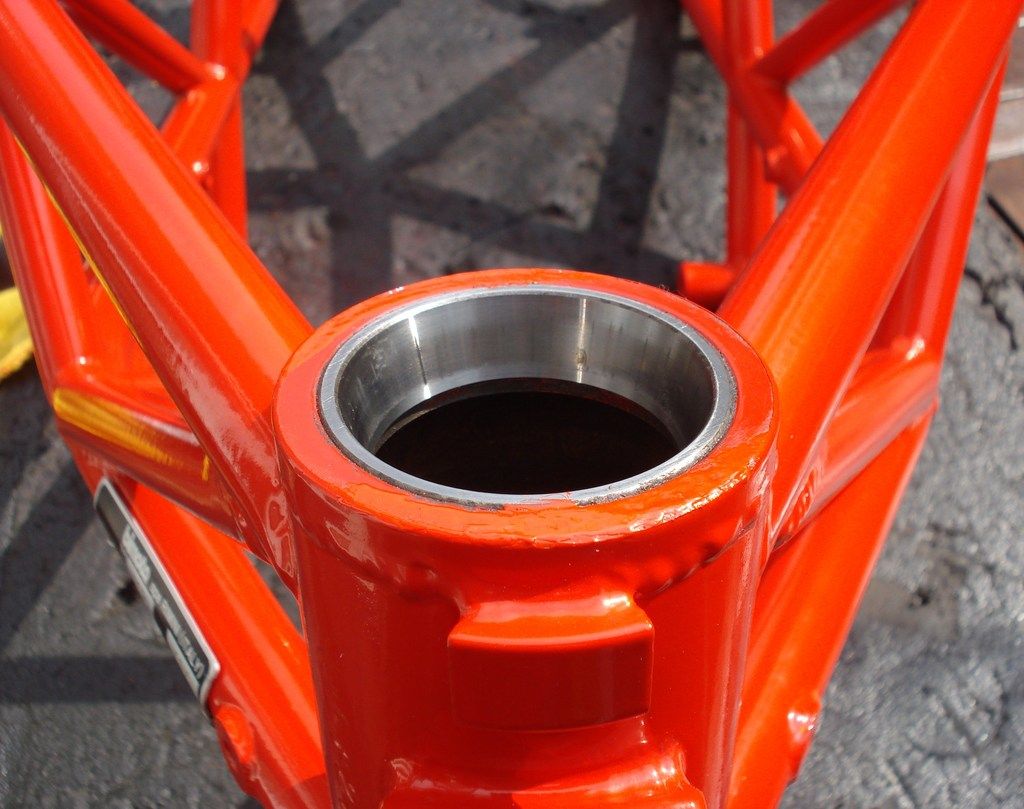
rear spring and Valve covers x4.....everything was wrapped for protection but I asked for frame to kept unwrapped prior to collection so I could check masked off areas had been kept so....threaded holes kept plugged and clean etc etc....was very happy with the results...frame Ral number was 3020...shock yellow was 1023....silver valve covers was a special they had without flakes...
Oops...still wrapped...
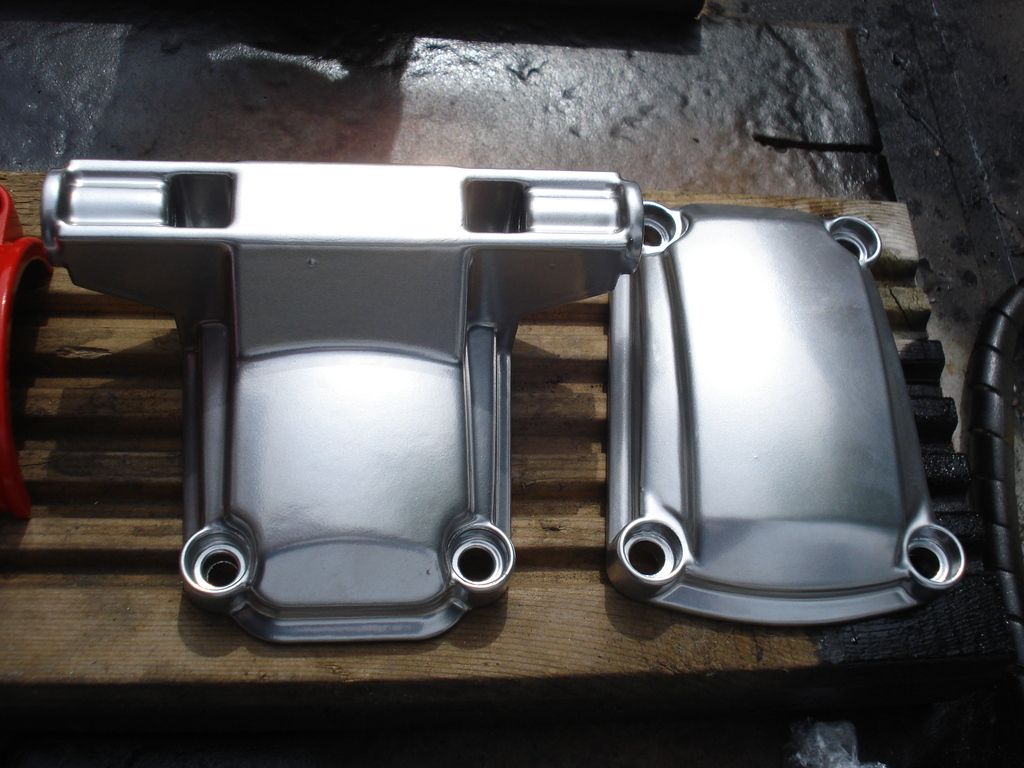
Thats better...
Battery box mount valve cover
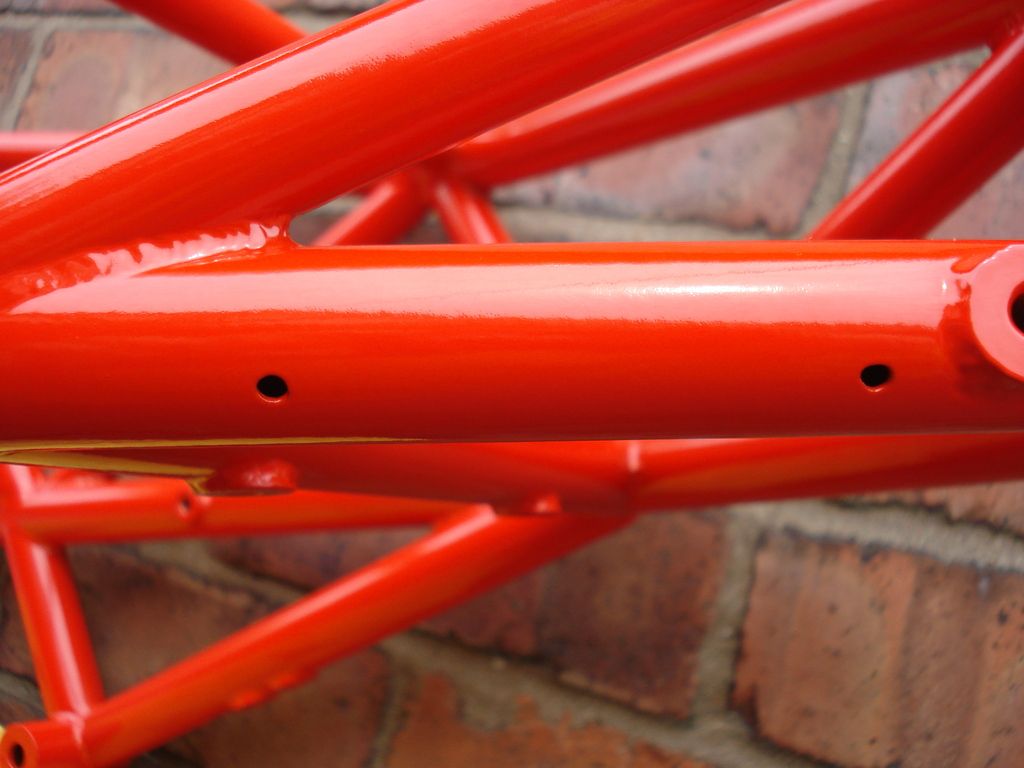
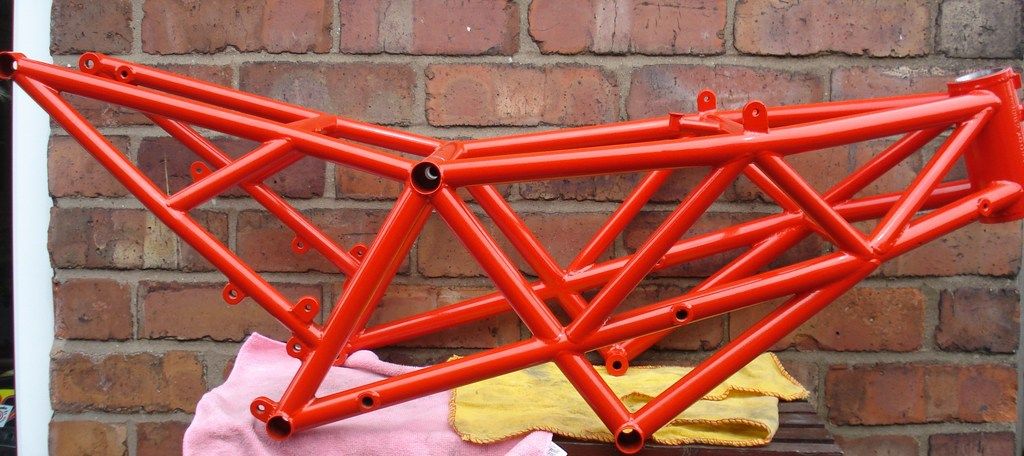
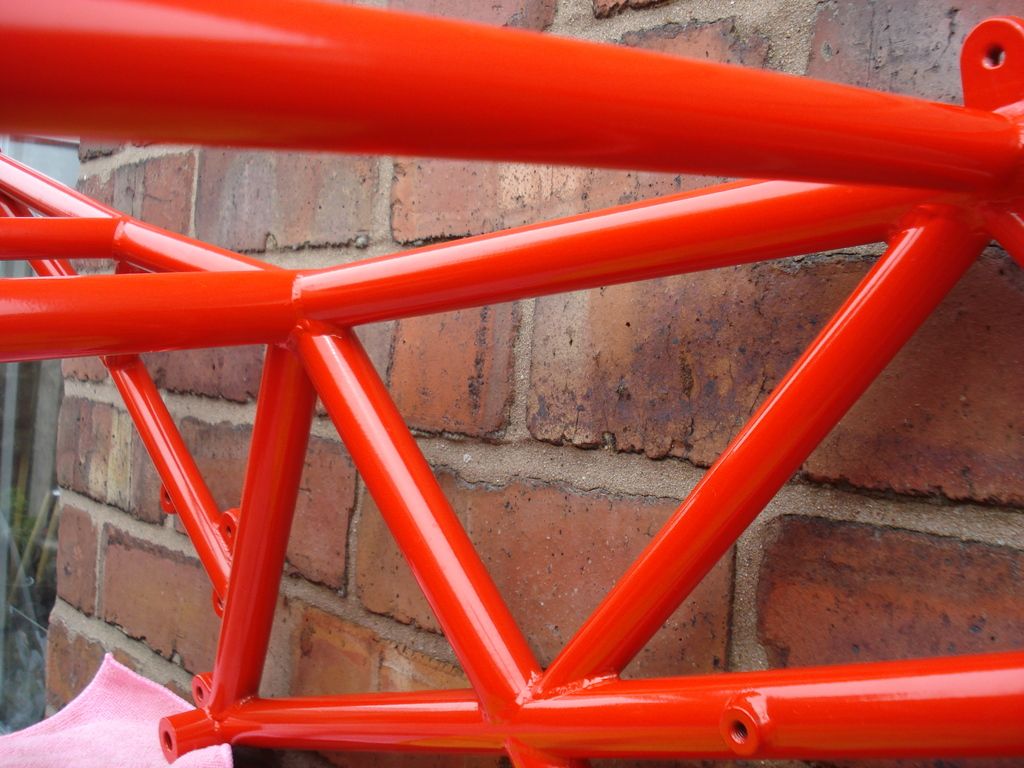
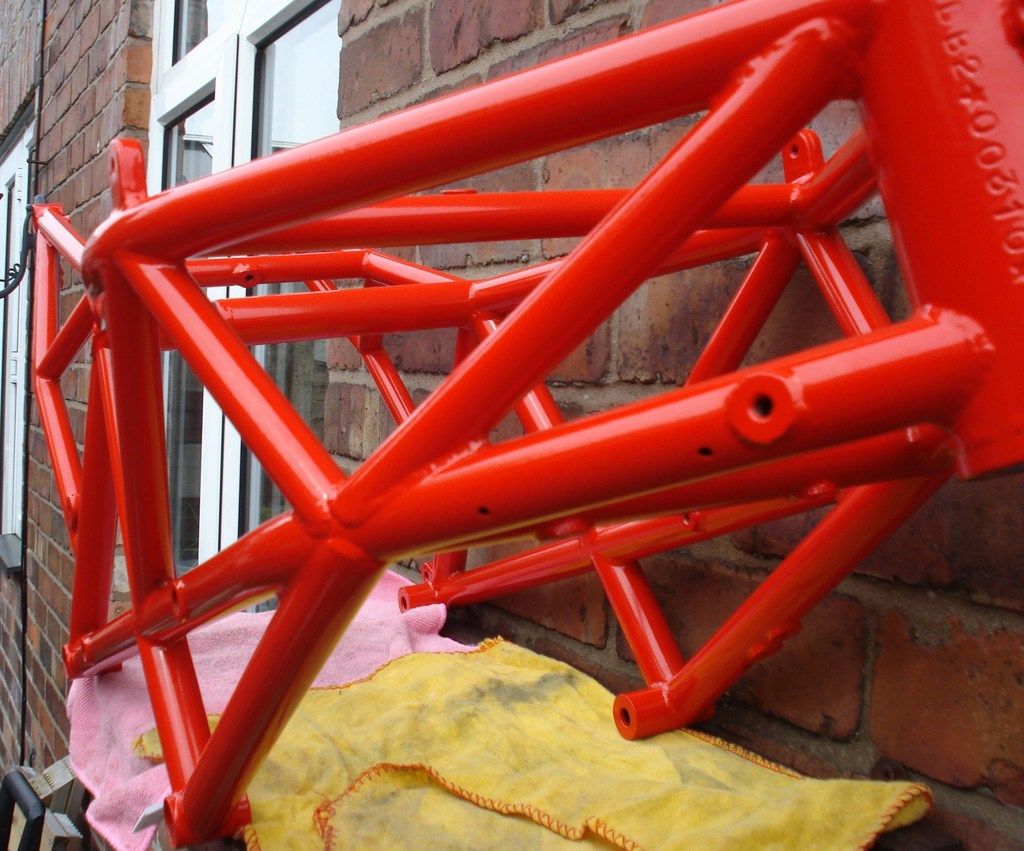
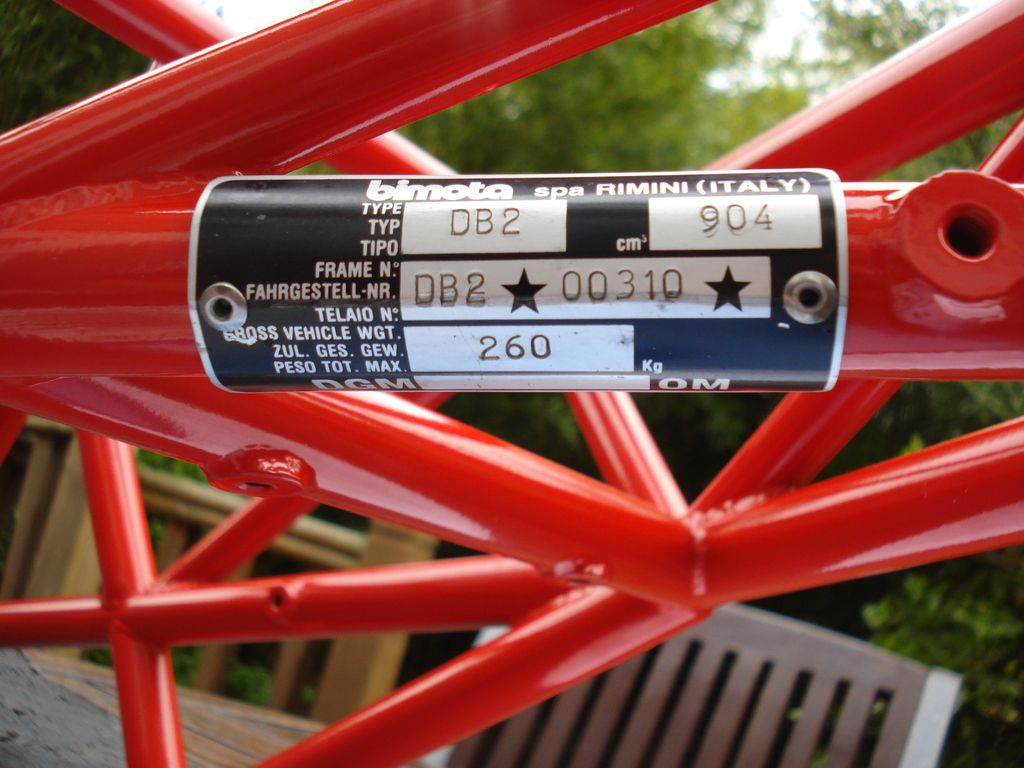
the work of a good powder coater...doesnt lash it on so thick that the frame number dissappears...dont think it was this clear when I bought the bike...
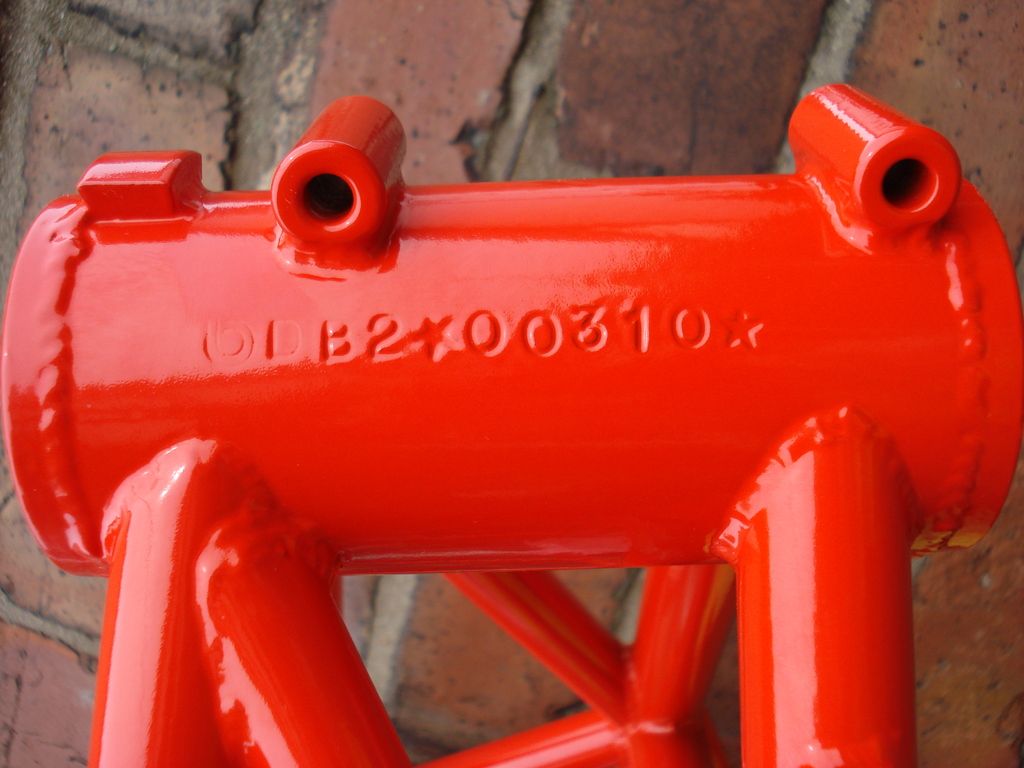
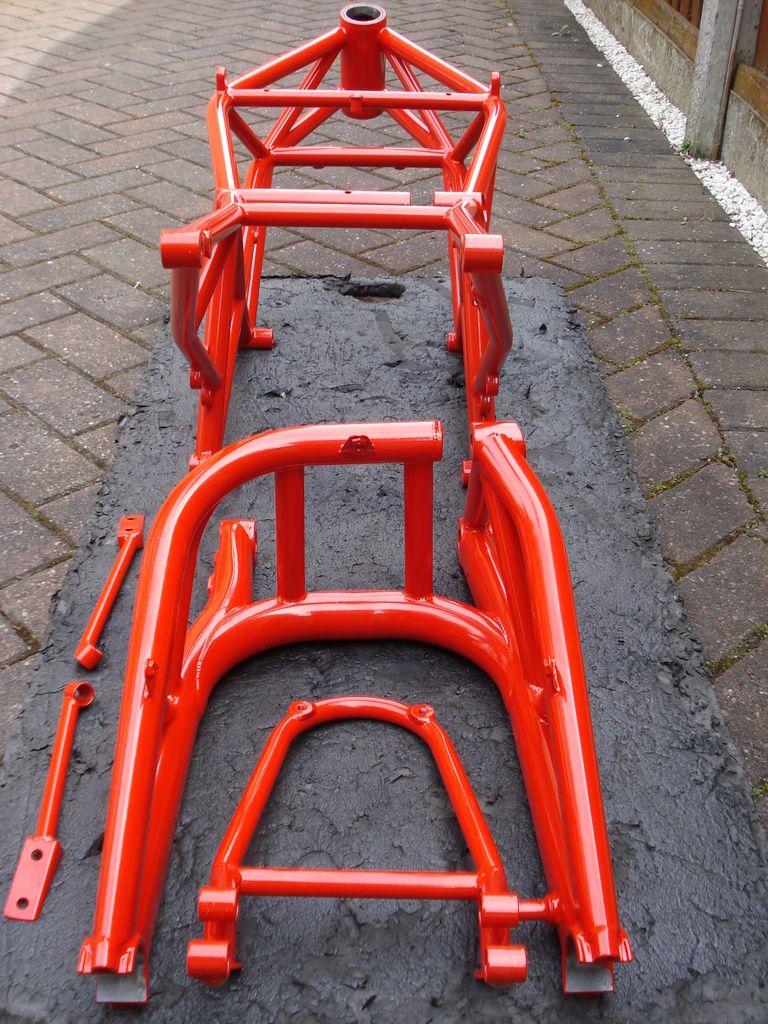
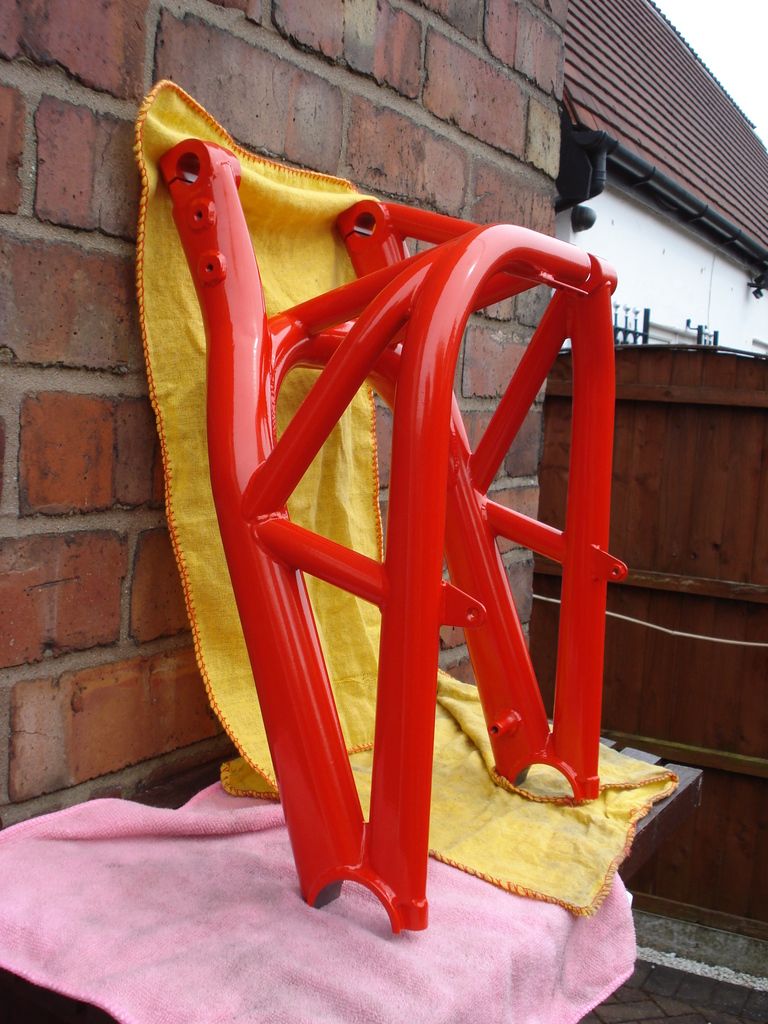
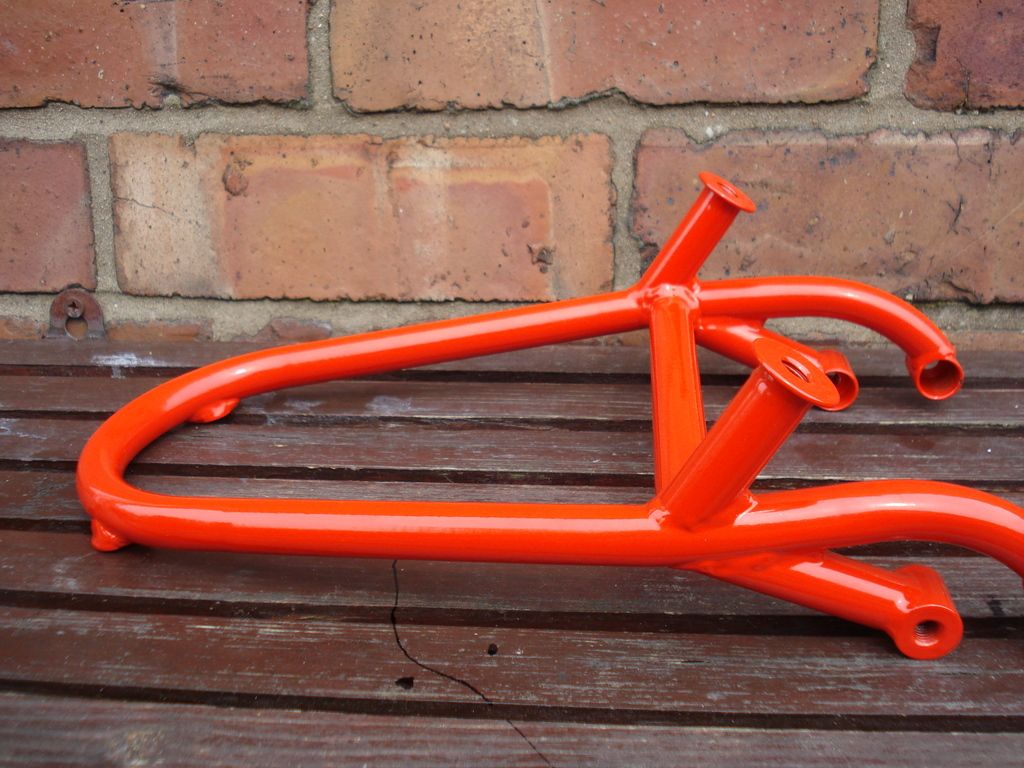
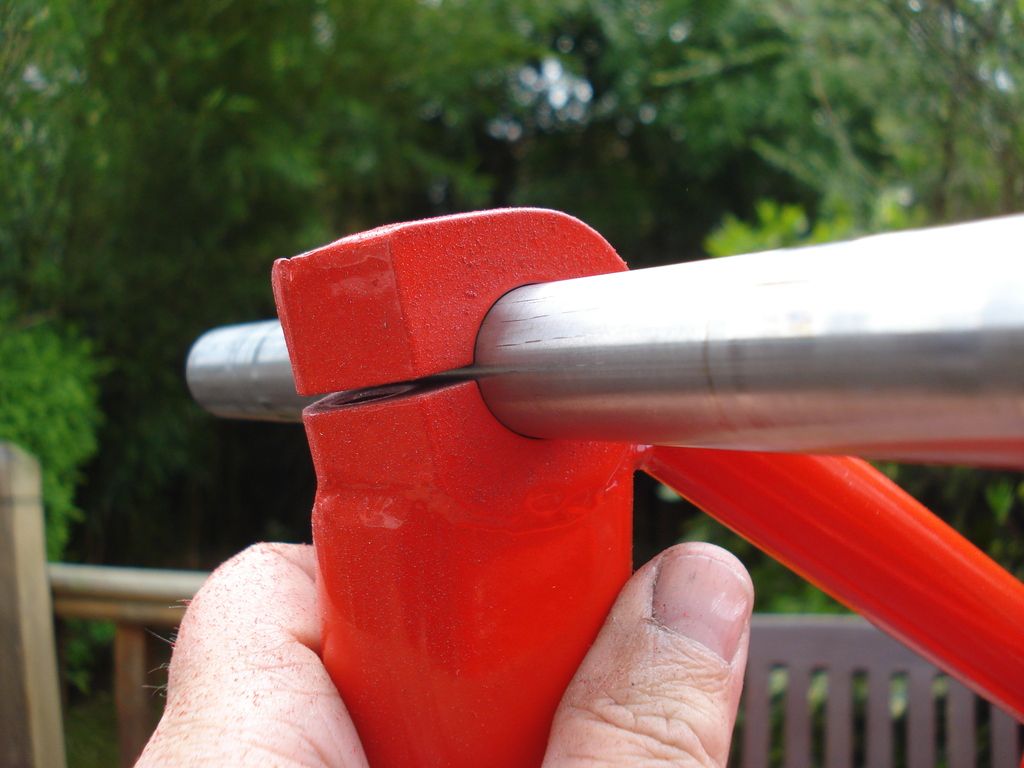
And now a montage of frame, subframe and other bits...powder coater man emery clothed everything down after grit blasting...then baked to burn off any residuals...then air blast...then reheat then powder coat then bake....quality....Although you do still have to wash the whole thing down with a hose in all the frame holes to get that rattly grit out that you can hear when you tilt the frame back and forth...sounds like one of those American rainforest kids tube toys otherwise...
even the holes for the rivets for the vin tag were plugged and kept clean

couldnt resist popping my valve covers on now that the shims have bin done/valve tolerances...a couple of which had broken on half...oops..
Valve covers on??? Oh yeh...picked up a full set of frame mounting all new SS bolts today...and even treated myself to some Marine grade A4 ss bolts for the swingarm chain guide as it lives a sorry state where it is
even put the new bolts in on the alternator cover bearing before I lose them
Thats it for today folks....Fish and Chips tonight and a few beers with the old crinklies down the pub
 |
|
| Back to top |
|
|
v-pilot
Joined: 01 Jun 2014
Posts: 79
Location: Rexford NY
|
| Posted: Sun May 08, 2016 2:16 am Post subject: |
|
|
"Thats it for today folks....Fish and Chips tonight and a few beers with the old crinklies down the pub "
What...no mushy peas? I loved them 
_________________
02 aprilia RSVR Mille, 02 aprilia SL1000 Falco
99 bimota db4 tricolor, 98 Moto Guzzi V10 Centauro
97 Suzuki LS650 96 Triumph Trident 900
96 Ducati 900 SS/SP
87 moto Guzzi Le Mans IV se (2x)
78 Moto Guzzi V50
68 benelli 250 65 Ducati 250 |
|
| Back to top |
|
|
2bims
Joined: 03 Apr 2010
Posts: 7289
|
| Posted: Sun May 08, 2016 8:14 am Post subject: |
|
|
| Actually yeh...there was mushy peas....even took a picture which will be posted later for you.... |
|
| Back to top |
|
|
MRLost
Joined: 27 Jun 2015
Posts: 19
Location: Cloudcuckooland
|
| Posted: Sun May 08, 2016 3:43 pm Post subject: |
|
|
Wow ... your powder coater did a fabulous job. That frame looks new. Careful or your refurbished bike will be too pretty to ride.
This has been a wonderful thread to follow. Most inspirational. Thanks for all the effort.
_________________
2013 retro Italian agricultural device
2011 gigantic German go-anywhere motorad
2006 sensible Japanese dual-sport
1994 over-the-top Italian super-sport thriller |
|
| Back to top |
|
|
2bims
Joined: 03 Apr 2010
Posts: 7289
|
| Posted: Mon May 09, 2016 8:16 pm Post subject: |
|
|
| MRLost wrote: |
Wow ... your powder coater did a fabulous job. That frame looks new. Careful or your refurbished bike will be too pretty to ride.
This has been a wonderful thread to follow. Most inspirational. Thanks for all the effort. |
Yeh...getting to that stage.....but then I'm not respraying the bodywork...i like the existing colour scheme and you always get cracks every time you try and prise it open to take the fairing off...vibrations, etc etc...so I'm hoping that will be good enough to keep me riding it and not for it to join a n other thats already sitting in the dining room.....
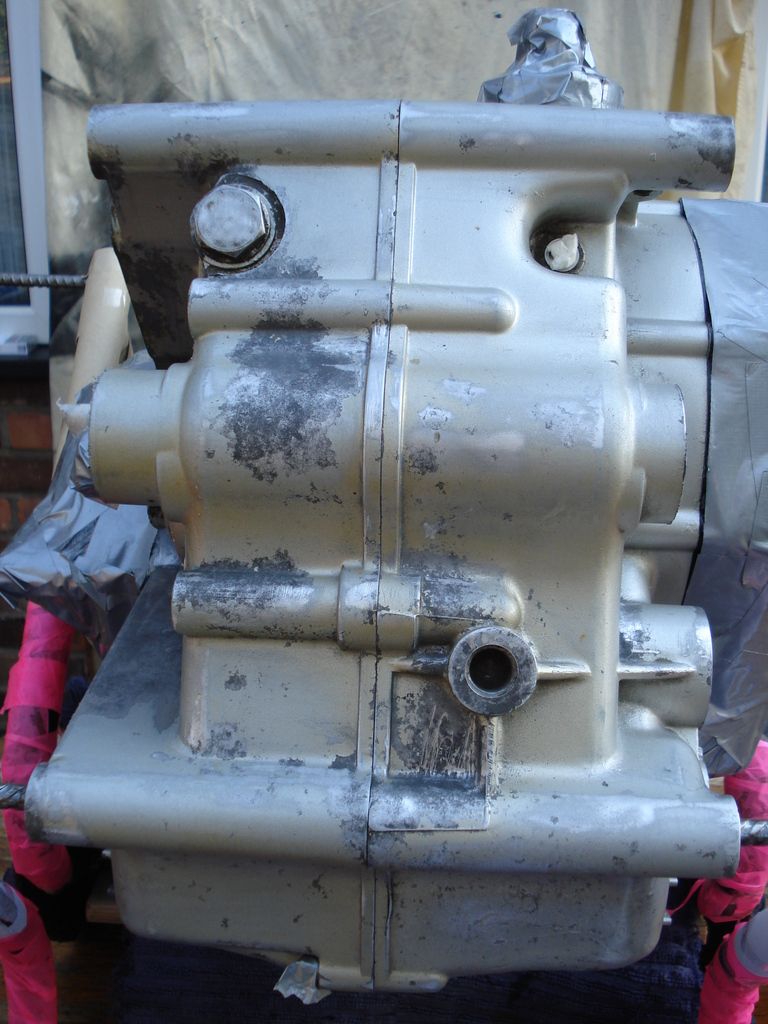
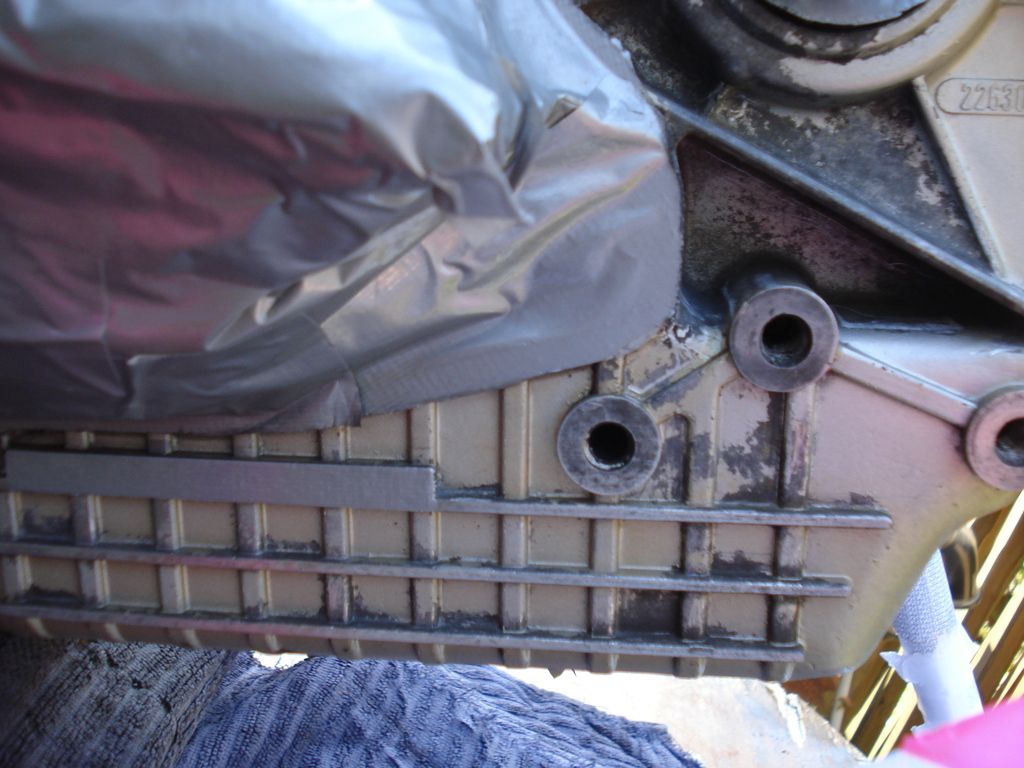
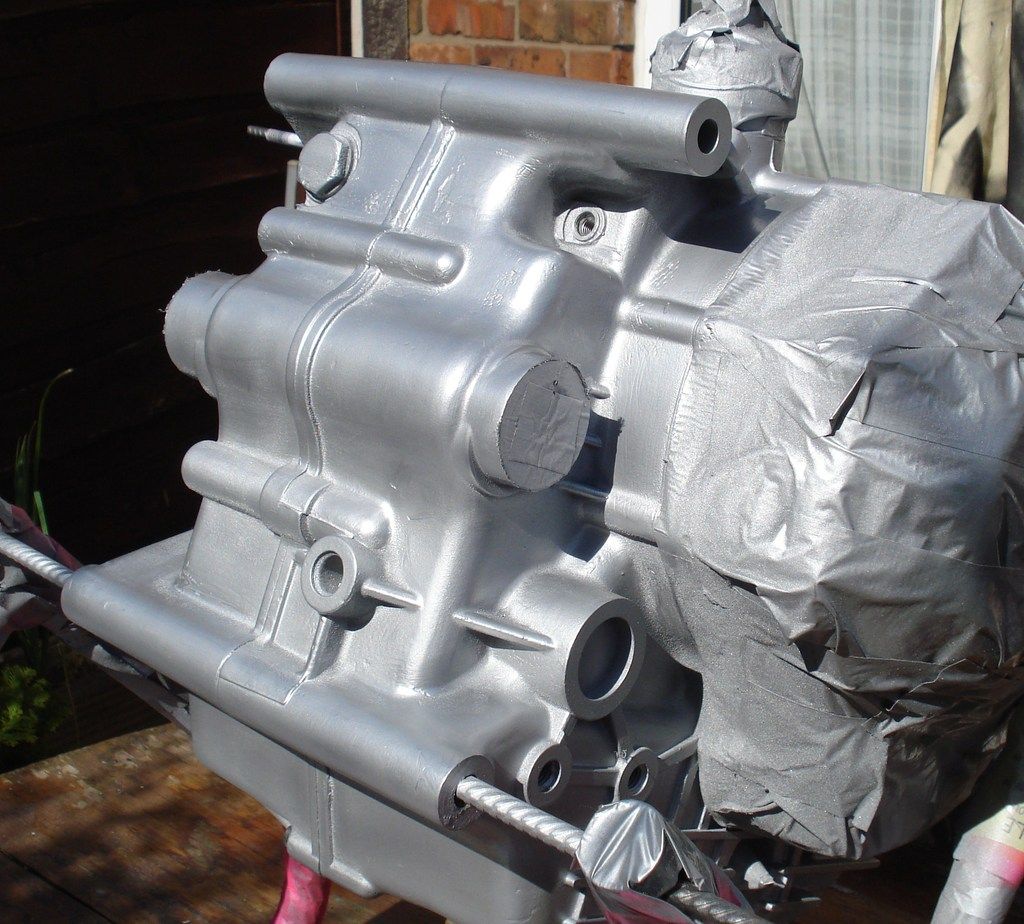
Wet and dry day for the engine and final clean down with wipes and white spirit to clean off all grease before high temp silver engine paint is sprayed on....I'll keep it to a few "before" and "after" shots....
Took quite a few coats and a run out for more paint after the first 2 cans ran out and 2 more were needed....gradually building up the enamel high temp paint until a shine comes through....
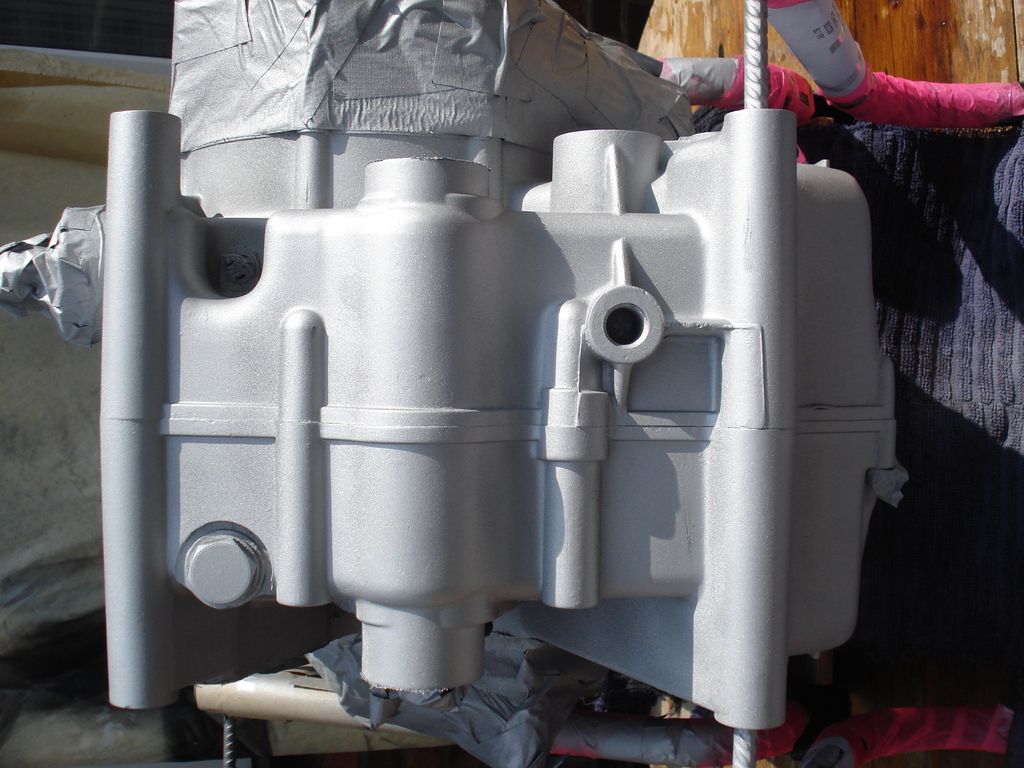
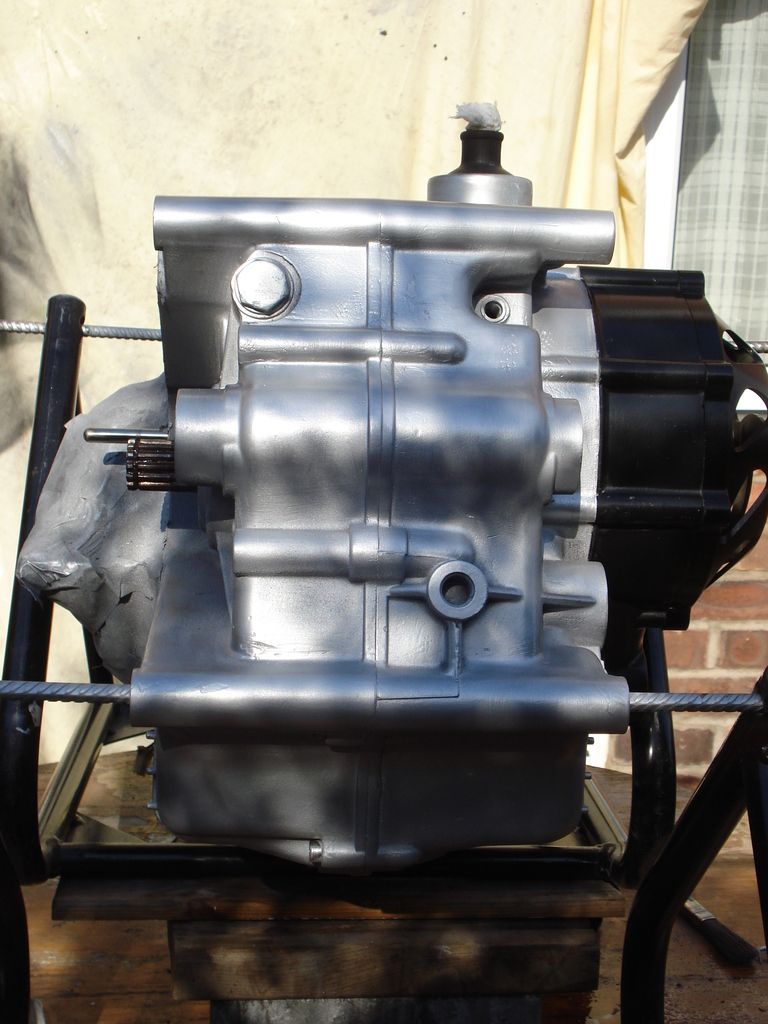
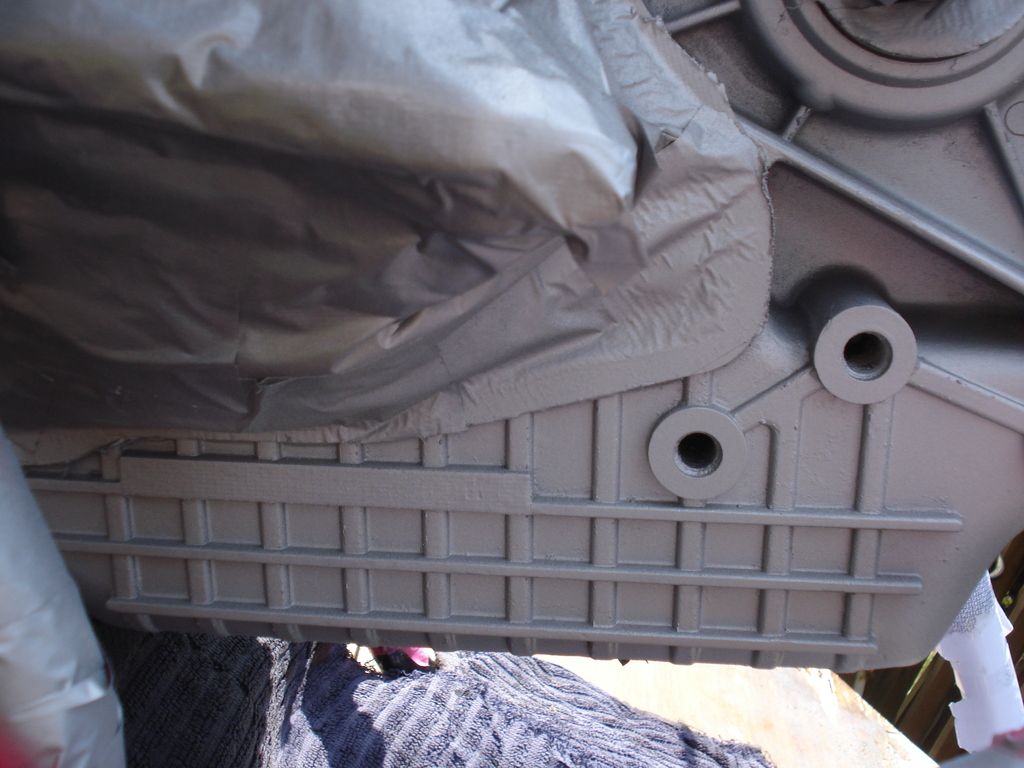

And a few of the whole finished lump...prior to heads and barrels going back on...
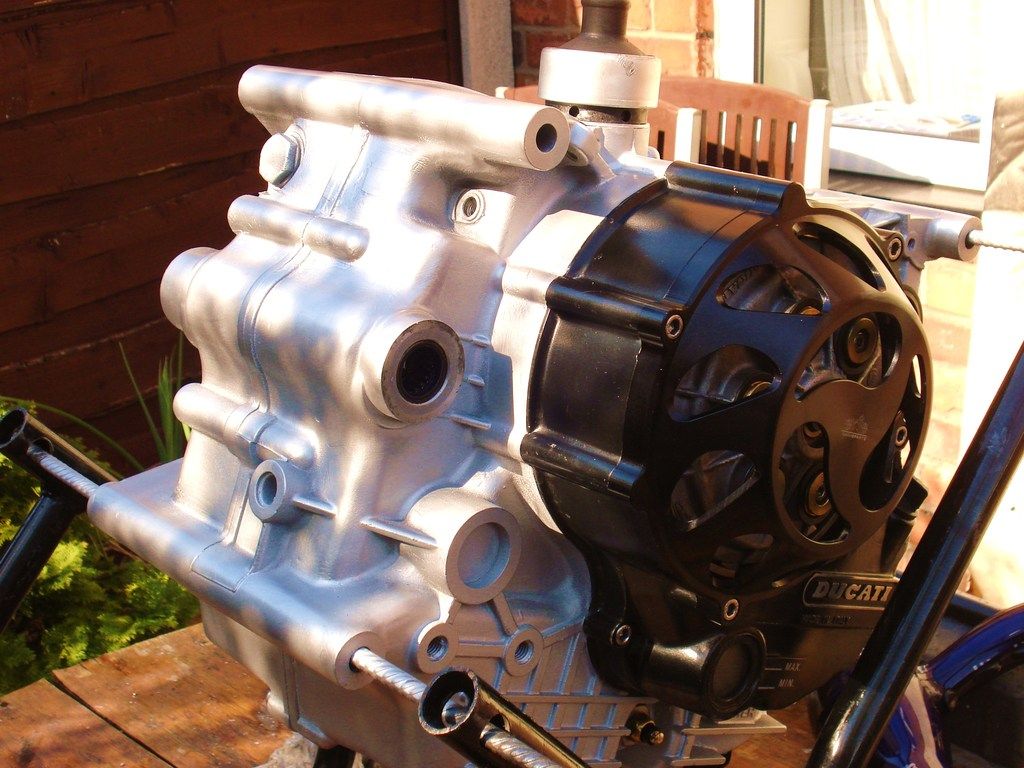
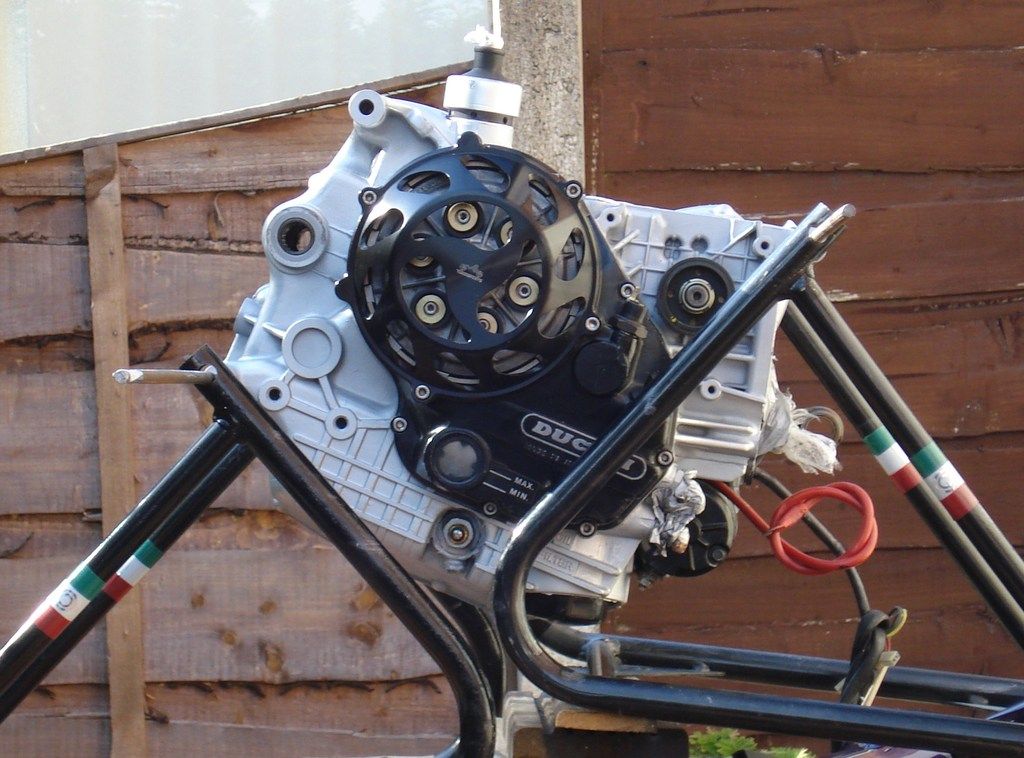
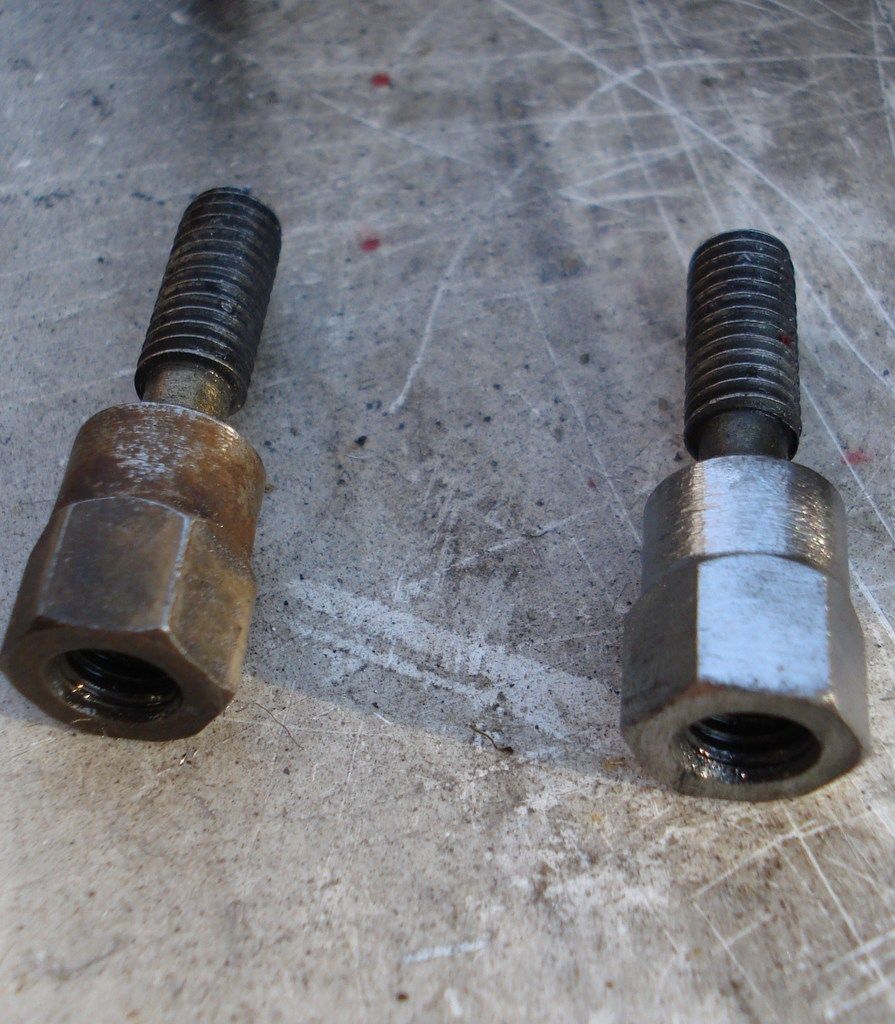
Down to bits and details now really and waiting on a few parts to arrive....cleaned up and lacquered the "fancy" bimota bespoke 2 No. valve cover bolts that are tapped and drilled to receive 2 more bolts to hold the oil cooler on a bracket...lower valve cover on horiontal cylinder
before and after wire brushing...then wet and dry and then wire wool, and as they are plain steel, they then receive a coat of clear lacquer to inhibit corrosion...and note copperslip on threads ready to go back onto the cover....
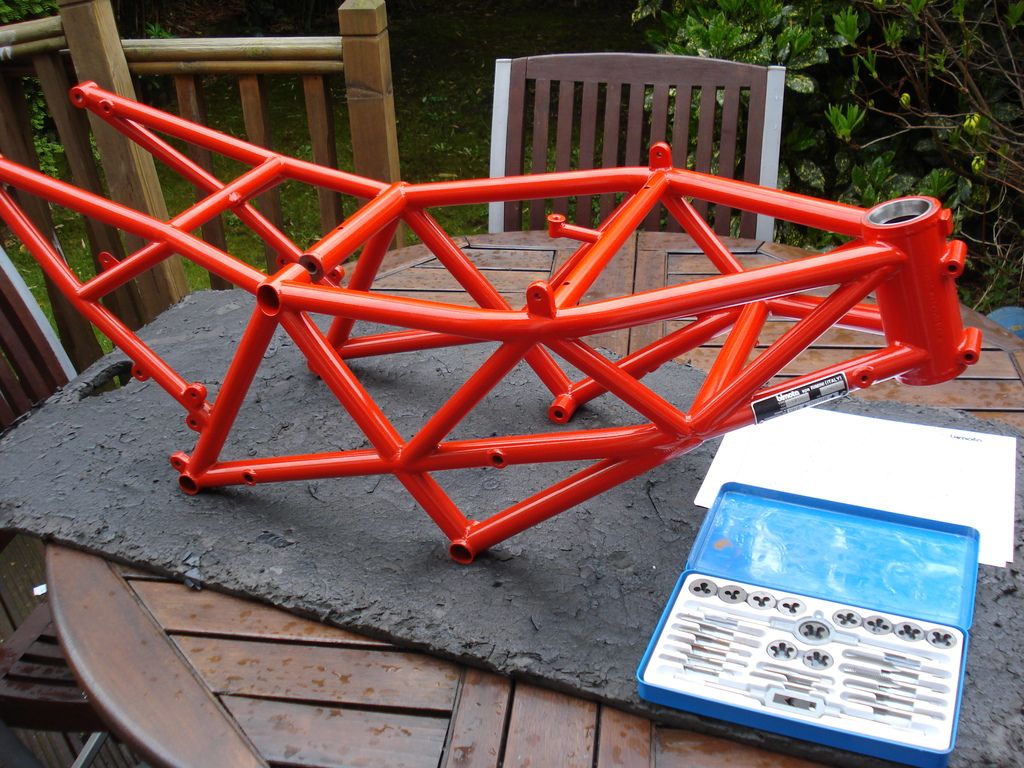
Been busy cleaning out all the threads on the frame with tap and die set prior to reassembly....nice lengthy job but satisfying...although I've found that my tap and die set doesnt have a 4mm piece for those ruddy tiny bolts that bimota use in non critical areas...Grrghhh....So will have to sacrifice some old bolts instead as a tap and die piece.... |
|
| Back to top |
|
|
v-pilot
Joined: 01 Jun 2014
Posts: 79
Location: Rexford NY
|
| Posted: Tue May 10, 2016 2:21 am Post subject: |
|
|
Lookin' really good! I did the same frame off on my little v50, so I know what it takes
_________________
02 aprilia RSVR Mille, 02 aprilia SL1000 Falco
99 bimota db4 tricolor, 98 Moto Guzzi V10 Centauro
97 Suzuki LS650 96 Triumph Trident 900
96 Ducati 900 SS/SP
87 moto Guzzi Le Mans IV se (2x)
78 Moto Guzzi V50
68 benelli 250 65 Ducati 250 |
|
| Back to top |
|
|
2bims
Joined: 03 Apr 2010
Posts: 7289
|
| Posted: Wed May 11, 2016 8:47 pm Post subject: |
|
|
Just a few more updates...as I'm now prepping for final reassembly....and for that everything has to be clean and everything trial fitted so that it can be as seamless as possible as it makes assembly a pleasure to behold....nothing like something niggling and not fitting to upset a process....
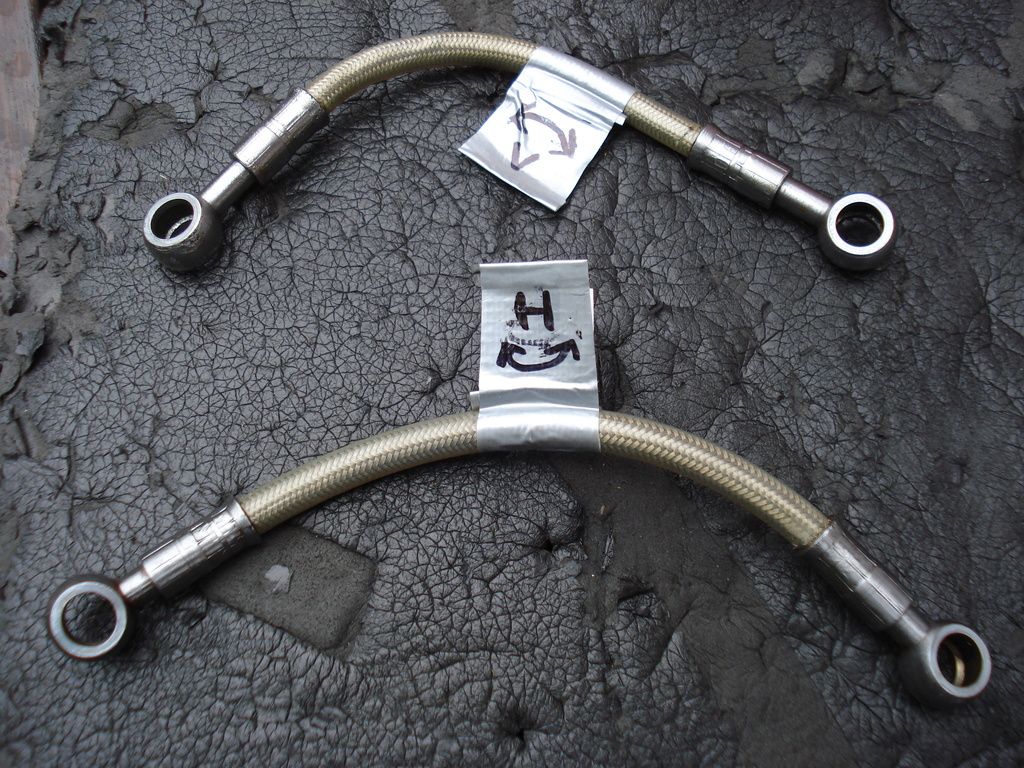
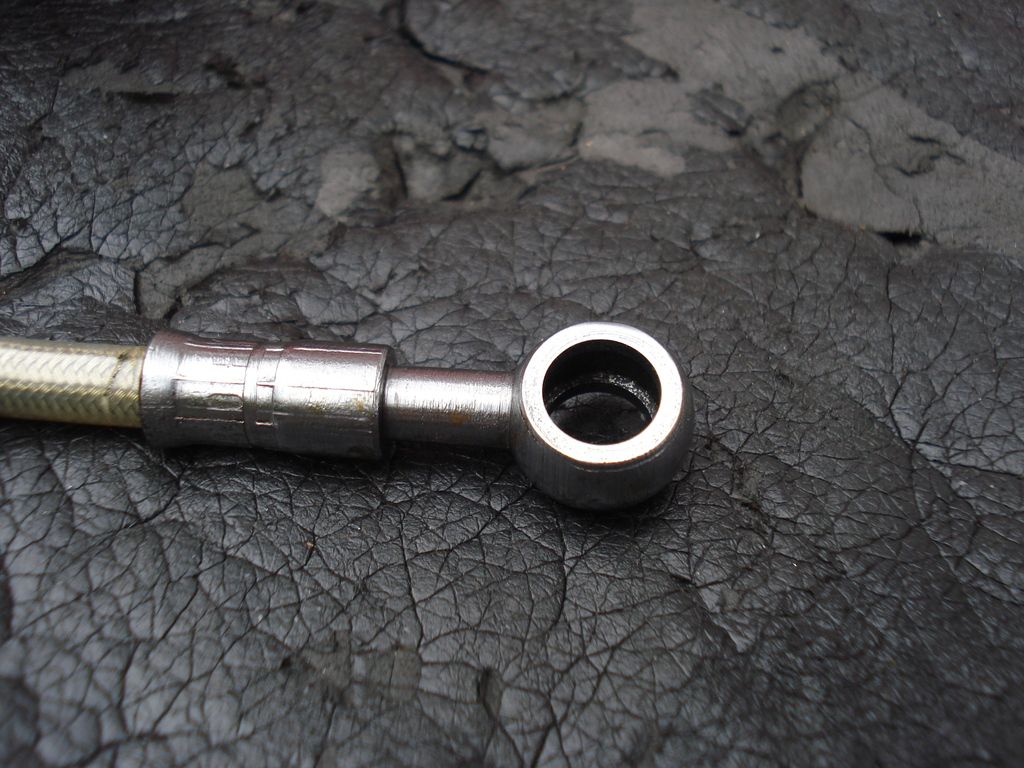
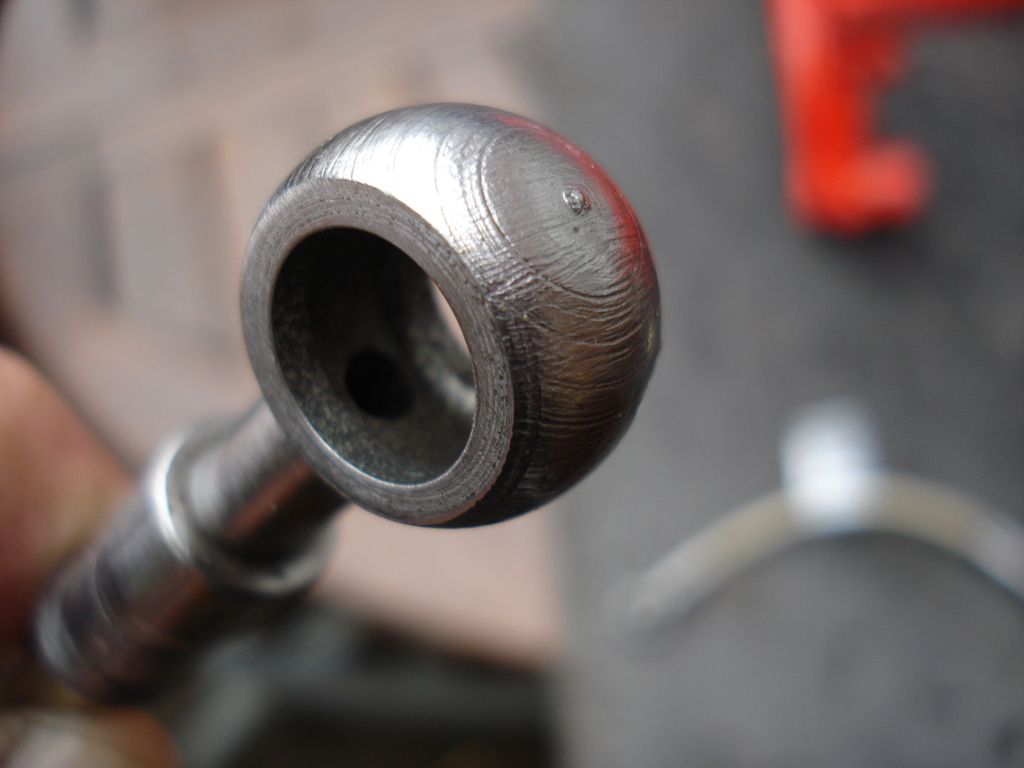
Old original Oil lines, HEad to crank feeds, were wire wooled clean and lacquered with high temp lacquer...faces kept masked off as crush washers go on these back and front to seal off leaks.....close ups also for Newbie Db1 in Oz to show aperture of oil lines to check that the ones fitted to his 900ss DB1 arent brake lines (as it has some blingy anodised...ahem...tat on it)
Before
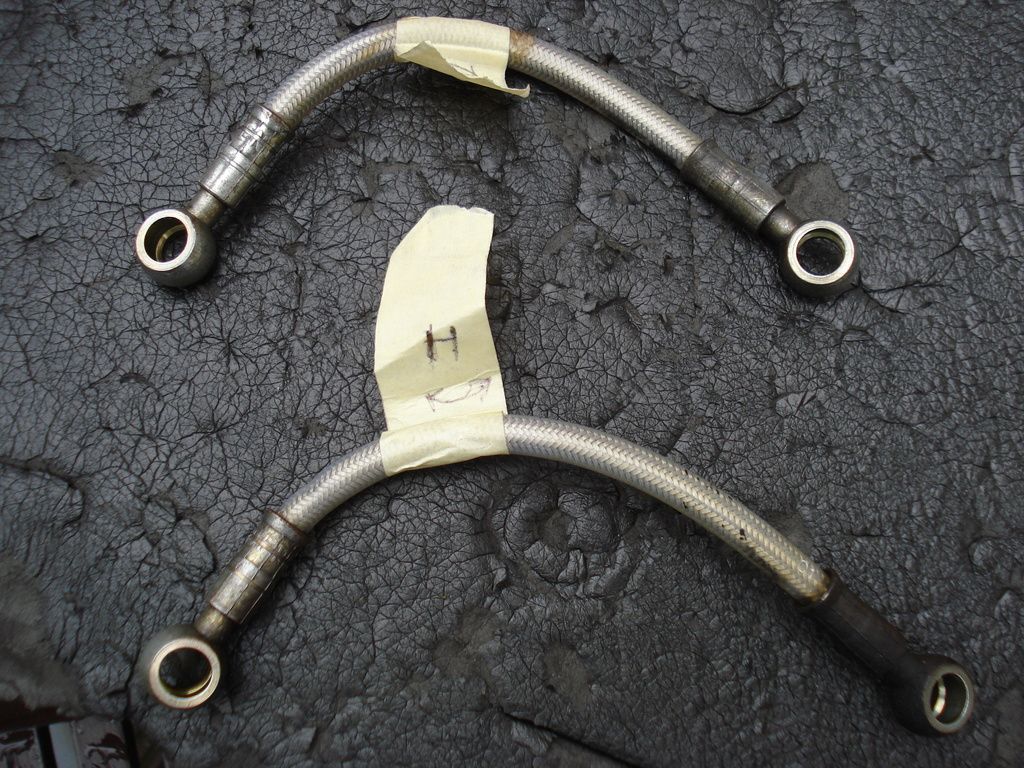
And After
I could have bought new ones...but a price check from dealer showed 36gbp a-piece...plus Vat...Ouch...
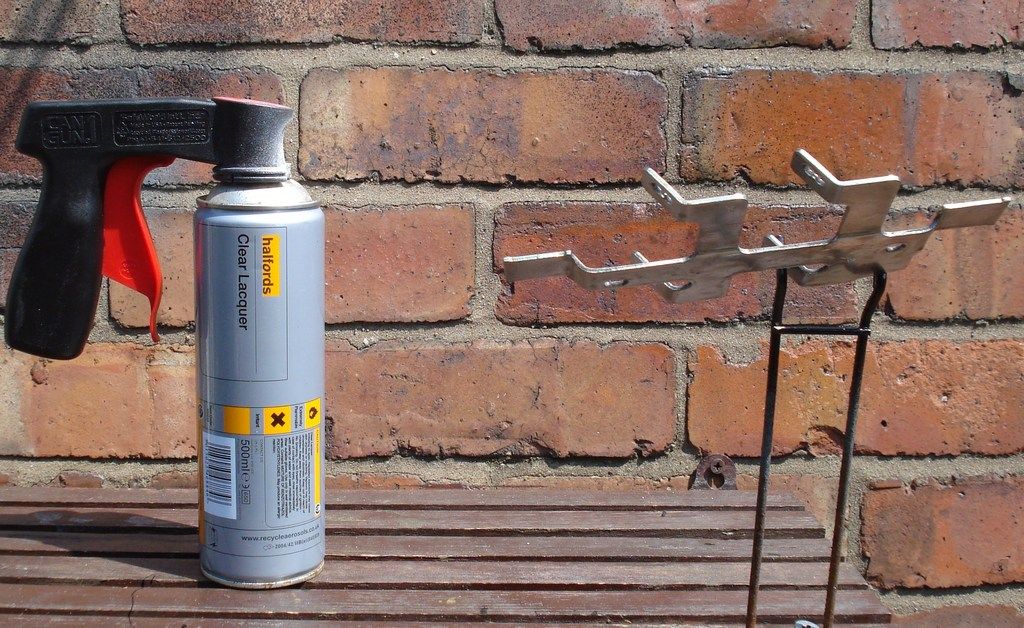
Time to refresh the last few brackets to go back onto the bike...primed, top coated and lacquered, rubbing down between each stage....

So thats Oil cooler bracket...and now same for Fuel pump bracket...evidently processes done at same time...

and off to the Drying rack....
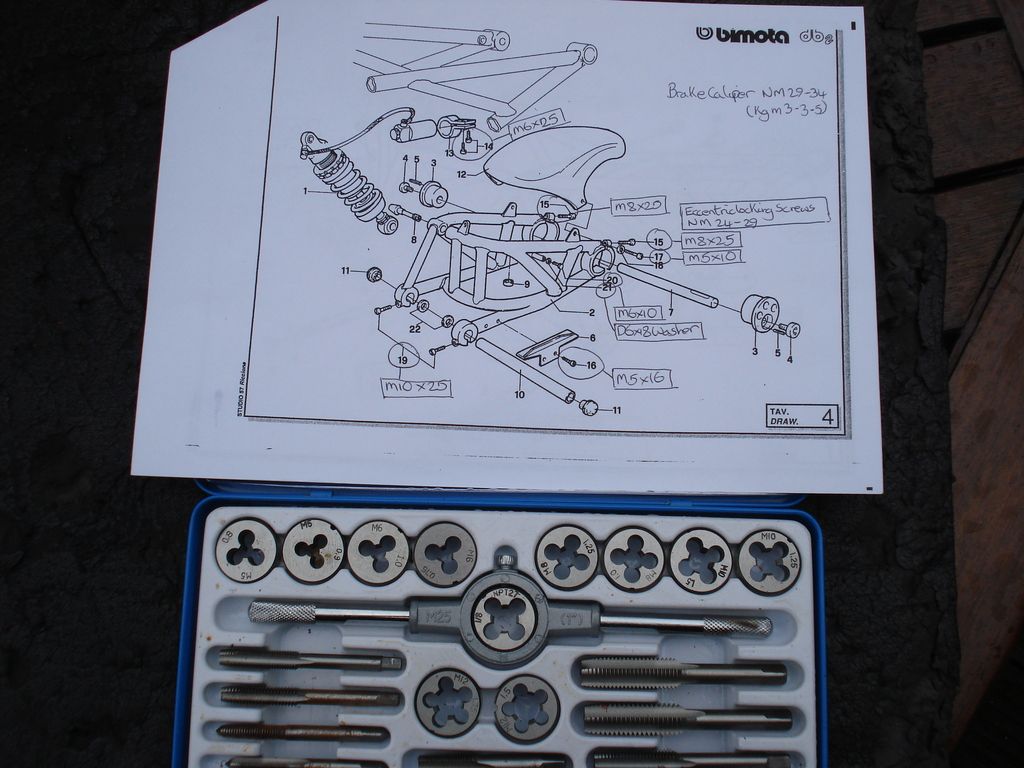
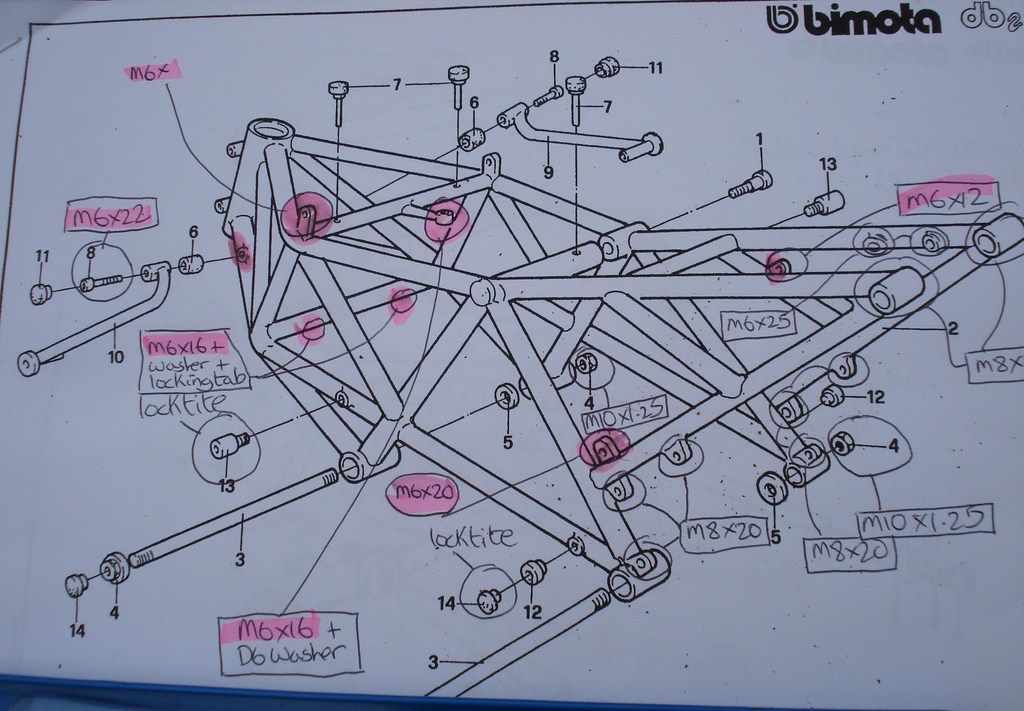
Next up was cleaning out all the threads ready for reassembly on the frame, swingarm, sub-frame etc....powder coaters blank off holes but theres always some that gets in....so I thought I'd print off the spare parts pages relevant to mark the bolt hole sizes for each bolt hole...and put torque settings on from the workshop manual where there are any noted...dont all go looking...you can count them on one hand in the whole manual....

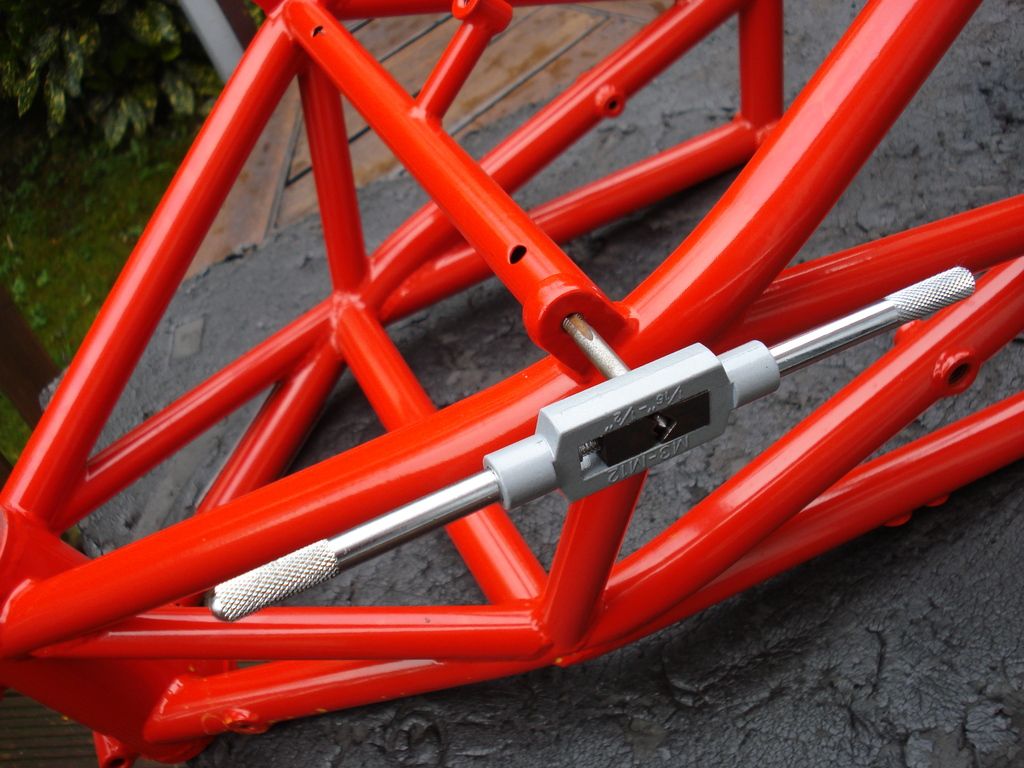
Evidence of what comes out from what looks like a clean thread...run the piece through back and front if you can....a thread has 2 faces...
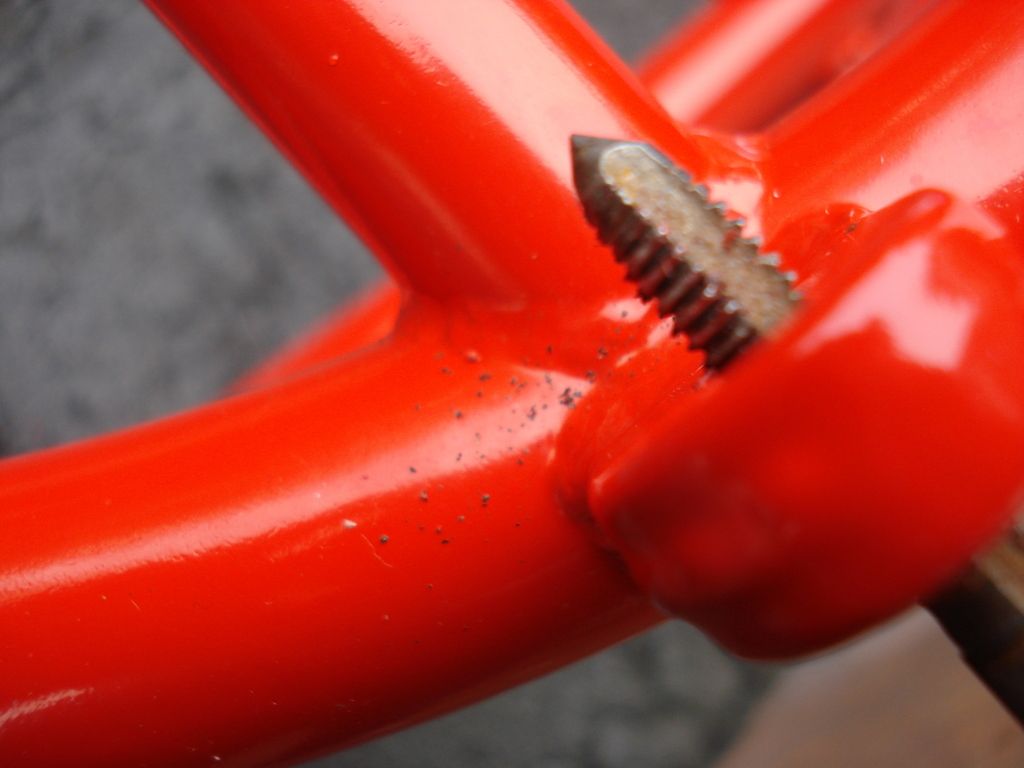
Mark off each hole once you've done it...as its not so obvious and you'll either forget...or retrace previous holes...theres ruddy hundreds of them...
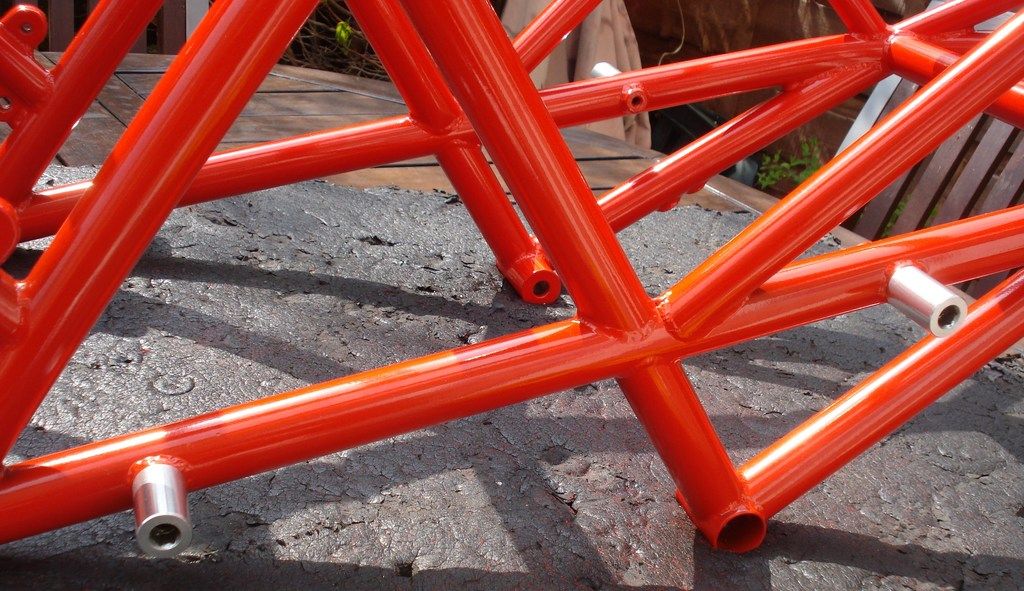
Next up was to clean off overspray in areas with tolerances and faces to be kept clean....
Before:-
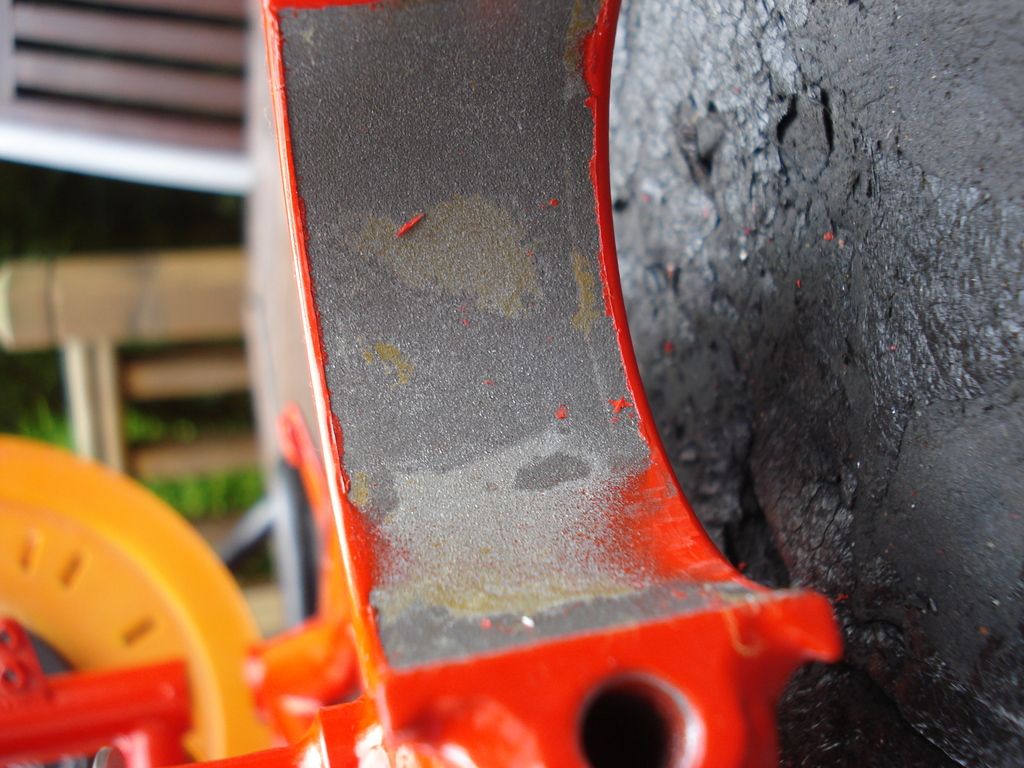
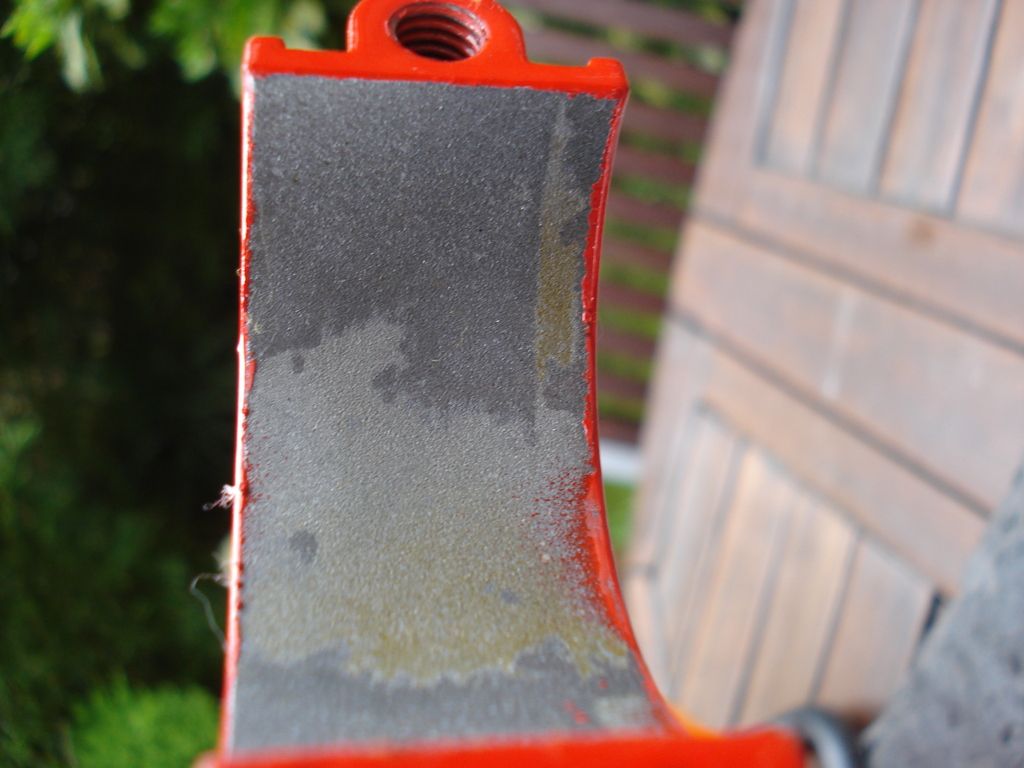
And after:-
Then try out the swinging arm pivot spindle....wouldnt fit...
so cleaned out again
Eh Voila!
Try fitted the Rear shock top and bottom mounting....even though ends were coated on the frame they dropped straight in with space....Hhmm...Ah...yeh theres a large bolt that goes through and threads into the opposite side compressing and pulling the CrMo tubing to pinch the bearings in the top and bottom of the shock....
Couldnt resist fitting a few things whilst I was at it....
So it was on with the Vin tag with new rivets....although luck would have it I only had one of the appropriate Bimota tiny hole size...so had to go out and procure more...could have overdrilled the plate and frame to fit a larger rivet that I already had at home but my OCD would have none of it....so petrol, mileage and rivets have cost around 8gbp a-=piece to stick to the same size...Gawd...OCD is expensive....
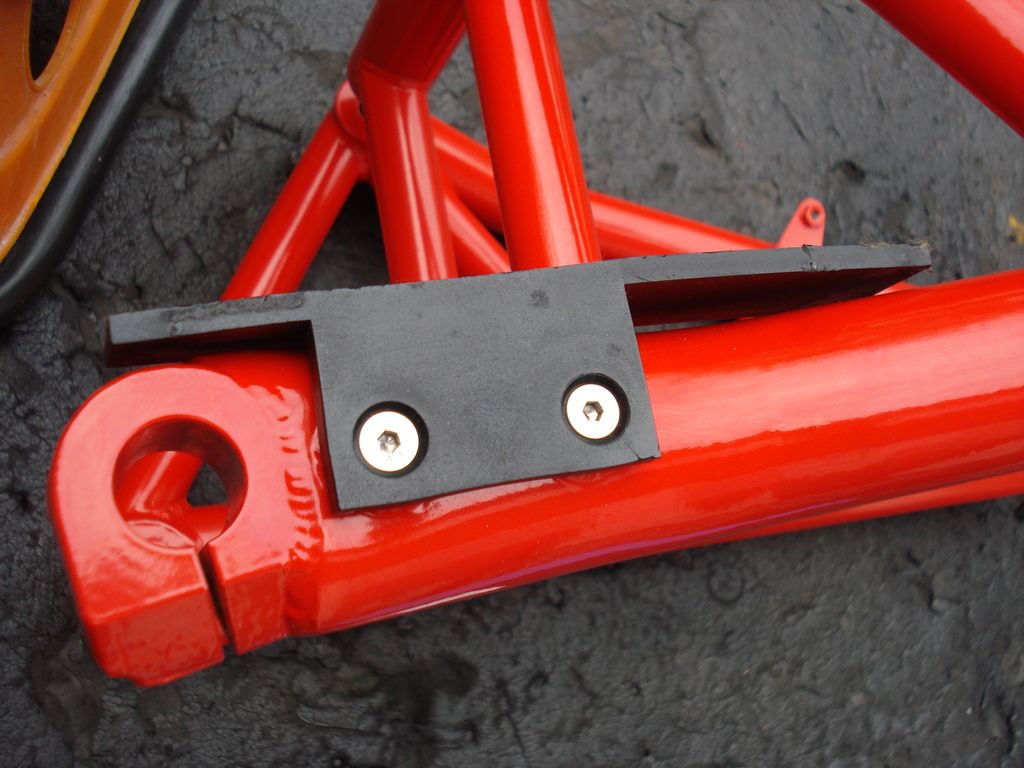
and chainslider with New Marine Grade stainless steel recessed head bolts
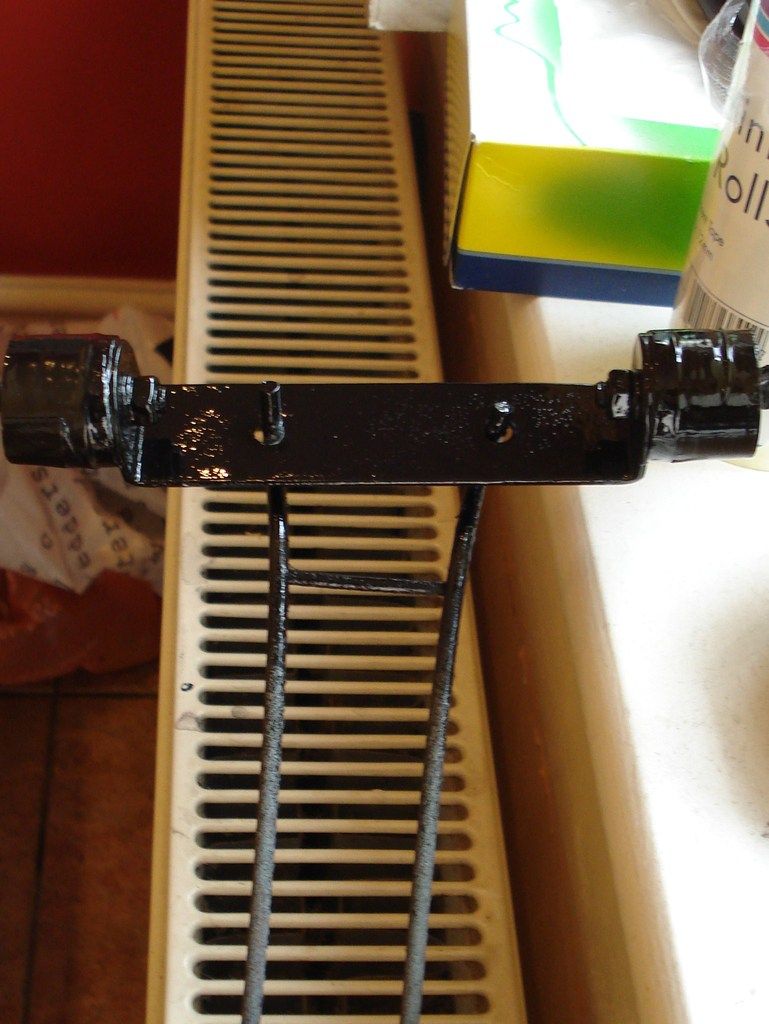
New bolt and washer to caliper bracket mount....and LEarnt something new...BImota used "Form D" washers....which have small holes to precisely fit the bolt...not one that slops around it...the spare parts manual actually tells you what Form washer to use...A, B, C or D
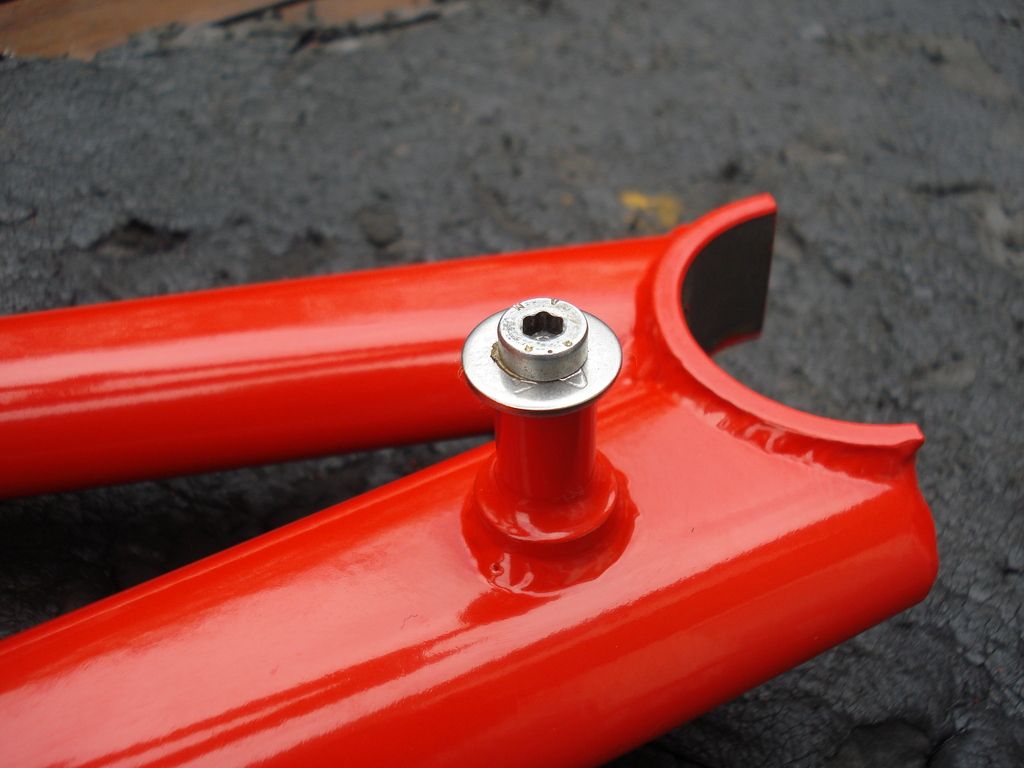
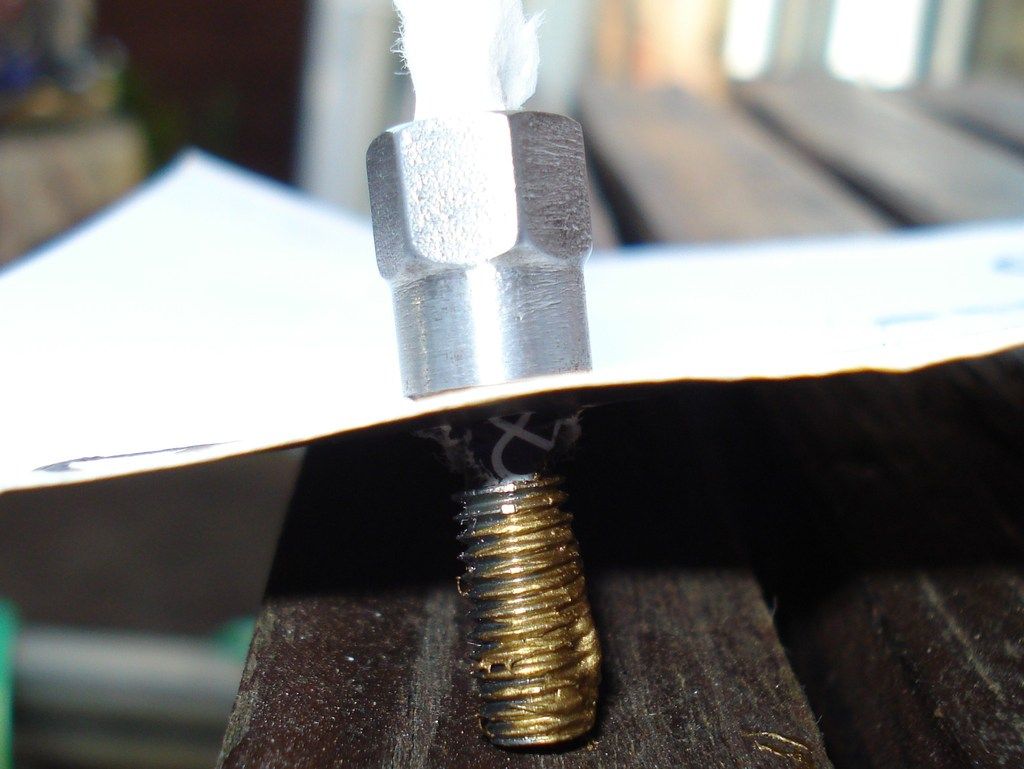
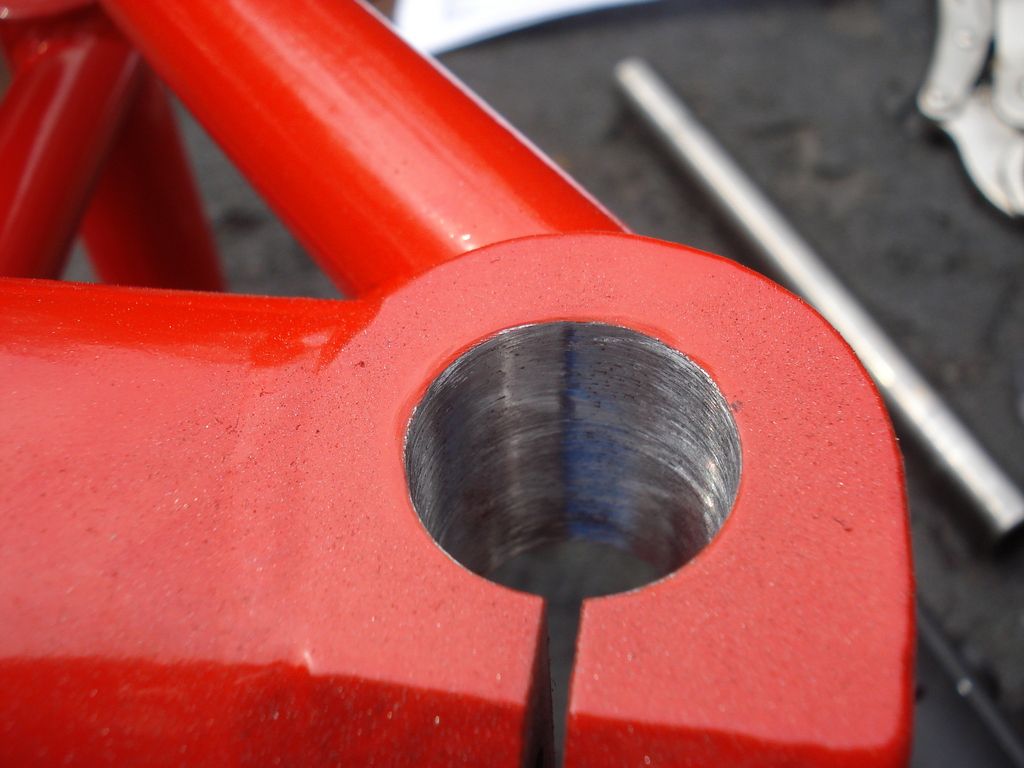
Then I thought I'd fit the ally Spacers that screw into the frame to space out the fairing which has bolts that screw into the Spacers...
When I took these out there was gunk on the back of them...probably never removed in 22 years...and I had assume sensibly that it was Loctite...as the spacer screws into the frame and the fairing bolt into the spacer so surely loctite to ensure it doesnt come undone when undoing the outer bolt...so loctite to the ready....
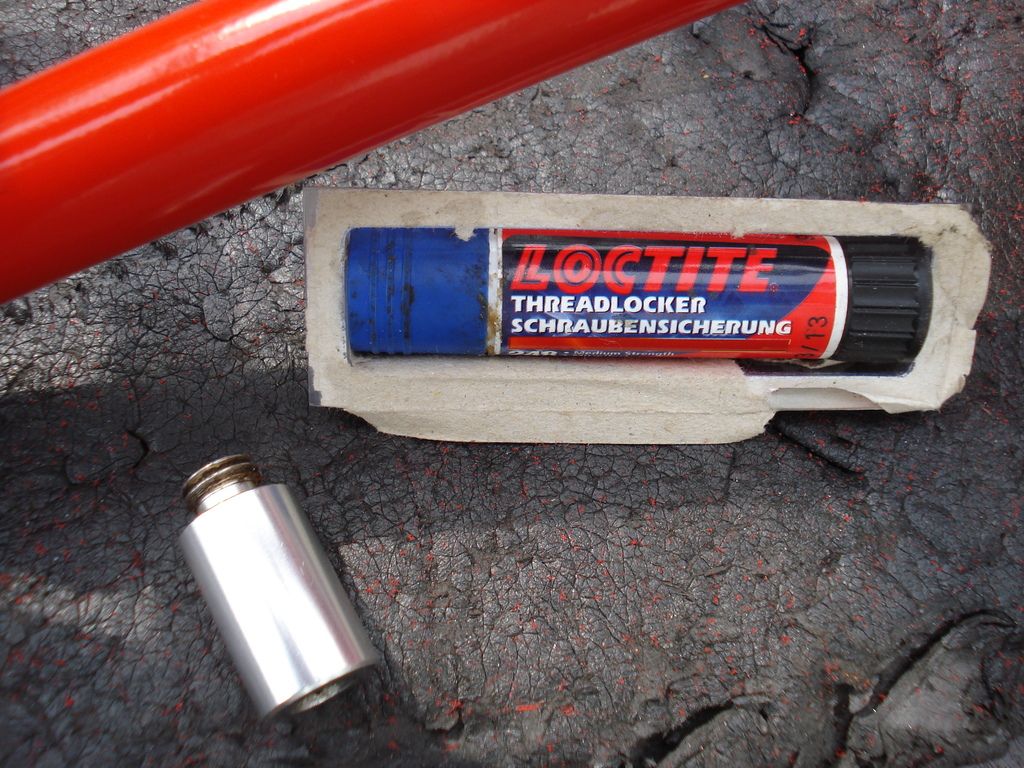
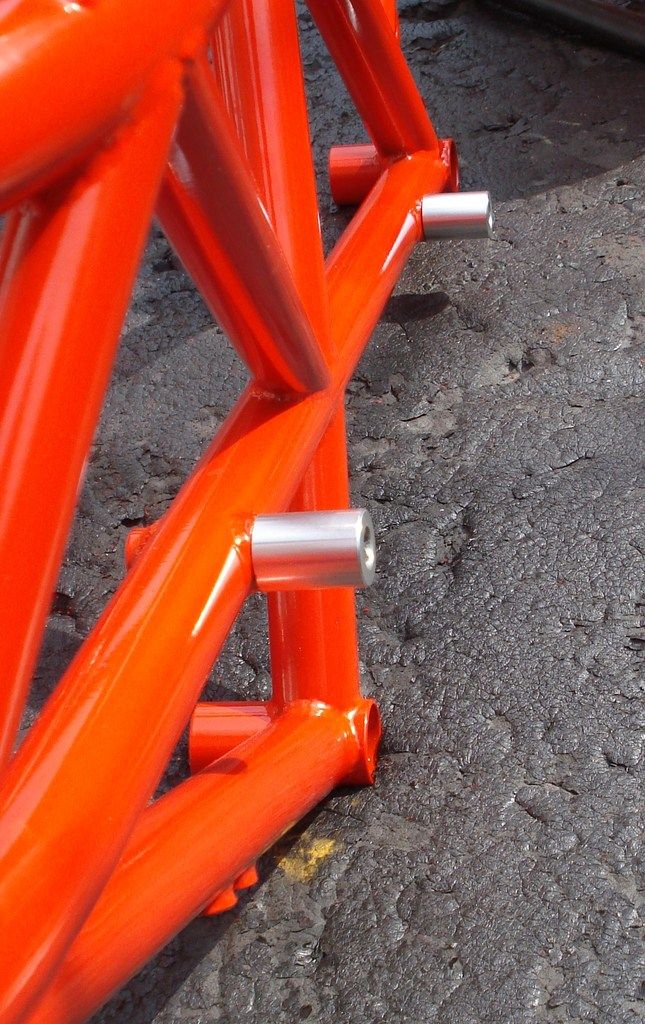
and before I loctite them in...give them a quick polish up....

Then I picked up one of the spacers and looked inside as something didnt seem right......
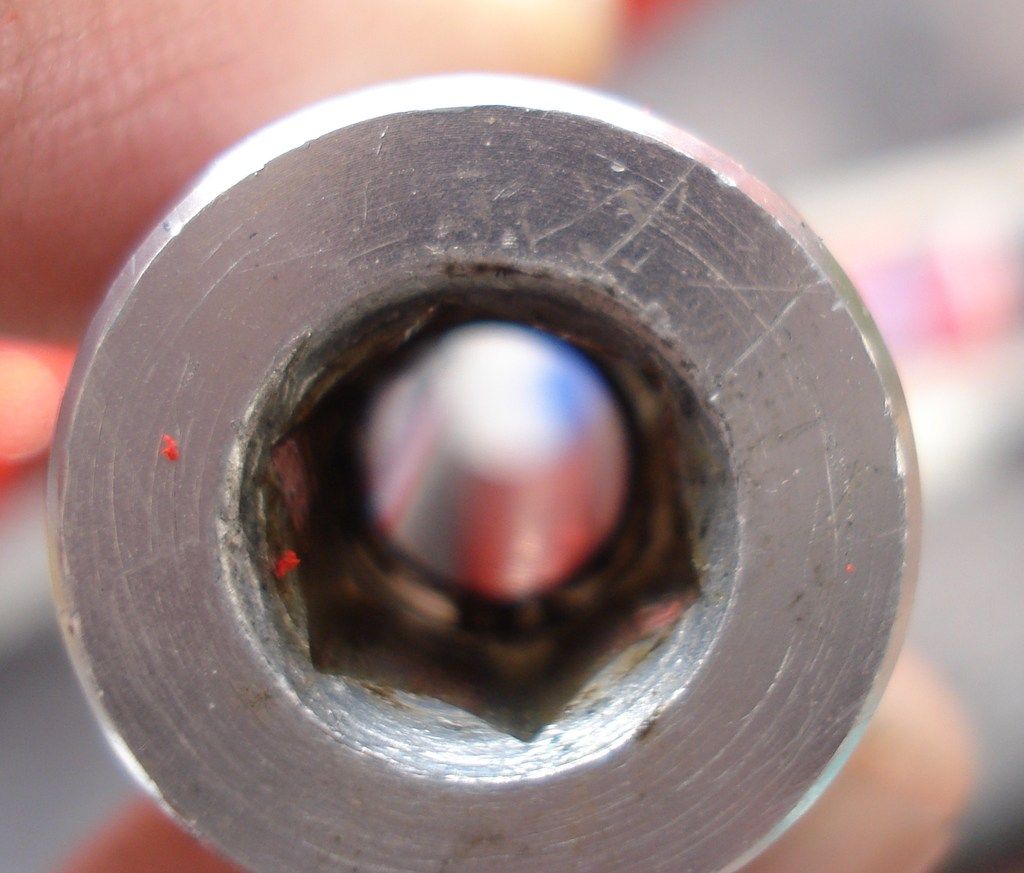
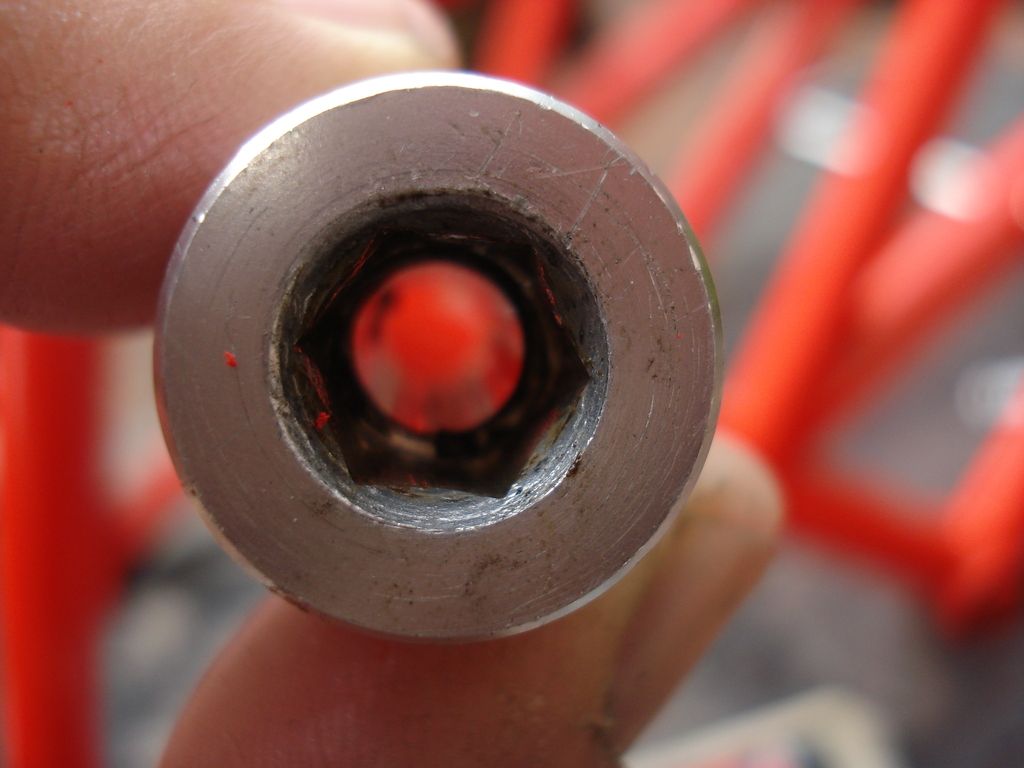
Yup...theres no ruddy thread for the outer bolt??? What gives...lets look at the frame....
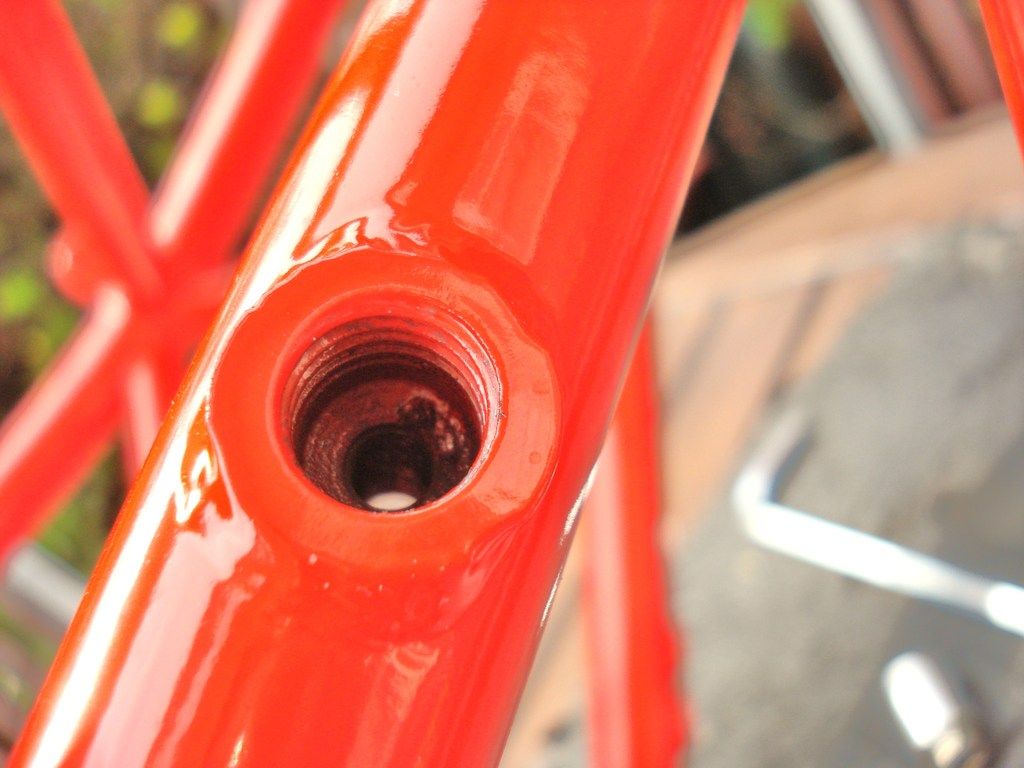
Yes...theres a large dia thread for the spacer to screw into...and beyond that theres a welded in place tube section with a smaller hole that is also threaded for the outer bolt to screw through what is a plain holed pure spacer....Jeeso...how the heck did they weld that inside the tube?????
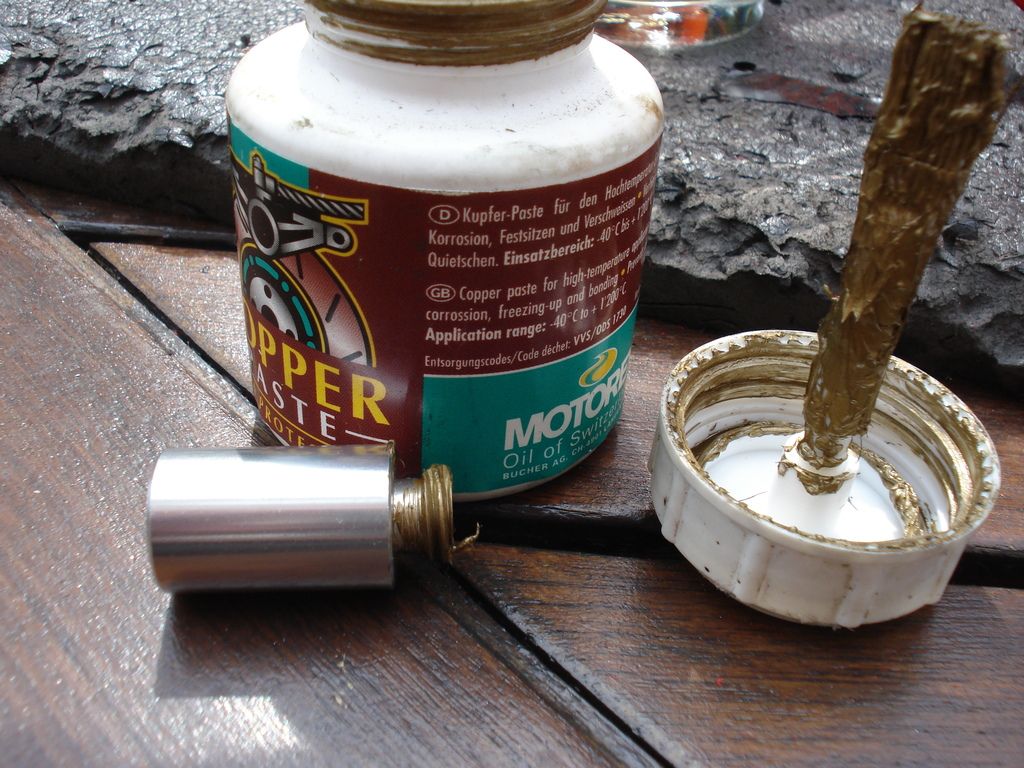
Then I realised the old gunk on the back thread of the spacers wasnt loctite but old dried up copperslip...as when I took them out they did so surprisingly easy after such time...that with alloy into steel I wasnt expecting....So Bimota being Bimota knew that if they threaded the spacer...it may come undone when the outer bolt is undone....and not wanting it to be a spacer like on the DB1 that simply falls to the ground when the outer bolt is removed...they devised this complicated but very good engineering idea...and being originally plumbers....they knew that putting differing metals together causes or at least exacerbates corrosion...they promptly copperslipped it...as any good plumber would...
And as always...Shiney bits to close.....
Last edited by 2bims on Fri May 13, 2016 9:31 am; edited 1 time in total |
|
| Back to top |
|
|
v-pilot
Joined: 01 Jun 2014
Posts: 79
Location: Rexford NY
|
| Posted: Thu May 12, 2016 2:30 am Post subject: |
|
|
We do love shiny bits!
_________________
02 aprilia RSVR Mille, 02 aprilia SL1000 Falco
99 bimota db4 tricolor, 98 Moto Guzzi V10 Centauro
97 Suzuki LS650 96 Triumph Trident 900
96 Ducati 900 SS/SP
87 moto Guzzi Le Mans IV se (2x)
78 Moto Guzzi V50
68 benelli 250 65 Ducati 250 |
|
| Back to top |
|
|
2bims
Joined: 03 Apr 2010
Posts: 7289
|
| Posted: Thu May 12, 2016 5:34 pm Post subject: |
|
|
Shiny Bits Fan?...heres some more....
Last bit of cleaning, lacquering......all other brackets done other than the HT Coil/Ignition pack bracket that sits behind the headstock,,,,,,,,
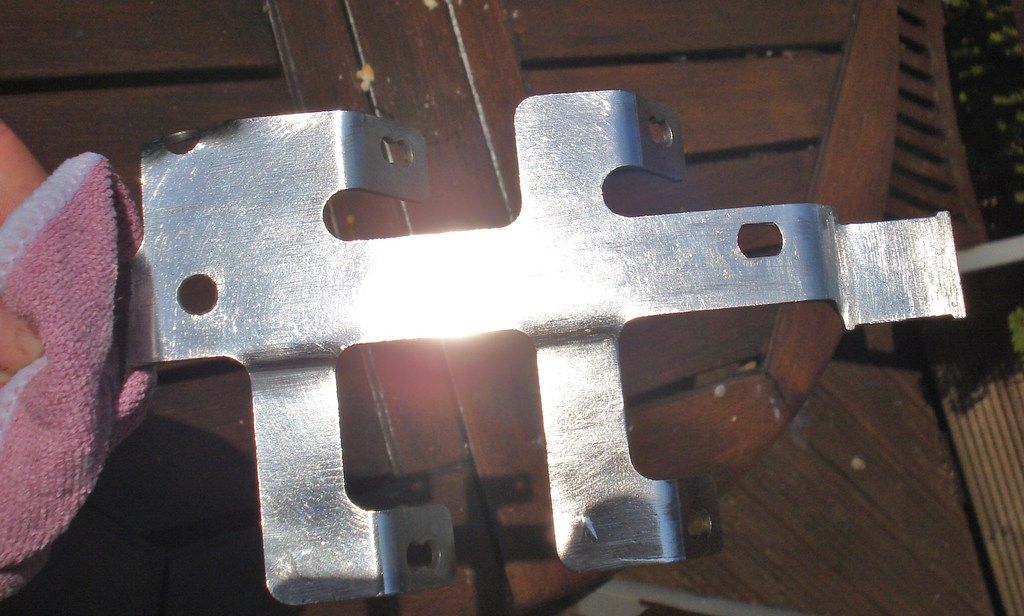
Heres the original Offending item....
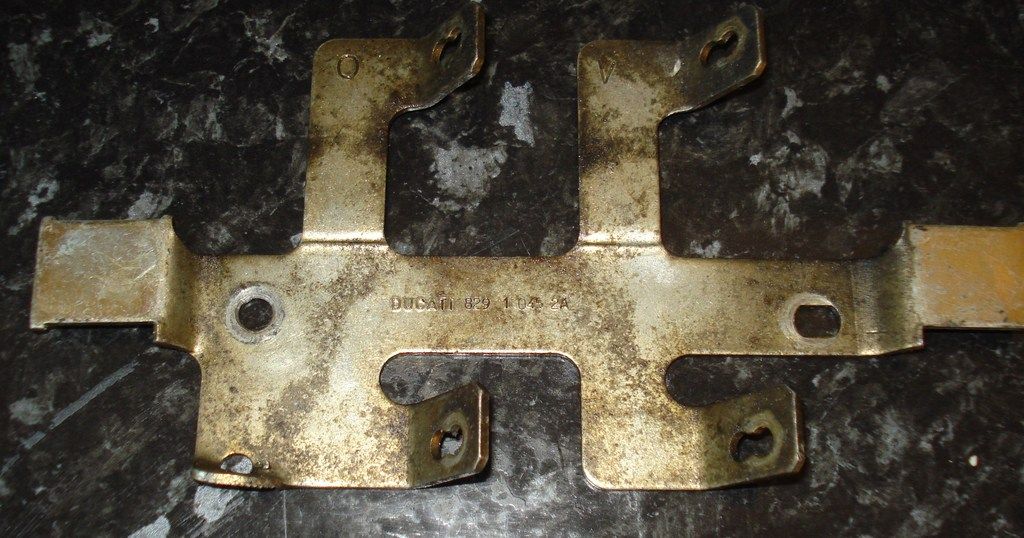
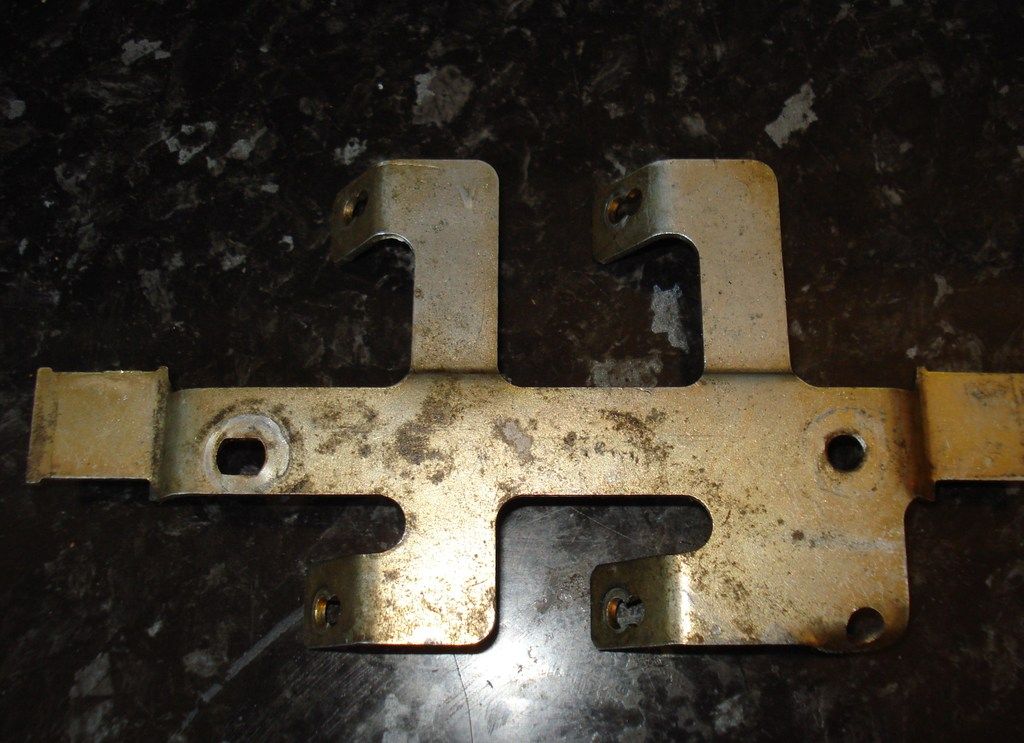
I was in several minds with this...clean it up, prime, spray silver or gold and then lacquer....but my stage process says clean first and then see.....
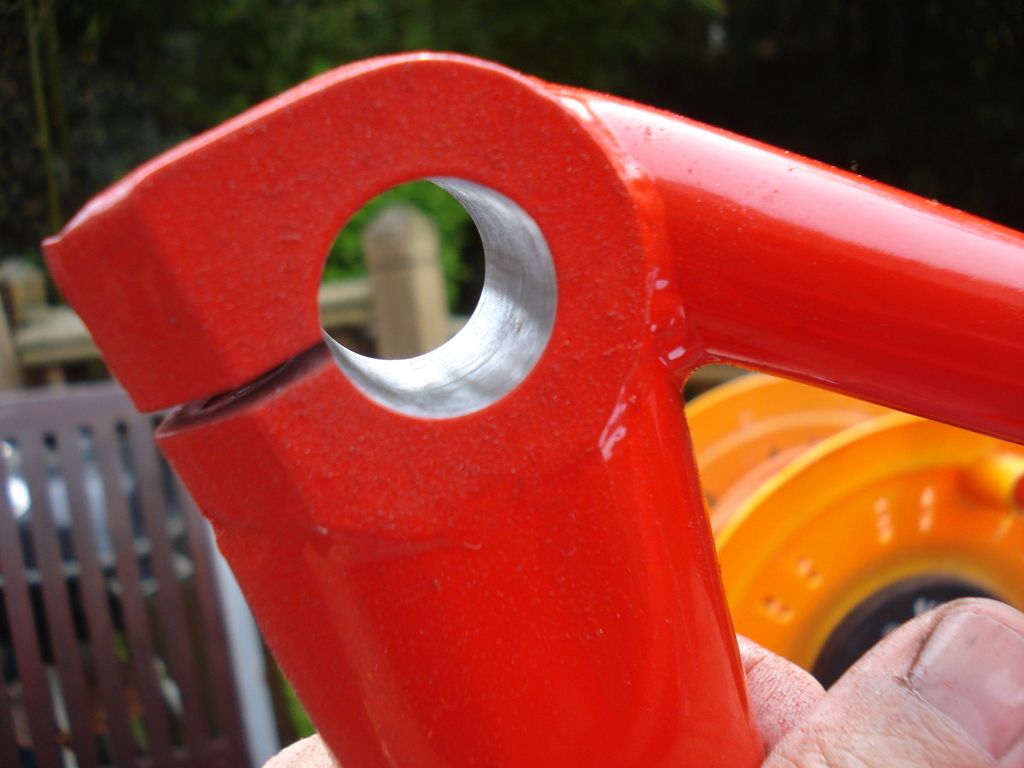
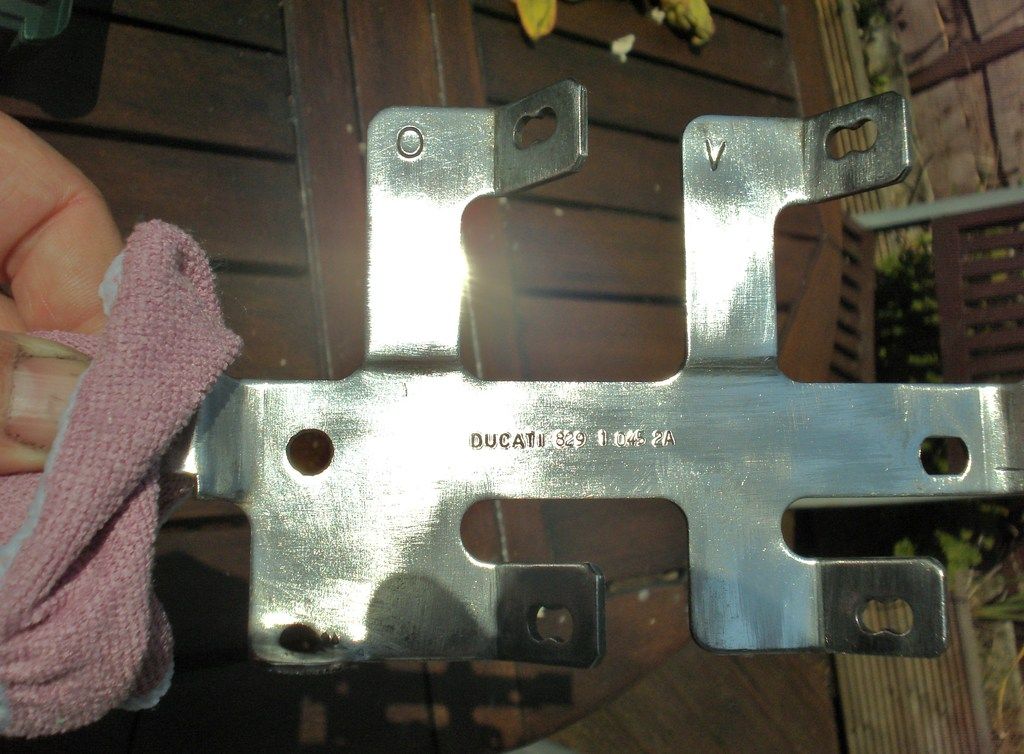
Item cleaned up so well...I decided to simply lacquer it to stave off future corrosion....Note the elongation of one of those holes on the standard Ducati supplied bracket....evidently it didnt quite match the alignment of the predrilled threaded holes in the Bimota frame....Tch tch...being Bimota I would have expected them to remake the frames correctly....or at least spread the elongation onto both holes and not just one...So so mainstream cutting corners.....
And heres the finished part after drying in the mid day sun after several coats of lacquer....Sunglasses alert.......... 
and thats it now for a while.....have some parts still to be delivered before final assembly...as that in itself should only take half a day at most unless it doesnt fire up......  |
|
| Back to top |
|
|
2bims
Joined: 03 Apr 2010
Posts: 7289
|
| Posted: Fri May 13, 2016 2:59 pm Post subject: |
|
|
Carbs and fuel pump time...been languishing at the back of the garage for a couple of weeks now.......Not too bad really as they do lead quite a sheltered life where they sit on the bike......
Just taken a couple of piccies so I can recall the location for the cable ends when I re-plumb it back in as theres a few options...
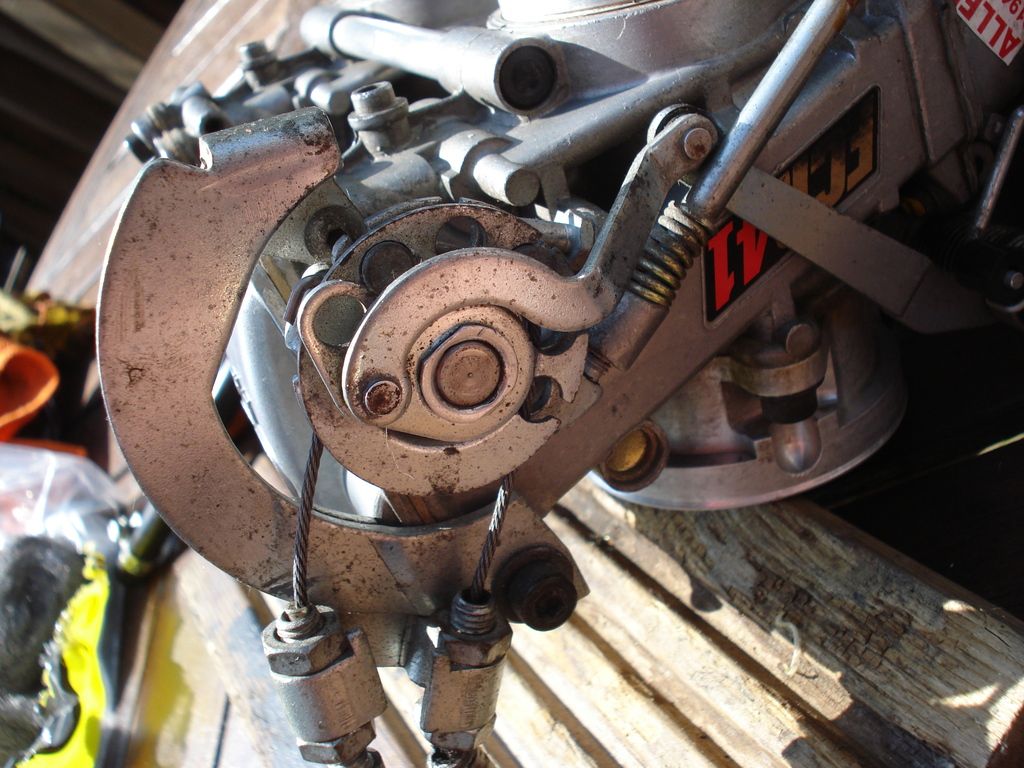

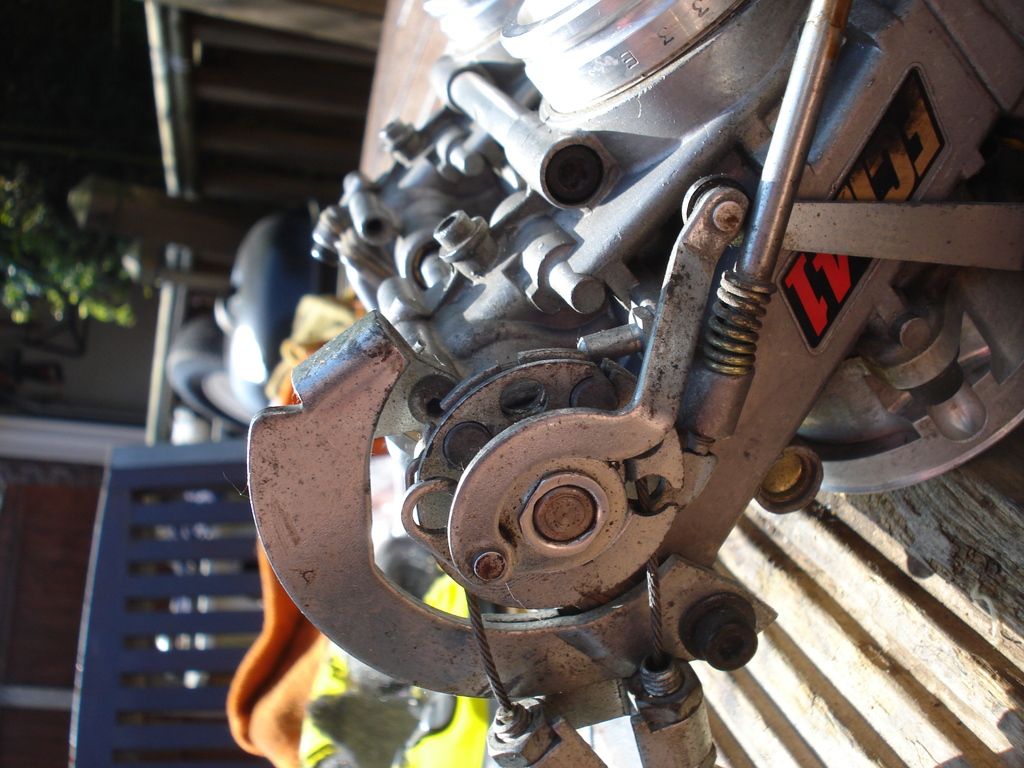

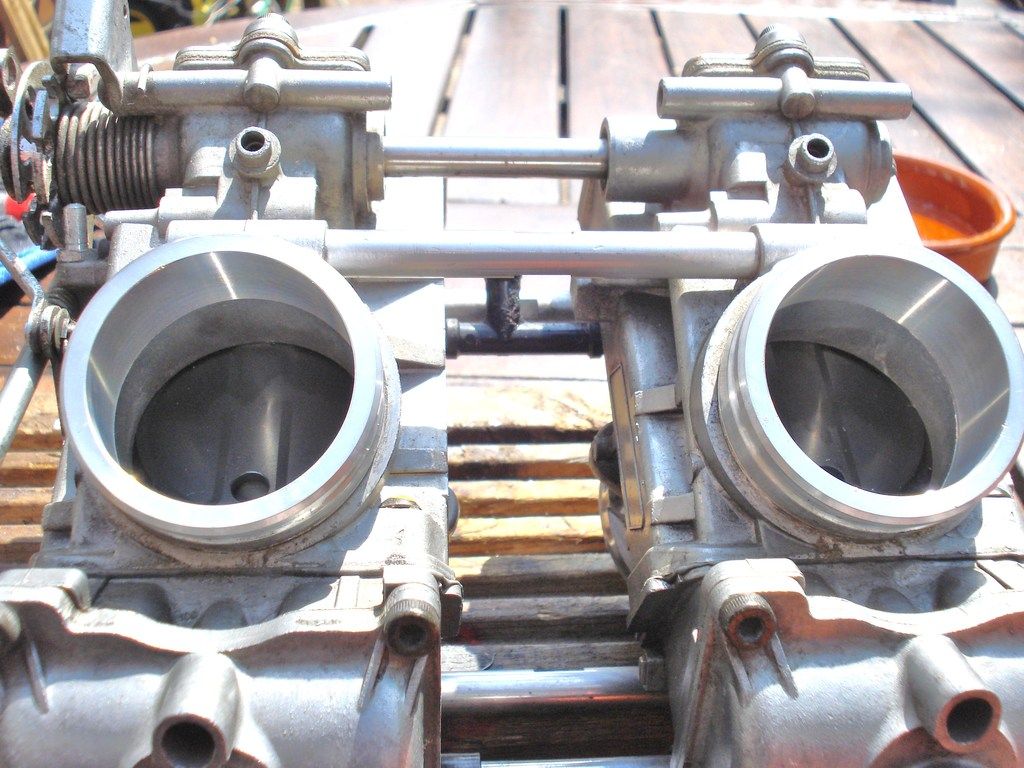
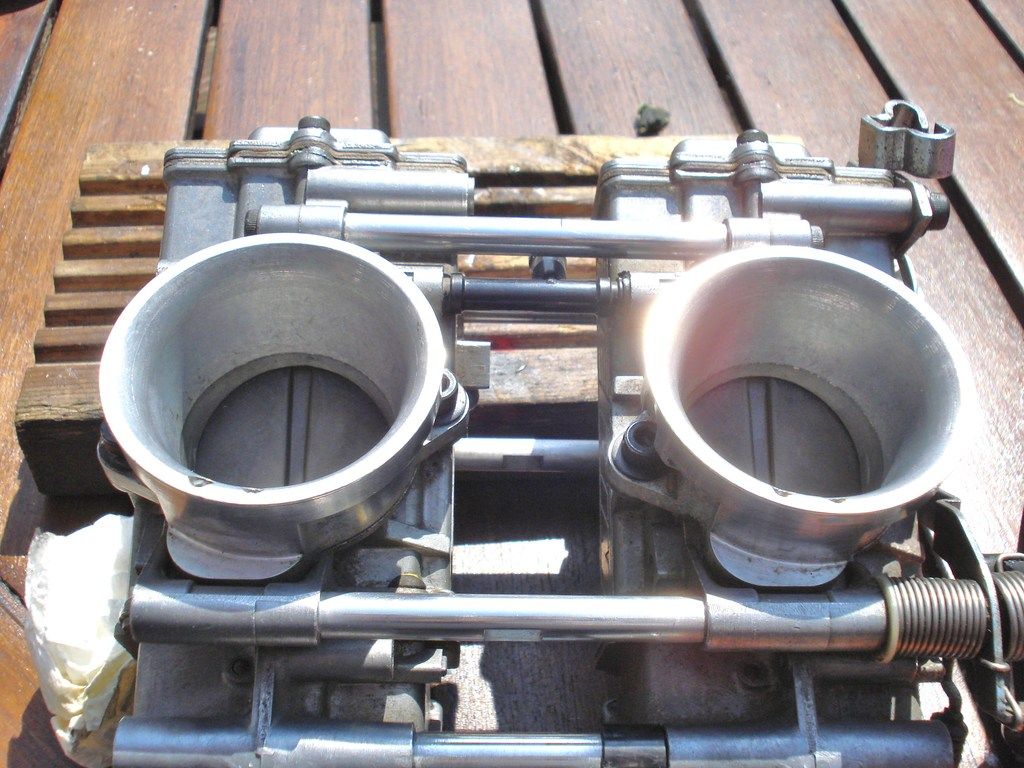
and finally clean versions ready to go away awaiting fitment......Dryin in the midday sun after a liberal spraying of choke and carb cleaner....
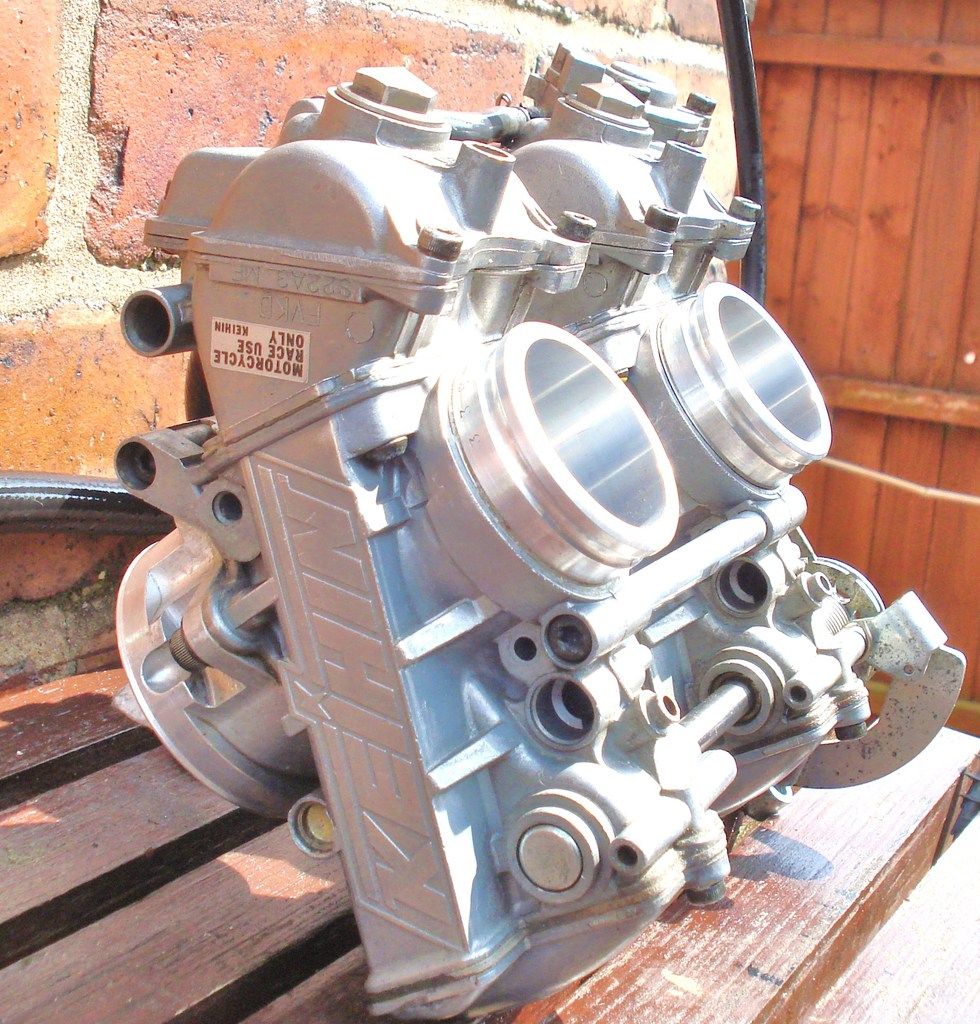
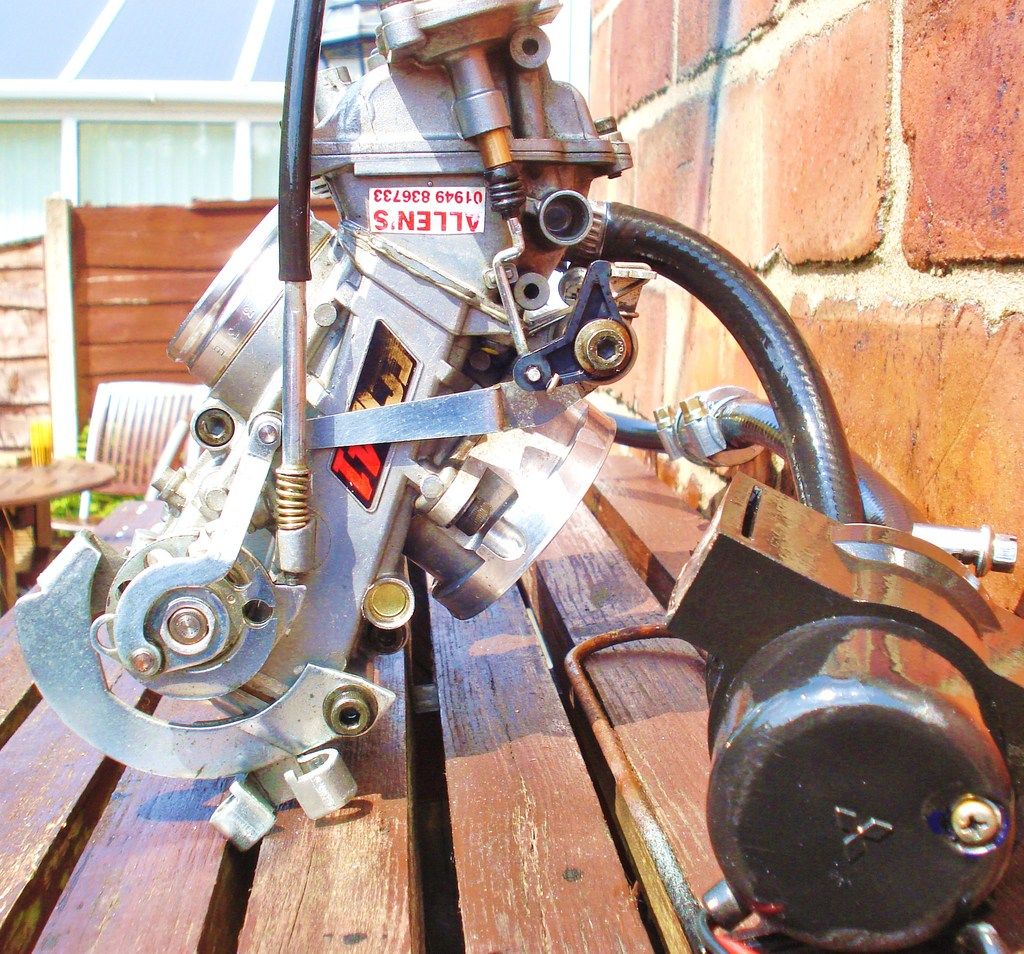
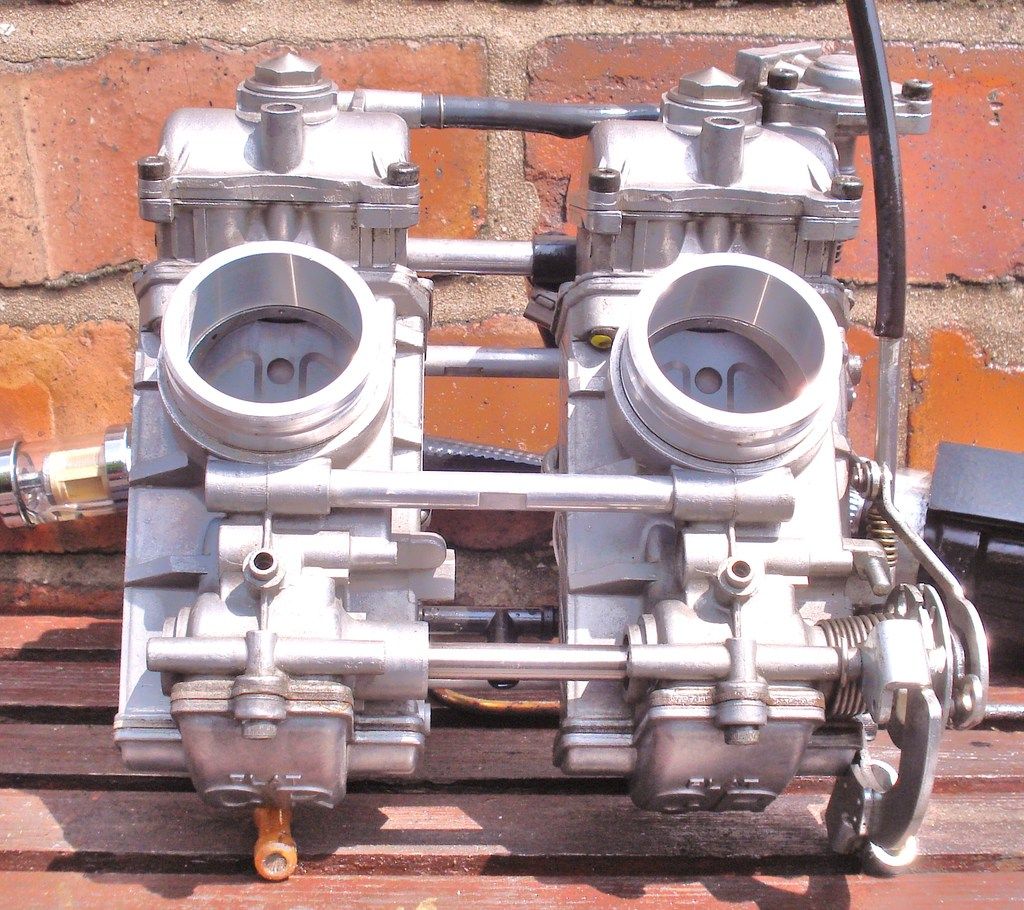
And shiney shiney to end as always.........
Hhmmm...what next |
|
| Back to top |
|
|
2bims
Joined: 03 Apr 2010
Posts: 7289
|
| Posted: Fri May 13, 2016 3:54 pm Post subject: |
|
|
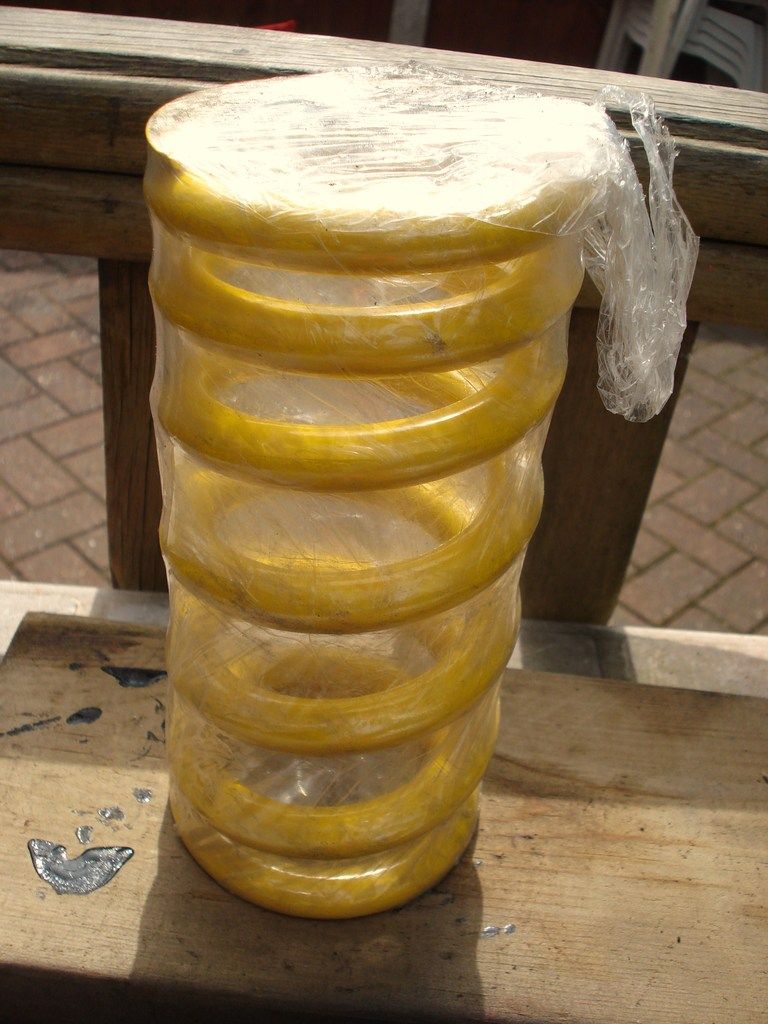
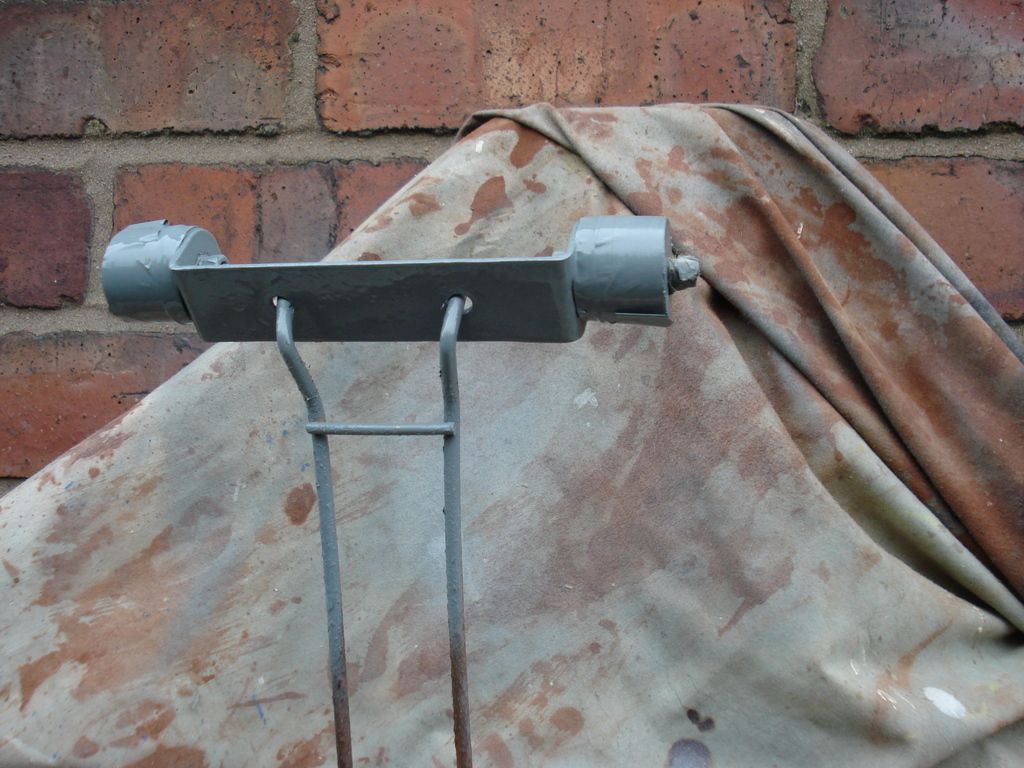
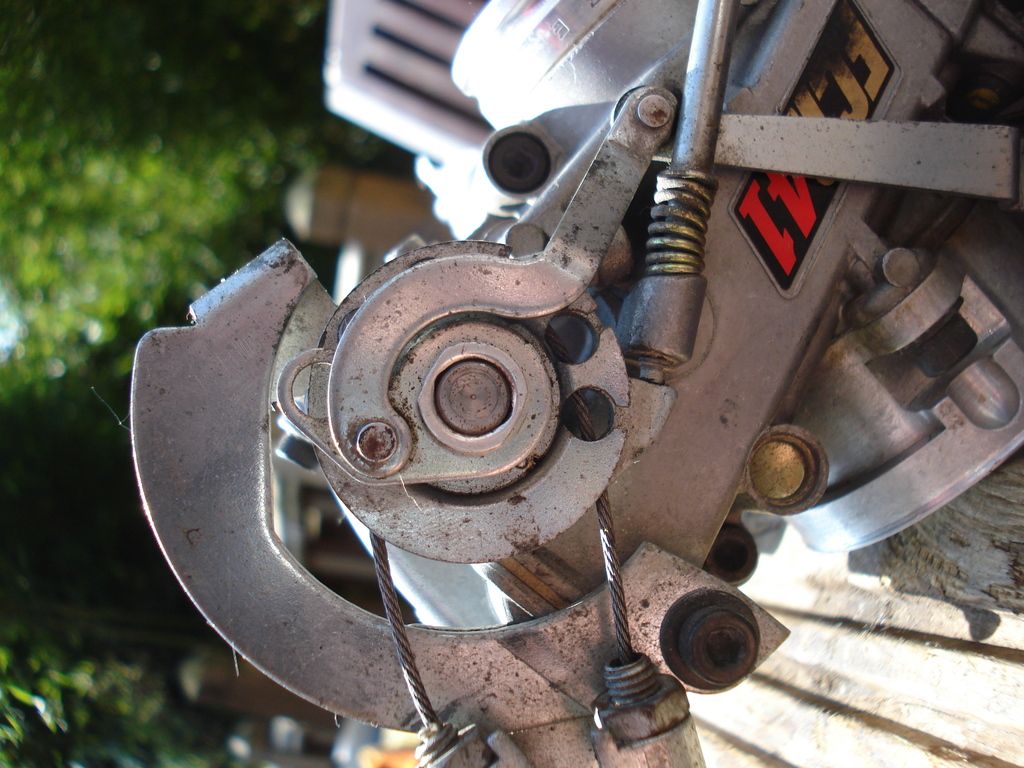
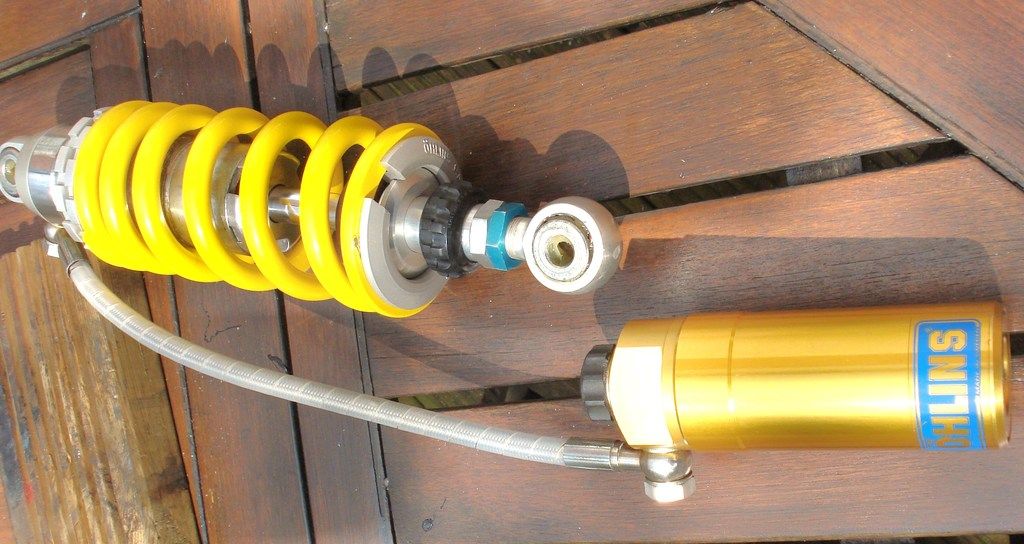
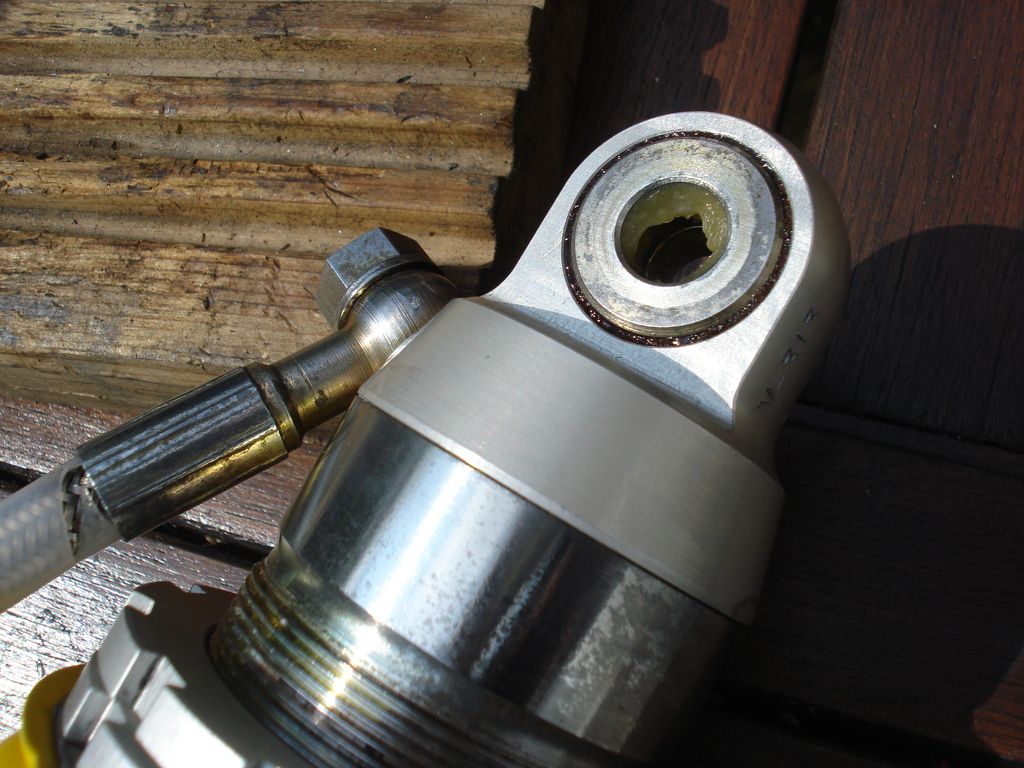
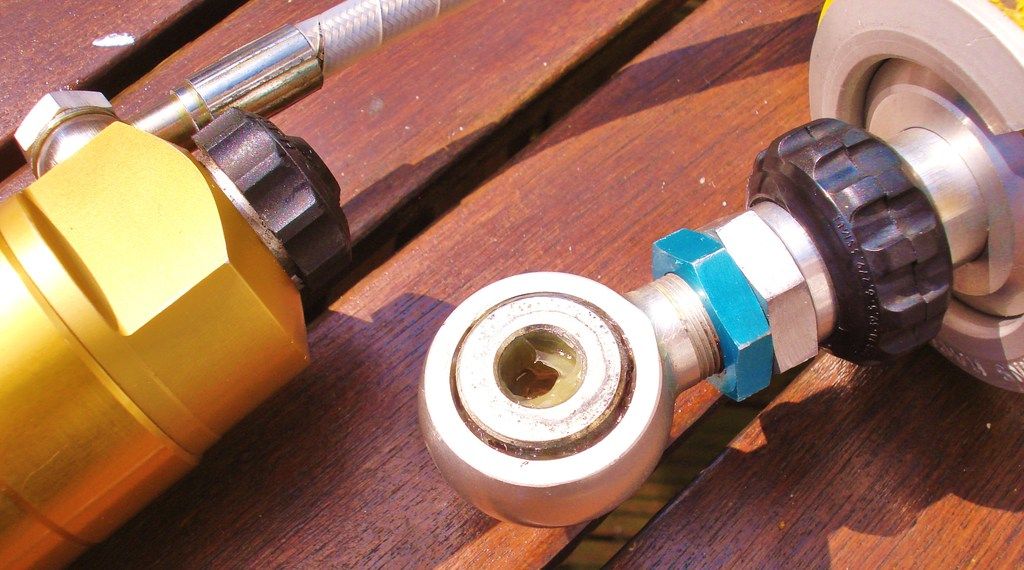
Promise...last ones for the weekend....decided to refit the shock spring thats been freshly powder coated from red back to original Yellow.....and regrease the swivel bearings at each end.........
Actually bought some Seeley motorcycle spring compressor units.....was sceptical that they would be man enough for the job...or whether they would mark the fresh powder coating....but can confirm they were up to the job...and thanks to the replaceable plastic clips in the jaw ends, they didnt mark the shock in any way whatsoever....impressed......

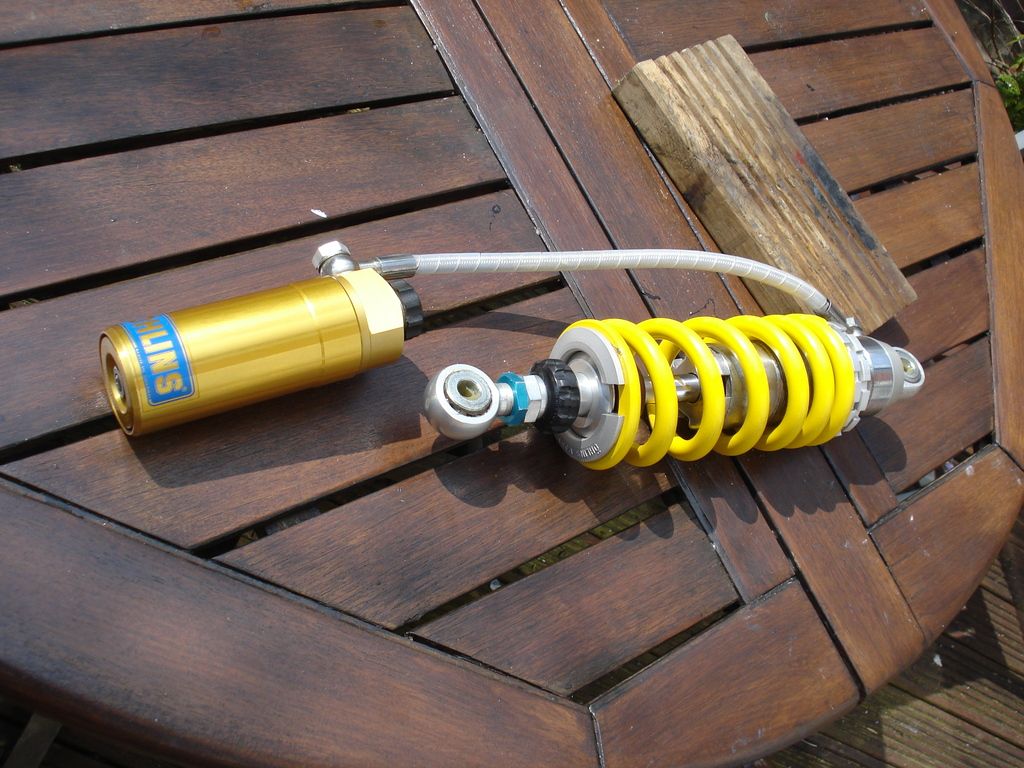
Thats all folks for a few weeks.........  |
|
| Back to top |
|
|
|


